To properly fit hiking boots, you must go beyond your standard shoe size. The process involves trying them on late in the day with your specific hiking socks, ensuring there's a finger's width of space in front of your toes, and confirming your heel stays locked in place when you walk on an incline.
The central challenge is fitting a static boot to a dynamic foot that swells and changes shape. A perfect fit isn't just about initial comfort; it's about securing your foot to prevent the internal movement that causes blisters and pain on the trail.
The Core Principles of a Hiking Boot Fit
A successful fit is grounded in understanding how a boot should interact with your foot under real-world hiking conditions. It's less about a number and more about a specific feeling of security.
The Goal: Snug Everywhere, Tight Nowhere
The ideal fit is a firm handshake for your foot. It should feel snug around the midfoot and heel, preventing any slipping or sliding.
However, this snugness should never cross into being tight. Any pinching, cramping, or specific pressure points are immediate red flags that indicate an incorrect shape for your foot.
Why Toes Need Room to Move
Your toes should have enough space to wiggle and splay freely. When hiking downhill, your foot will naturally slide forward.
Without adequate space in the front of the boot, your toes will repeatedly slam into the end, causing significant pain and potential toenail damage.
Accommodating the Dynamic Foot
Your feet swell over the course of a day and especially during a long hike. This is why a boot that feels perfect in the morning can feel painfully tight by the afternoon.
By trying on boots at the end of the day when your feet are at their largest, you are fitting for the most demanding conditions your feet will face.
A Step-by-Step Fitting Protocol
Follow these steps in order to systematically check and confirm the fit of any pair of boots.
Step 1: Come Prepared
Never try on boots with standard cotton socks. Always bring the exact hiking socks you plan to wear, as their thickness significantly impacts fit.
If you use custom orthotics or specialized insoles, bring those with you and insert them into the boots you are trying on.
Step 2: Assess the Length and Toebox
Before lacing up, slide your foot forward in the unlaced boot until your toes touch the front. You should be able to comfortably slip one finger (about a half-inch) between your heel and the back of the boot.
This simple test confirms you have sufficient length to protect your toes on descents.
Step 3: Lock Down Your Heel
Lace the boots snugly, but not so tight that you cut off circulation. Your heel should feel securely locked into the back of the boot.
Walk around and pay close attention to movement. A small amount of lift is normal, but if your heel is noticeably slipping up and down with each step, it's a guaranteed recipe for blisters.
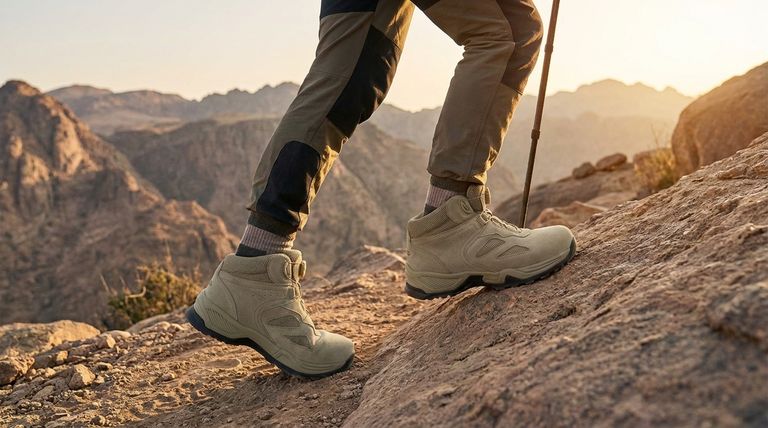
Step 4: Simulate the Trail
The flat floor of a store is not a real test. Find a small ramp, incline board, or a set of stairs to mimic trail conditions.
When walking uphill, check that your heel isn't slipping. When walking downhill, confirm your toes are not jamming into the front of the boot. Your foot should feel stable and secure.
Common Pitfalls to Avoid
Getting the fit right often means sidestepping a few common mistakes that can lead to a poor choice.
Confusing "Comfortable" with "Correct"
A new, supportive hiking boot, especially a leather one, will feel stiffer than a sneaker. Don't mistake this necessary structure for a bad fit.
Focus on the absence of pinching and heel slip rather than a "broken-in" feeling. The breaking-in process happens over time, on the trail.
Ignoring Your Foot's Unique Shape
Most people have one foot that is slightly larger than the other. Always fit the boot to your larger foot.
Furthermore, recognize that a brand or model that works for someone else may not work for you. Every foot has a unique volume and shape, and finding the right boot is a personal process.
Overlooking the Role of Insoles
The stock insoles that come with most boots are often basic placeholders. A quality aftermarket insole can dramatically improve fit, arch support, and overall comfort.
If a boot feels almost perfect but has a bit too much volume, a better insole can often provide that final, dialed-in fit.
Making the Right Choice for Your Hike
Use these final checks to ensure the boot you select matches your primary needs on the trail.
- If your primary concern is downhill pain: The finger-width test is non-negotiable; you must have that space in front of your toes.
- If your primary concern is preventing blisters: Focus entirely on eliminating heel slippage when testing on an incline.
- If your primary concern is stability on uneven ground: Ensure the boot feels snug and secure around your midfoot and ankle, with no painful pressure points.
Investing the time to find the right fit is the single most important decision you will make for your comfort and safety on the trail.
Summary Table:
| Fitting Step | Key Action | What to Check For |
|---|---|---|
| Step 1: Preparation | Wear your hiking socks and any orthotics. | Sock thickness impacts fit. |
| Step 2: Length & Toebox | Perform the finger-width test. | A half-inch of space behind the heel. |
| Step 3: Heel Lock | Lace up snugly and walk on a flat surface. | No noticeable heel slippage. |
| Step 4: Trail Simulation | Walk on an incline or stairs. | No toe jamming on descents; stable heel on ascents. |
Ready to equip your customers with perfectly fitting hiking boots? As a large-scale manufacturer, 3515 produces a comprehensive range of durable and comfortable hiking footwear for distributors, brand owners, and bulk clients. Our expertise ensures every pair meets the highest standards of fit and performance. Let's discuss how we can support your product line—contact our team today to get started!
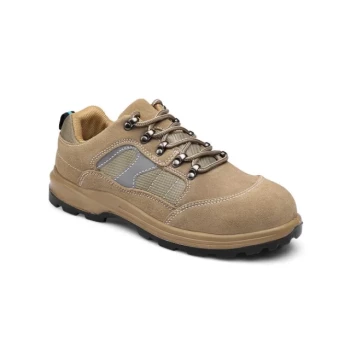
Visual Guide

Related Products
- Wholesale High-Traction Camo Boots - Custom Manufacturer for Brands
- Durable Rubber Sole Outdoor Shoes Wholesale & Custom Manufacturing
- Durable Spiked Camouflage Boots Wholesale & Factory Production
- Wholesale Lightweight Tactical Boots Custom Manufacturer for Desert & Combat Use
- Durable Goodyear Welt Leather Work Boots for Wholesale & Private Label
People Also Ask
- What shoes to wear for a security job? Durable, Protective Footwear for Long Shifts
- Are camo boots necessary for hunting success? Prioritize Performance Over Pattern
- What makes wide CAM boots different from standard CAM boots? A Guide to Choosing the Right Fit for Healing
- What are the key features of the new line of camo boots? Built for Extreme Cold & Rugged Terrain
- What should be considered when using the lace length chart for hiking and work boots? A Safety Guide