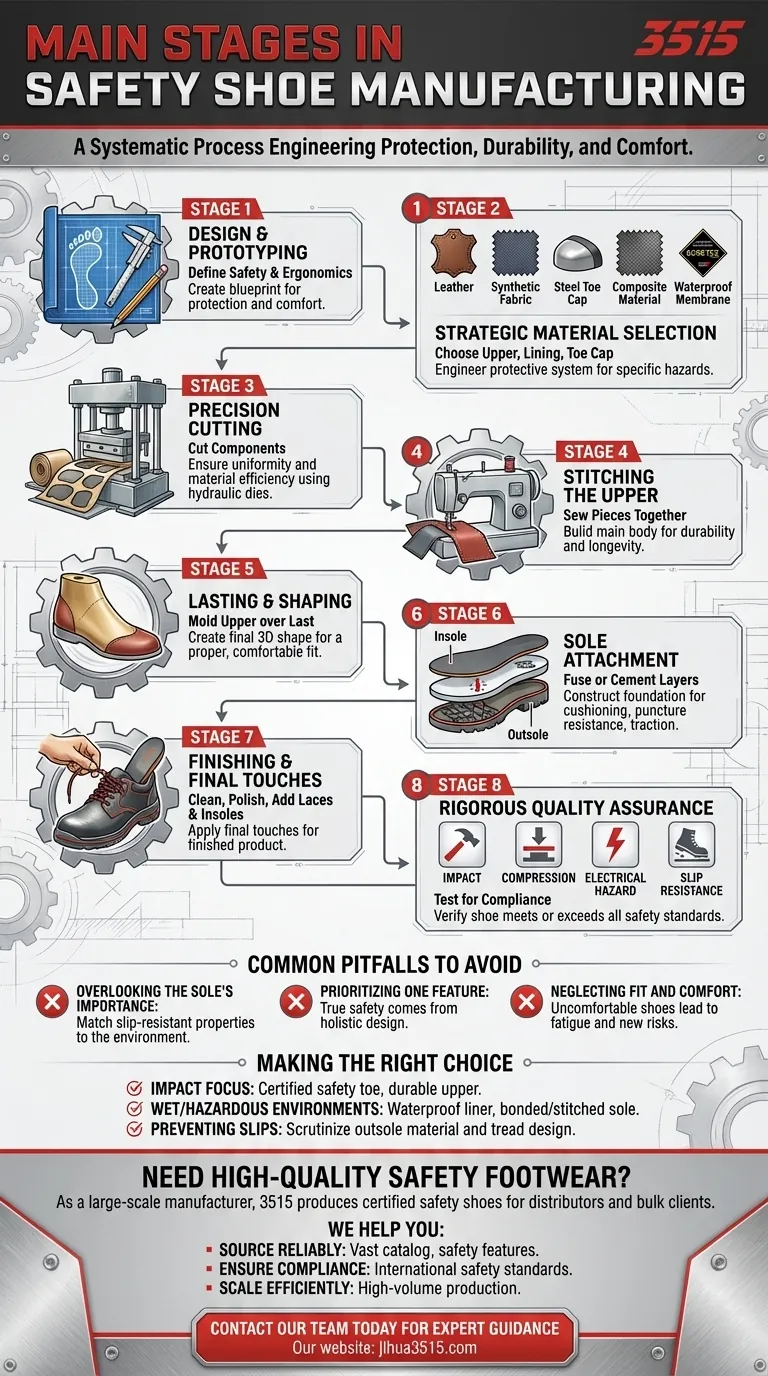
At its core, safety shoe manufacturing is a multi-stage process that systematically engineers protection into footwear. The main stages involve design and material selection, precision cutting of components, stitching and shaping the upper, attaching the sole, and implementing rigorous quality control checks throughout.
The creation of a safety shoe is not merely assembly; it is a deliberate process of integrating specific protective technologies into a durable, comfortable platform. Each stage, from selecting the right composite for a toe cap to the method of attaching a slip-resistant sole, is a critical decision that defines the shoe's performance in a hazardous environment.
The Blueprint: Design and Material Selection
The process begins long before any material is cut. The foundation of a reliable safety shoe is a thoughtful design backed by carefully chosen materials engineered for specific threats.
Stage 1: Design and Prototyping
The initial design phase defines the shoe's purpose. Engineers determine the specific safety requirements, such as impact resistance, slip resistance, or electrical hazard protection, and balance them with the need for comfort during long work hours.
Stage 2: Strategic Material Selection
Materials are chosen for each of the shoe's core parts to work together as a protective system.
The upper is typically made from durable leather or advanced synthetic fabrics. The inner lining may include waterproof membranes like GORE-TEX for weather protection. The safety toe, a critical component, is made from materials like steel or lighter-weight composites to shield against impact and compression.
The Assembly Line: From Cutting to Shaping
Once the design is finalized and materials are procured, the physical construction begins with a focus on precision and durability.
Stage 3: Precision Cutting
The materials for the shoe's upper are laid out and cut into precisely shaped sections. This is often done using powerful movable hydraulic machines equipped with sharp steel dies of various sizes, ensuring every piece is uniform.
Stage 4: Stitching the Upper
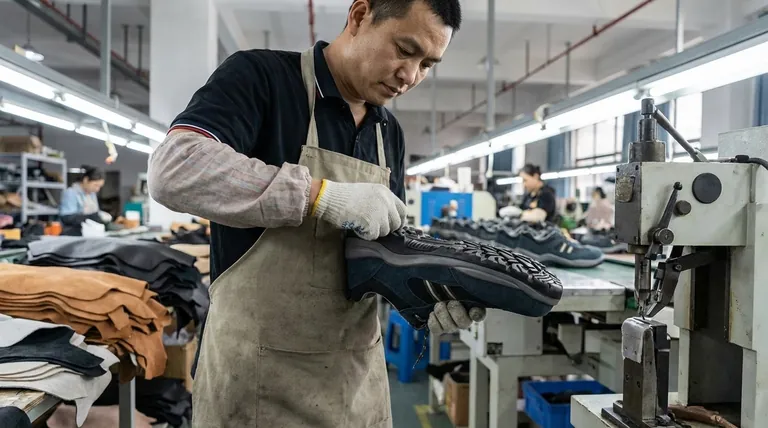
The cut pieces are then carefully sewn together by skilled operators. This stage creates the main body of the shoe, and the quality of the stitching is critical for the footwear's overall durability and longevity.
Stage 5: Lasting and Shaping
The stitched upper is stretched and molded over a foot-shaped form called a "last." This crucial process, known as lasting, gives the shoe its final three-dimensional shape, ensuring a proper and comfortable fit.
Building the Foundation: Sole and Finishing
The final stages involve constructing the shoe's base and conducting exhaustive checks to ensure it meets all safety standards.
Stage 6: Sole Attachment
The sole is often composed of multiple layers: an insole for comfort, a midsole for cushioning and puncture resistance, and an outsole for traction. These layers are fused or cemented to the bottom of the shaped upper to create the shoe's foundation.
Stage 7: Finishing and Final Touches
In this stage, the shoe is cleaned, polished, and fitted with laces and the final comfort insole. This is the last step in the physical assembly before the shoe moves to its final inspection.
Stage 8: Rigorous Quality Assurance
Quality control is not just a final step but an ongoing process. Throughout manufacturing, components and assembled shoes are tested to ensure they meet or exceed specific safety standards for impact, compression, and electrical hazard resistance.
Common Pitfalls to Avoid
When selecting safety footwear, understanding the manufacturing process helps you avoid common mistakes and recognize what truly matters.
Overlooking the Sole's Importance
The most visible feature is often the safety toe, but the outsole is just as critical. A failure to match the sole's slip-resistant properties to the specific work environment (e.g., oily floors, uneven terrain) is a frequent cause of workplace injury.
Prioritizing One Feature Over All Else
A shoe with a top-tier safety toe but poor stitching or a weakly attached sole is a point of failure. True safety comes from a holistic design where every component is manufactured to a high standard.
Neglecting Fit and Comfort
A shoe that is technically safe but painfully uncomfortable will lead to fatigue and distraction, creating new safety risks. The "lasting" and shaping stage is key to creating a shoe that can be worn safely for an entire shift.
Making the Right Choice for Your Goal
Use your understanding of the manufacturing process to select footwear that aligns with your specific safety needs.
- If your primary focus is impact protection: Verify that the shoe has a certified safety toe (composite or steel) and that the upper is constructed from durable, well-stitched materials.
- If your primary focus is working in wet or hazardous liquid environments: Prioritize shoes with a high-quality waterproof liner and a sole that is chemically bonded or stitched securely to the upper, not just glued.
- If your primary focus is preventing slips and falls: Scrutinize the outsole's material and tread design, ensuring it is specifically rated for the surfaces you will be working on.
Understanding how a safety shoe is made empowers you to look beyond marketing claims and evaluate the fundamental quality and suitability of your protective footwear.
Summary Table:
| Stage | Key Activity | Purpose |
|---|---|---|
| 1. Design & Prototyping | Define safety requirements and ergonomics. | Create a blueprint for protection and comfort. |
| 2. Material Selection | Choose materials for upper, lining, and toe cap. | Engineer a system to counter specific workplace hazards. |
| 3. Precision Cutting | Cut components using hydraulic dies. | Ensure uniformity and material efficiency. |
| 4. Stitching the Upper | Sew cut pieces together. | Build the main body for durability and longevity. |
| 5. Lasting & Shaping | Mold the upper over a foot-shaped form. | Create the final 3D shape for a proper, comfortable fit. |
| 6. Sole Attachment | Fuse or cement the insole, midsole, and outsole. | Construct the foundation for cushioning, puncture resistance, and traction. |
| 7. Finishing | Clean, polish, and add laces and insoles. | Apply the final touches for a finished product. |
| 8. Quality Assurance | Test for impact, compression, and slip resistance. | Verify the shoe meets or exceeds all safety standards. |
Need High-Quality Safety Footwear for Your Business?
As a large-scale manufacturer, 3515 produces a comprehensive range of certified safety shoes and boots for distributors, brand owners, and bulk clients. Our expertise in every stage of the manufacturing process—from strategic material selection to rigorous quality control—ensures your customers receive durable, comfortable, and fully compliant footwear.
We help you:
- Source Reliably: Access a vast catalog of styles with various safety features (steel/composite toes, slip-resistant soles, waterproof membranes).
- Ensure Compliance: All our products are manufactured to meet international safety standards.
- Scale Efficiently: Leverage our high-volume production capabilities to fulfill orders of any size.
Let's discuss your specific needs. Contact our team today for expert guidance and competitive pricing.
Visual Guide
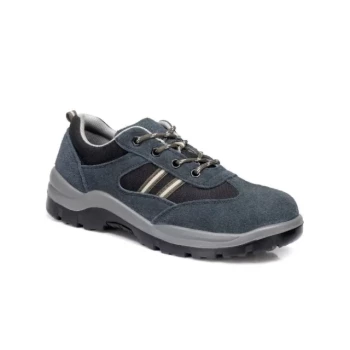
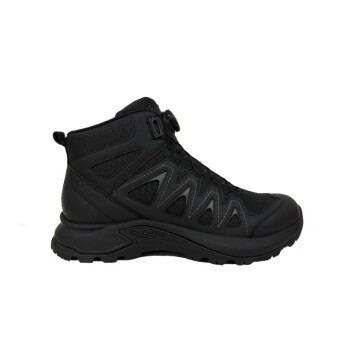
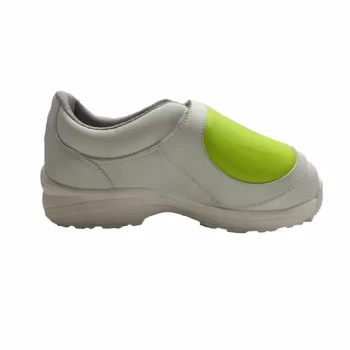
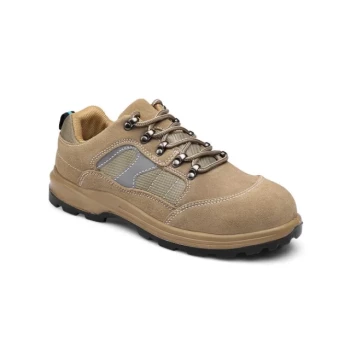
Related Products
- Premium Suede Sport Safety Shoes for Wholesale & Bulk Orders
- Premium Lightweight Safety Shoes for Wholesale & Bulk Orders
- Wholesale Anti-Smash & Puncture-Proof Safety Shoes Custom Manufacturing for Brands
- Premium KPU Injection Athletic Style Safety Shoes
- Premium Safety Shoes with Rotating Buckle Safety Sneakers
People Also Ask
- What role do specialized safety shoes play in preventing falls? Engineering Stability in Industrial Environments
- Why should ergonomics and comfort be prioritized when selecting safety shoes? Boost Compliance & Worker Health
- What are the main components of safety shoes? A Guide to Protective Footwear Design
- What industries have specific OSHA footwear requirements? Ensure Compliance & Protect Your Workforce
- Why is barefoot walking used as a baseline in gait safety research? Unlocking Natural Biomechanics for Shoe Design