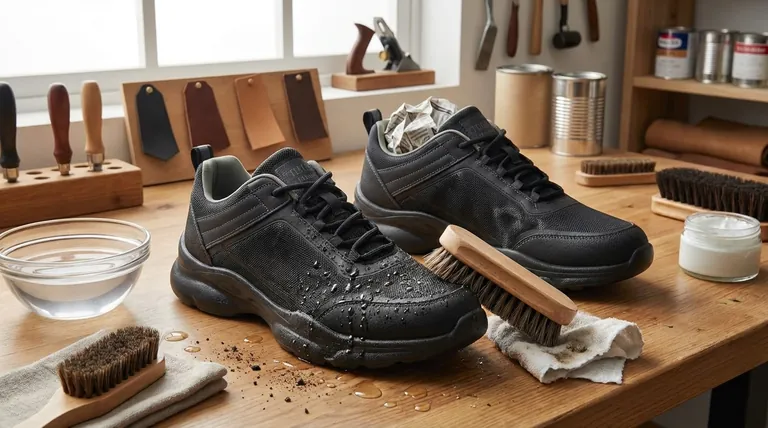
Before you apply any product, the initial and most critical steps to waterproof shoes are to first clean them thoroughly to remove all dirt and debris, and then allow them to air dry completely. Applying a waterproofing agent to a dirty or damp shoe will trap grime, prevent proper absorption, and ultimately fail.
The long-term effectiveness of any waterproofing treatment depends less on the product you choose and more on the meticulous preparation of the footwear beforehand. A clean, dry surface is the only foundation that works.
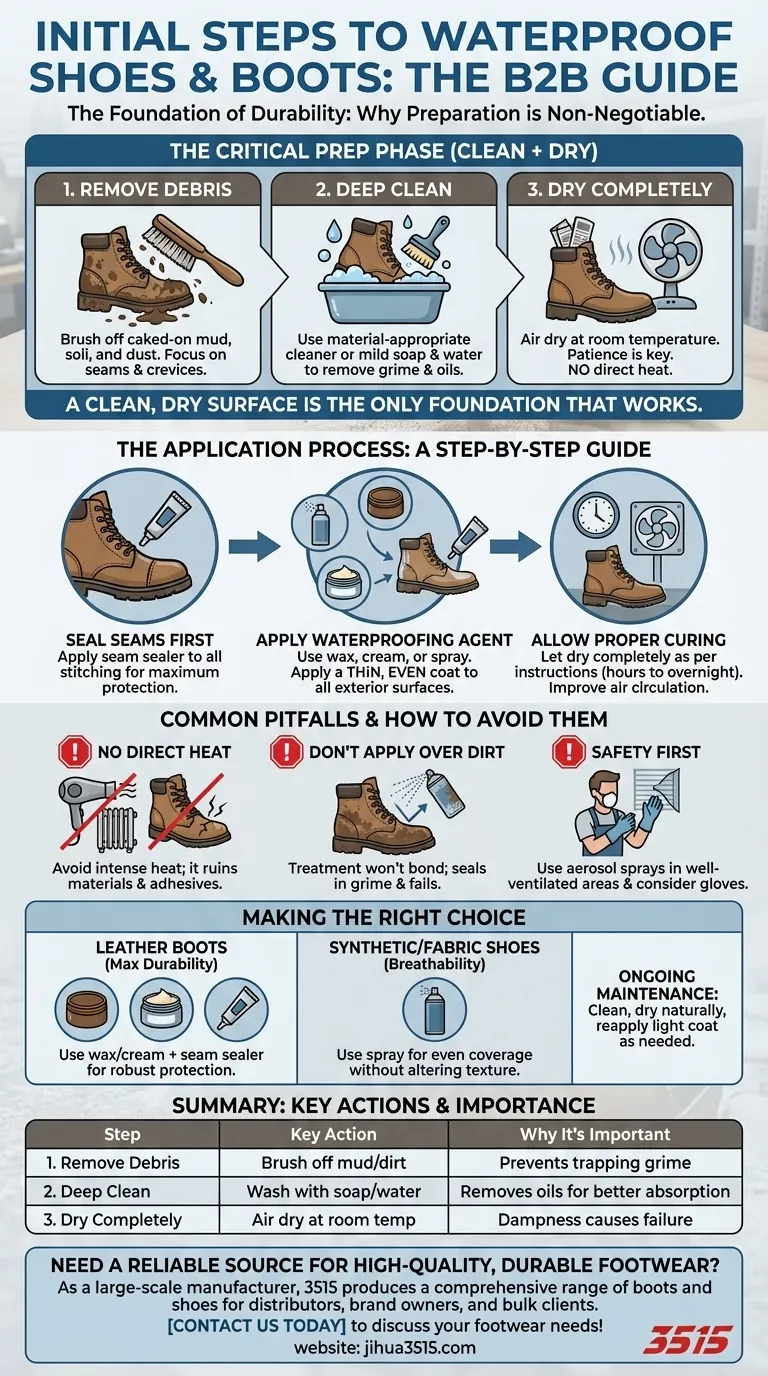
The Foundation: Why Preparation is Non-Negotiable
Properly preparing your shoes or boots is the difference between a protective seal that lasts and a treatment that fails after one outing. This initial phase ensures the waterproofing agent can bond directly and evenly with the footwear material.
Step 1: Remove All Surface Debris
Before washing, use a brush to remove all caked-on mud, soil, and dust. Pay close attention to the seams, welt, and eyelet areas where dirt can become trapped.
Step 2: Perform a Deep Clean
Once loose debris is gone, clean the shoes with a material-appropriate cleaner or a simple solution of mild soap and water. This step removes the ingrained grime and oils that can block the waterproofing product from penetrating the surface.
Step 3: The Critical Drying Phase
Allow the footwear to dry completely at room temperature. This is a crucial step that requires patience. Stuffing shoes with newspaper can help absorb internal moisture and speed up the process naturally.
The Application Process: A Step-by-Step Guide
With a perfectly clean and dry foundation, you can now apply your chosen waterproofing treatment effectively. Always read the specific product's instructions before you begin.
Sealing the Seams First
Seams are the most common failure point for water entry. For maximum protection, especially on heavy-duty boots, apply a dedicated seam sealer along all stitching before the main waterproofing treatment.
Applying the Waterproofing Agent
Whether using a wax, cream, or spray, apply a thin, even coat to all exterior surfaces. Be methodical and cover every part of the shoe, including the tongue, creases, and around the eyelets.
Allowing for Proper Curing
Most treatments require time to cure and bond with the material. Let the boots dry completely in a warm, well-ventilated area for the time recommended by the product manufacturer, which could be several hours or overnight. A fan can improve air circulation, but do not use direct heat.
Common Pitfalls That Can Ruin Your Footwear
Avoiding common mistakes is just as important as following the correct steps. These errors can not only lead to poor waterproofing but can also permanently damage your shoes.
The Danger of Direct Heat
Never use a hairdryer, radiator, or direct sunlight to speed up the drying process. Intense heat can crack leather, weaken adhesives holding the sole together, and ruin the material's integrity.
Applying Product Over Dirt
Applying a waterproofing agent to a dirty shoe is a waste of time and product. The treatment will stick to the dirt, not the shoe material, and will offer virtually no protection while sealing grime against the surface.
Forgetting Personal Safety
Many waterproofing products, especially aerosol sprays, contain chemicals that require proper handling. Always work in a well-ventilated area, and consider wearing gloves to protect your skin.
Making the Right Choice for Your Footwear
The best method depends on your shoe's material and your intended use. Choose your approach based on your specific goal.
- If your primary focus is maximum durability for leather boots: Use a wax or cream-based product and always apply a seam sealer first for the most robust protection.
- If your primary focus is treating synthetic or fabric shoes: Use a waterproofing spray, as it provides even coverage without altering the material's breathability or texture.
- If your primary focus is ongoing maintenance: Regularly wash off mud after use, allow your footwear to dry naturally, and reapply a light coat of your chosen protectant whenever you notice water is no longer beading on the surface.
Ultimately, treating your footwear with care is a system, not a single action.
Summary Table:
| Step | Key Action | Why It's Important |
|---|---|---|
| 1. Remove Debris | Brush off all caked-on mud and dirt. | Prevents trapping grime under the waterproofing layer. |
| 2. Deep Clean | Wash with mild soap and water. | Removes ingrained oils and dirt for better product absorption. |
| 3. Dry Completely | Air dry at room temperature; use newspaper to absorb moisture. | Applying product to damp shoes causes the treatment to fail. |
Need a reliable source for high-quality, durable footwear?
As a large-scale manufacturer, 3515 produces a comprehensive range of boots and shoes for distributors, brand owners, and bulk clients. Our production capabilities encompass all types of footwear, built to withstand the elements from the ground up. Let us help you provide your customers with superior products.
Contact us today to discuss your footwear needs!
Visual Guide