The single biggest mistake hikers make is believing the "break-in" period is just about softening stiff leather. The true purpose is to methodically test, verify, and fine-tune the boot's fit to your unique foot anatomy, ensuring it performs flawlessly under the stress of a real hike. This process involves gradually introducing your feet to the boots in increasingly demanding environments, from your living room to a local trail.
The goal of breaking in hiking boots is not to force a bad boot to fit, but to confirm a good boot fits perfectly. It's a systematic process of identifying and eliminating potential friction points before they can ruin your hike.
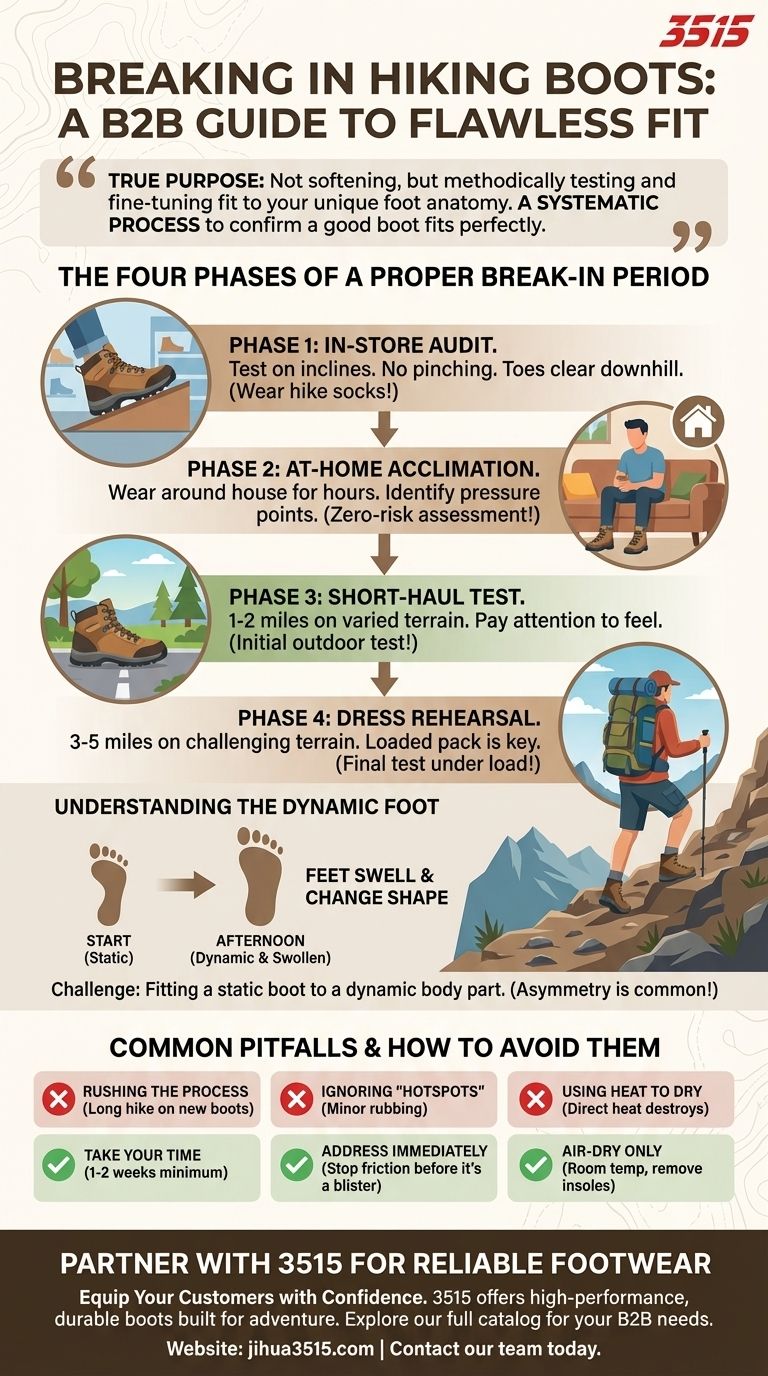
The Four Phases of a Proper Break-In Period
A structured approach ensures you catch any issues long before you're miles from your car. Think of it as a series of tests, each one escalating in intensity.
Phase 1: The In-Store Audit
Your break-in process begins before you even purchase the boots. This is your first and most critical checkpoint.
Wear the socks you intend to hike in. Test the boots on any available ramps or stairs in the store to simulate inclines and declines. You should feel no pinching, and your toes should not slam into the front of the boot when walking downhill.
Phase 2: The At-Home Acclimation
Once you get the boots home, wear them around the house for several hours at a time over a few days. This is a zero-risk environment to assess long-term comfort.
This phase allows your feet to get used to the boot's structure and reveals any subtle pressure points that weren't obvious in the store. It also keeps the boots pristine, preserving your ability to return them if they are not the right fit.
Phase 3: The Short-Haul Test
Now it's time for the real world. Start with short walks on pavement or easy, flat trails, covering just a mile or two.
Pay close attention to how your feet feel. This initial outdoor test introduces the dynamic motion of walking on varied terrain without the high stakes of a long, remote hike.
Phase 4: The Dress Rehearsal
The final test is a longer hike (3-5 miles) on terrain that mimics what you'll be doing on your main adventures.
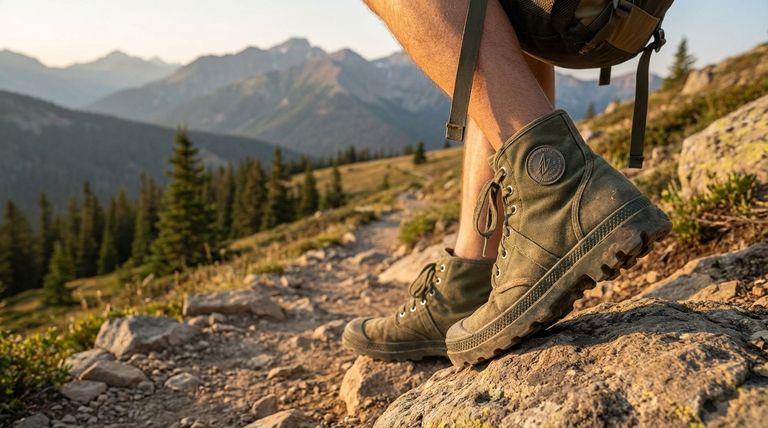
Crucially, you should wear the backpack you plan to use, loaded with some weight. A loaded pack changes your gait and puts more pressure on your feet, causing them to swell. This final test simulates real-world conditions and is your last chance to uncover fit issues.
Understanding the Deeper Challenge: The Dynamic Foot
A perfect out-of-the-box fit is nearly impossible because you are trying to fit a static object to a dynamic body part.
Why Your Feet Change Size
Throughout a hike, your feet expand and swell from heat and activity. A boot that feels perfectly snug at the start of the day can feel tight and restrictive by the afternoon.
The Asymmetry Problem
Almost everyone has one foot that is slightly larger than the other. Mass-produced boots are identical, so achieving a perfect fit for both feet often requires more than just wearing them in; it requires customization.
Common Pitfalls and How to Avoid Them
Success is as much about avoiding mistakes as it is about following the right steps.
Rushing the Process
The most common error is taking brand-new boots on a long, demanding hike. This is the primary cause of severe blisters and foot pain. Give the process at least one to two weeks.
Ignoring Small "Hotspots"
A minor rubbing sensation in your living room will become a painful, raw blister after three miles on the trail. If you feel any consistent friction, stop and address it. The boot may be the wrong shape for your foot.
Using Heat to Dry Your Boots
Never place wet boots near a fire, radiator, or other direct heat source. High heat destroys the adhesives that hold the boot together and causes leather to become brittle and shrink, permanently ruining the fit and structure. Always air-dry them at room temperature, removing the insoles to speed up the process.
Making the Right Choice for Your Goal
Use your break-in period to gather data, then act on it.
- If your primary focus is day hiking on casual trails: A successful at-home and short-haul test is likely sufficient to confirm the boots are ready.
- If you are preparing for a multi-day backpacking trip: The "dress rehearsal" with a weighted pack is non-negotiable to understand how your feet will feel under sustained load.
- If you have hard-to-fit feet (e.g., low volume, high arches): Consider replacing the manufacturer's stock insoles with aftermarket ones early in the process to address fundamental support and fit issues.
By treating the break-in period as a methodical process of testing and customization, you transform your boots from mere equipment into a reliable foundation for any adventure.
Summary Table:
| Phase | Environment | Key Action | Goal |
|---|---|---|---|
| 1. In-Store Audit | Store | Test on ramps/stairs | Check for pinching and toe room |
| 2. At-Home Acclimation | Home | Wear for several hours | Identify subtle pressure points |
| 3. Short-Haul Test | Pavement/Easy Trail | Walk 1-2 miles | Assess comfort on varied terrain |
| 4. Dress Rehearsal | Challenging Trail | Hike 3-5 miles with a loaded pack | Simulate real-world hiking conditions |
Ready to Equip Your Customers with Reliable Footwear?
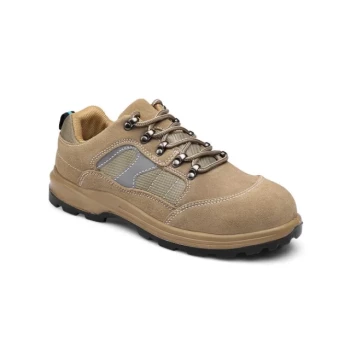
As a leading manufacturer, 3515 produces a comprehensive range of high-performance hiking boots and outdoor footwear. Our expertise ensures durable construction and superior comfort, perfect for distributors, brand owners, and bulk clients looking for reliable products their customers can trust.
Partner with us to offer boots that are built for adventure from the ground up.
Contact our team today to discuss your manufacturing needs and explore our full catalog.
Visual Guide
Related Products
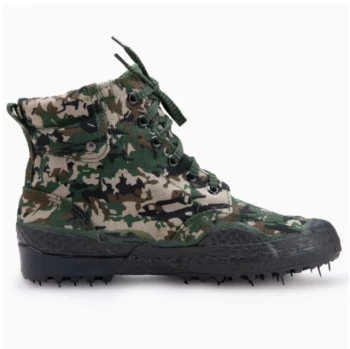
- Wholesale High-Traction Camo Boots - Custom Manufacturer for Brands
- Durable Rubber Sole Outdoor Shoes Wholesale & Custom Manufacturing
- Durable Spiked Camouflage Boots Wholesale & Factory Production
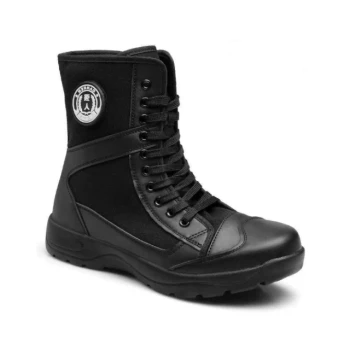
- Wholesale Lightweight Tactical Boots Custom Manufacturer for Desert & Combat Use
- Wholesale Waterproof Tactical Boots Custom Suede & High-Traction Soles
People Also Ask
- Why is traction an essential feature in work boots? Prevent Slips and Ensure Workplace Safety
- Are camo boots necessary for hunting success? Prioritize Performance Over Pattern
- What should be considered when choosing between standard and air CAM boots? A Guide to Injury Recovery
- What are the advantages of custom-made work boots? Unlock Perfect Fit & Superior Durability
- What shoes to wear for a security job? Durable, Protective Footwear for Long Shifts