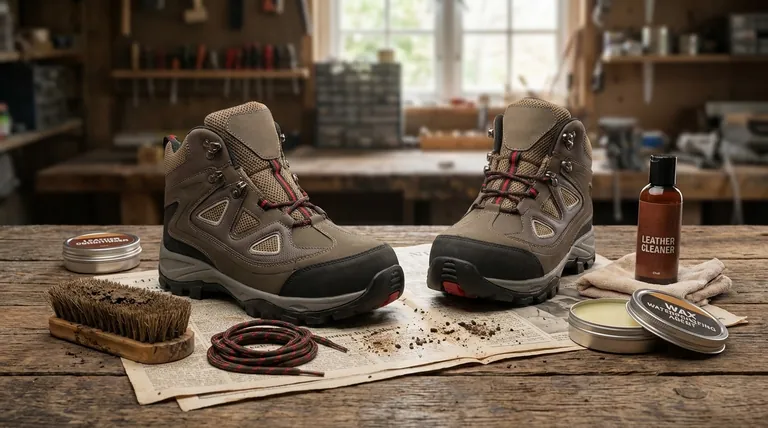
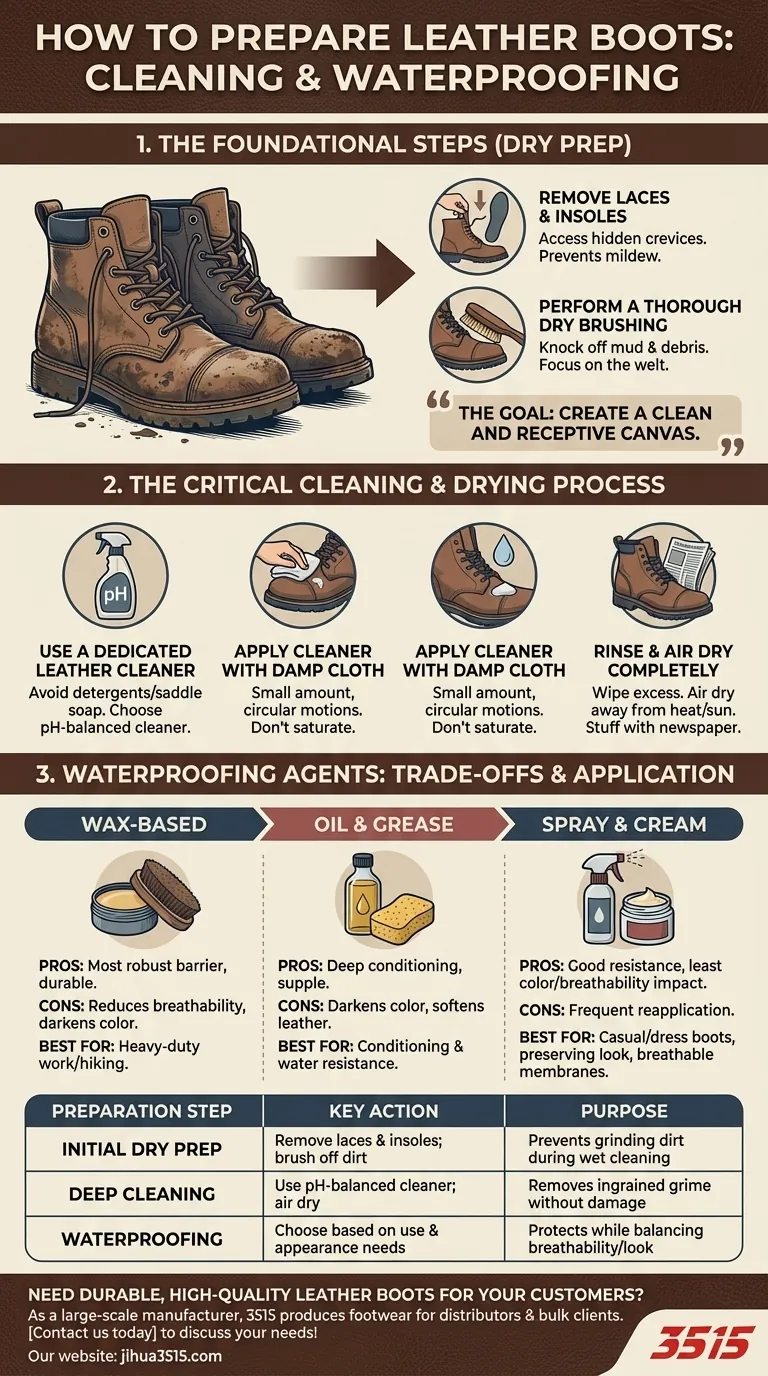
Properly preparing your leather boots for cleaning and waterproofing involves two simple but critical first steps: removing the laces and insoles, and then thoroughly brushing away all loose dirt and mud from the surface. This initial dry clean ensures that subsequent cleaning and conditioning treatments can penetrate the leather effectively.
The goal of preparation is not just to remove surface grime, but to create a clean and receptive canvas. Skipping these foundational steps will trap dirt under your waterproofing treatment, compromising both the leather's health and its ability to repel water.
The Foundational Steps of Boot Preparation
Before any water or cleaner touches your boots, a thorough dry preparation is essential. This phase prevents you from turning surface dust into a muddy paste that can grind into the leather.
Remove Laces and Insoles
Taking out the laces gives you unrestricted access to the boot's tongue and all the hidden crevices around the eyelets where dirt accumulates. Removing the insoles allows the boot's interior to dry completely after cleaning, preventing mildew.
Perform a Thorough Dry Brushing
Using a stiff-bristled boot brush, vigorously knock off all caked-on mud and loose debris. Pay special attention to the welt—the seam where the boot upper connects to the sole—as this is a prime spot for dirt to get trapped.
The Critical Cleaning and Drying Process
Once the loose dirt is gone, you can proceed with a deeper, wet cleaning. This step removes the ingrained oils, stains, and fine particles that a dry brush can't.
Use a Dedicated Leather Cleaner
Avoid household detergents or saddle soap, which can be too harsh and strip the leather of its essential natural oils. A pH-balanced cleaner designed specifically for footwear is the correct choice.
Apply Cleaner with a Damp Cloth
Apply a small amount of cleaner to a damp cloth or soft brush. Work the cleaner into the leather using small, circular motions. Don't saturate the boot; you want to lift the dirt out, not waterlog the material.
Rinse and Air Dry Completely
Wipe away any excess cleaner and suds with a clean, damp cloth. Then, allow the boots to air dry completely at room temperature, away from direct sunlight or heat sources like radiators. Stuffing them with newspaper can help absorb moisture and maintain their shape.
Understanding the Trade-offs: Waterproofing Agents
With the boots clean and dry, they are now perfectly prepared for a waterproofing treatment. The type you choose depends on a balance between maximum water resistance, breathability, and the final appearance of the leather.
Wax-Based Treatments
Waxes provide the most robust and durable waterproof barrier. They are excellent for heavy-duty work or hiking boots. However, they can significantly reduce the leather's breathability and may slightly darken its color.
Oil and Grease Conditioners
Products like mink oil or neatsfoot oil deeply condition the leather while offering excellent water resistance. They keep the leather supple and prevent cracking but will almost always darken the material and can soften it over time.
Spray and Cream Treatments
Silicone or polymer-based sprays and creams offer good water resistance while having the least impact on the leather's color and breathability. They are ideal for casual or dress boots where preserving the original appearance is a priority, but they may require more frequent reapplication than waxes or oils.
Applying This to Your Boots
Your choice of treatment should align directly with your boot's purpose and the material it's made from.
- If your primary focus is maximum durability for work or hiking boots: A heavy wax or oil-based treatment is your best choice for ultimate water repellency.
- If your primary focus is preserving the look of casual or fashion boots: A light conditioning cream or a modern spray-on proofer will provide protection without altering the color.
- If your primary focus is maintaining breathability for high-exertion activities: Opt for a modern, synthetic spray-on treatment designed to work with waterproof-breathable membranes.
Ultimately, proper preparation is the non-negotiable first step in extending the life and performance of your leather footwear.
Summary Table:
| Preparation Step | Key Action | Purpose |
|---|---|---|
| Initial Dry Prep | Remove laces & insoles; brush off loose dirt | Prevents grinding dirt into leather during wet cleaning |
| Deep Cleaning | Use pH-balanced leather cleaner; air dry completely | Removes ingrained grime without damaging the leather |
| Waterproofing | Choose wax, oil, or spray based on boot use & appearance needs | Protects against water while balancing breathability and look |
Need durable, high-quality leather boots for your customers? As a large-scale manufacturer, 3515 produces a comprehensive range of footwear for distributors, brand owners, and bulk clients. Our production capabilities encompass all types of shoes and boots, ensuring you receive reliable products built to last. Contact us today to discuss your footwear needs and leverage our expertise in quality manufacturing!
Visual Guide
Related Products
- Wholesale Leather Work Boots with Customizable Wedge Sole for Brands
- Durable Leather Work Boots for Wholesale & Custom OEM Manufacturing
- Durable Leather Work Boots for Wholesale & Custom Manufacturing
- Durable Leather Work Boots Wholesale Manufacturer & Custom Factory
- Durable Goodyear Welt Leather Work Boots for Wholesale & Private Label
People Also Ask
- How should leather work boot laces be tied for optimal care? Preserve Your Boots and Enhance Comfort
- What is the complete process for deep cleaning leather work boots? A Step-by-Step Guide to Preserve Your Investment
- What are the basic steps to clean leather work boots? A 4-Step Guide to Preserve Your Investment
- What are the advantages of leather uppers in work boots? Unmatched Durability & Protection
- What are the advantages of leather as an upper material for work boots? Unmatched Durability & Custom Comfort