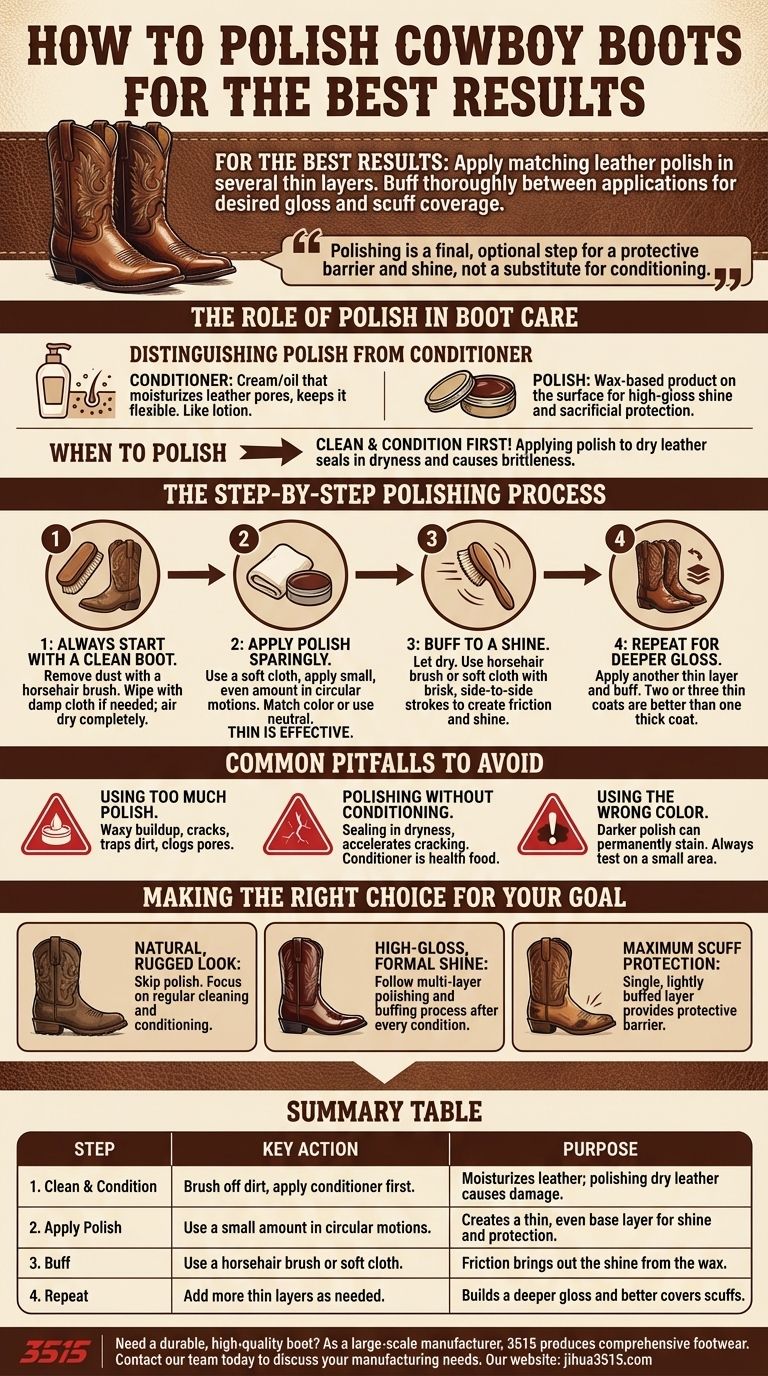
For the best results, polishing cowboy boots involves applying a matching leather polish in several thin layers. You must buff the boot thoroughly with a soft cloth or horsehair brush between each application until you achieve the desired level of gloss and have covered any minor scuffs.
Polishing is not just about shine; it's the final, optional step in leather care that provides a protective barrier over a properly conditioned boot. The real goal is to create a finish without compromising the leather's health.
The Role of Polish in Boot Care
To use polish correctly, you must first understand its specific purpose. Many people confuse it with conditioner, but they serve two very different functions.
Distinguishing Polish from Conditioner
Leather conditioner is a cream or oil that penetrates the leather's pores to moisturize and nourish it. Think of it as lotion for the leather, keeping it flexible and preventing it from drying out and cracking.
Leather polish, on the other hand, is typically a wax-based product. It sits on the surface of the leather to create a high-gloss shine and add a sacrificial layer of protection against scuffs and water.
When to Polish Your Boots
Polishing is entirely optional and depends on the look you want. It is not a substitute for the essential steps of cleaning and conditioning.
You should only polish your boots after they have been thoroughly cleaned and conditioned. Applying polish to dry, unconditioned leather can seal in the dryness, making the material brittle over time.
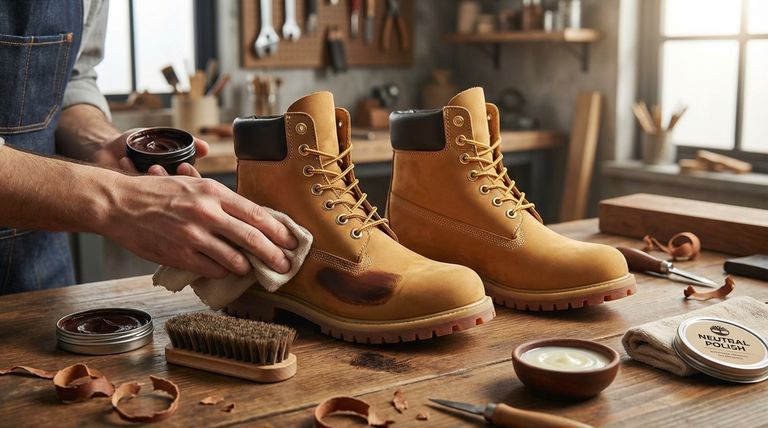
The Step-by-Step Polishing Process
A patient, methodical approach is key to achieving a professional finish. Rushing the process or applying too much product will yield poor results.
Step 1: Always Start with a Clean Boot
Before you even think about polishing, your boots must be clean and dry. Use a horsehair brush to remove all surface dust and dirt. If necessary, wipe them down with a slightly damp cloth and allow them to air dry completely.
Step 2: Apply the Polish Sparingly
Using a soft, clean cloth (like an old t-shirt), apply a small, even amount of polish to the boot using small, circular motions. A thin coat is far more effective than a thick one.
Ensure the polish color matches your boot leather to avoid discoloration. When in doubt, a neutral polish is a safe choice.
Step 3: Buff to a Shine
Let the polish dry for a few minutes. Then, using a clean horsehair brush or another clean, soft cloth, buff the entire boot with quick, brisk side-to-side strokes. This action creates friction and heat, which brings out the shine from the wax.
Step 4: Repeat for a Deeper Gloss
For a higher shine or to better cover scuffs, apply another very thin layer of polish and repeat the buffing process. Two or three thin coats will always look better and last longer than one thick, heavy coat.
Common Pitfalls to Avoid
Applying polish incorrectly can do more harm than good. Understanding the common mistakes is crucial for protecting your investment.
Using Too Much Polish
Applying a thick layer of polish creates a waxy buildup. This can crack, flake off, and trap dirt, making your boots look worse. It also clogs the leather's pores, preventing it from breathing.
Polishing Without Conditioning First
Conditioner is the health food; polish is the finishing coat of paint. If you polish a boot that is dry and thirsty, you are simply sealing in the problem, which can accelerate cracking.
Using the Wrong Color
Using a polish that is darker than your boot can permanently stain the leather. Always test a new polish on a small, inconspicuous area first.
Making the Right Choice for Your Goal
Your approach to polishing should be dictated by the finish you want to achieve.
- If your primary focus is a natural, rugged look: You can skip polishing entirely and focus only on regular cleaning and conditioning.
- If your primary focus is a high-gloss, formal shine: Follow the multi-layer polishing and buffing process after every time you condition your boots.
- If your primary focus is maximum scuff protection: A single, lightly buffed layer of polish provides an excellent protective barrier without creating an overly glossy finish.
Ultimately, proper polishing is the finishing touch that protects your investment and defines your boot's unique character.
Summary Table:
| Step | Key Action | Purpose |
|---|---|---|
| 1. Clean & Condition | Brush off dirt, apply conditioner first. | Moisturizes leather; polishing dry leather causes damage. |
| 2. Apply Polish | Use a small amount in circular motions. | Creates a thin, even base layer for shine and protection. |
| 3. Buff | Use a horsehair brush or soft cloth. | Friction brings out the shine from the wax. |
| 4. Repeat | Add more thin layers as needed. | Builds a deeper gloss and better covers scuffs. |
Need a durable, high-quality boot that's worth the care? As a large-scale manufacturer, 3515 produces a comprehensive range of footwear for distributors, brand owners, and bulk clients. Our production capabilities encompass all types of durable leather boots built to last. Let us help you build a premium footwear collection. Contact our team today to discuss your manufacturing needs.
Visual Guide
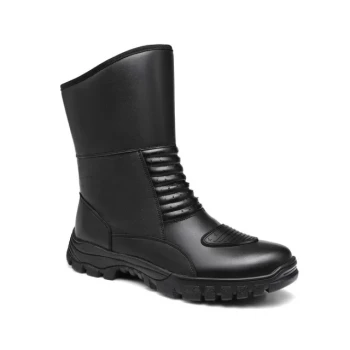
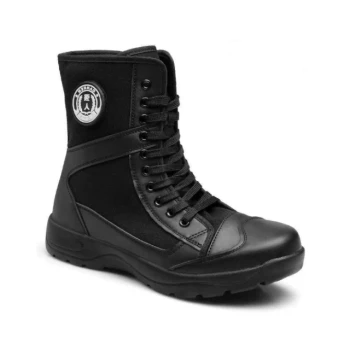
Related Products
- High-Traction Suede Tactical Boots Wholesale & Custom Manufacturing
- Wholesale High-Traction Camo Boots - Custom Manufacturer for Brands
- Wholesale Lightweight Tactical Boots Custom Manufacturer for Desert & Combat Use
- Durable Leather Tactical Boots Wholesale & Custom Manufacturing for Brands
- Wholesale Durable Mid-Cut Tactical Boots for Custom & Private Label Brands
People Also Ask
- How do military uniforms and tactical boots impact the prediction of thermal risk? Essential Safety Insights
- Why is sequential analysis utilized to evaluate tactical boots? Master Dynamic Boot Development and Ergonomic Performance
- What specialized protections do tactical boots offer? Maximize Endurance with High-Performance Footwear
- Can tactical boots be stylish for everyday wear? Yes, with the right styling and features.
- What are the primary benefits of wearing tactical boots for everyday use? Get All-Day Comfort & Durability