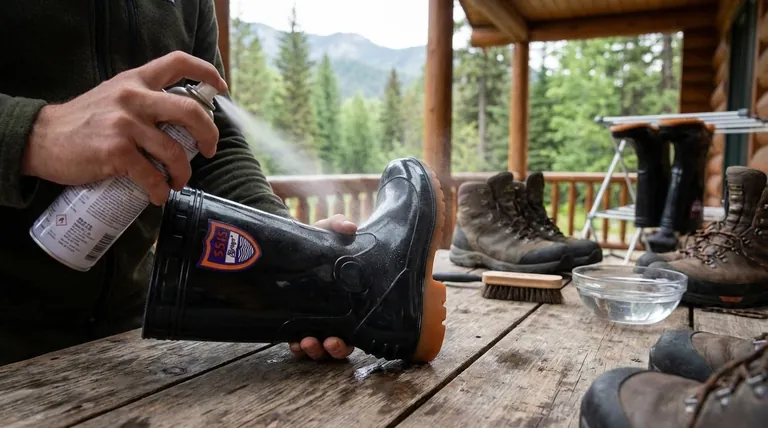
To properly apply waterproofing spray, you should hold the can approximately 6 inches from your boots and apply several thin, even coats. Pay meticulous attention to covering every seam, crease, and the area around hardware like eyelets and hooks, as these are the most common points for leaks to develop.
The act of spraying is just one step in a critical maintenance process. True, effective waterproofing depends on a disciplined cycle of cleaning your boots thoroughly before application and allowing them to dry completely afterward.
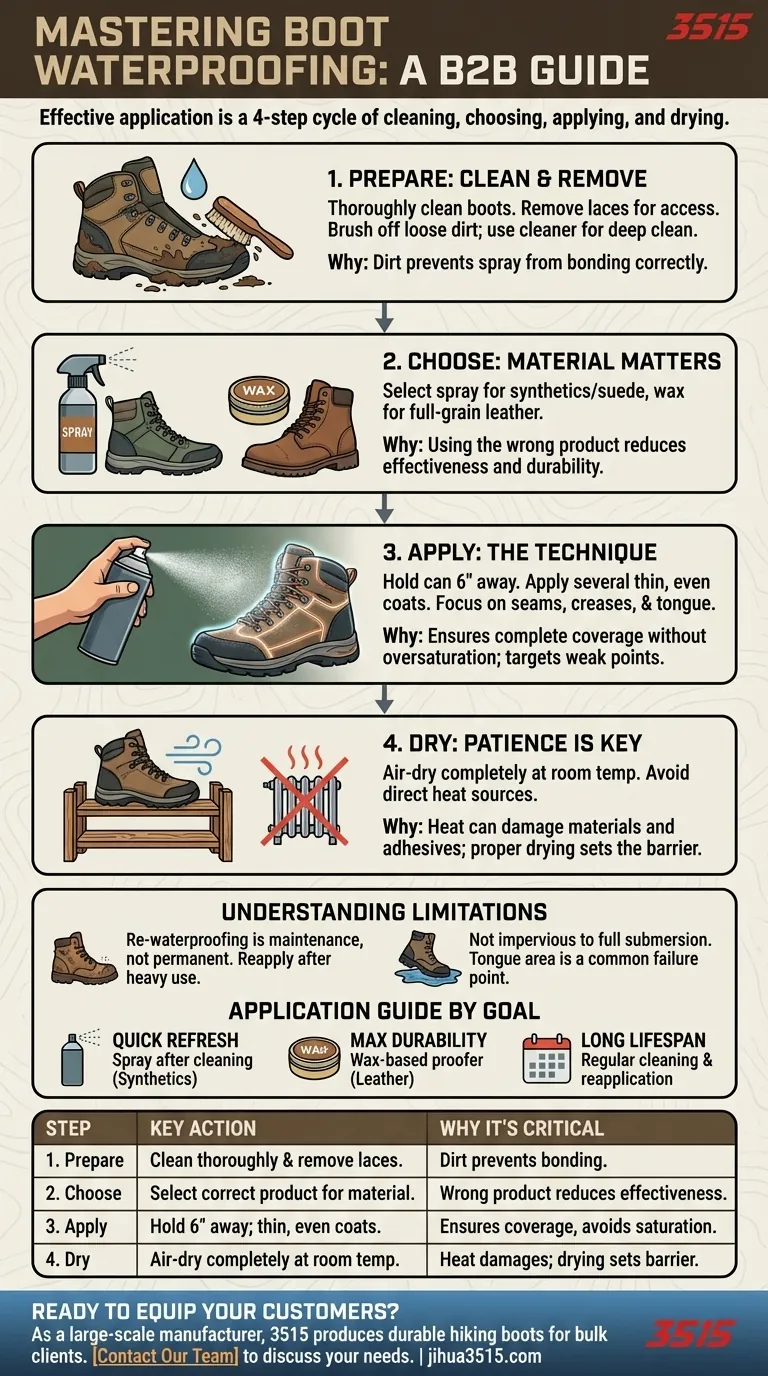
The Essential 4-Step Waterproofing Process
Proper waterproofing is not a single action but a sequence. Skipping the preparation phase is the most common reason for treatment failure, as sprays cannot bond correctly to a dirty or dusty surface.
Step 1: Prepare Your Boots for Treatment
Before you even pick up the spray can, your boots must be clean. Applying a treatment over dirt and grime traps moisture and debris against the boot material, which can accelerate wear and prevent the proofer from adhering.
First, remove the laces to ensure you can access the entire tongue and all hidden areas.
Next, use a soft brush to gently remove all loose dust, mud, and dirt from the surface and out of the seams.
For a deeper clean, use running water and a dedicated boot cleaner. This ensures that pores in the material are clear and ready to accept the waterproofing treatment.
Step 2: Choose the Appropriate Treatment
Waterproofing sprays are excellent for most modern hiking boots, especially those made of synthetic fabrics, suede, or nubuck.
For heavy, full-grain leather boots, a wax-based treatment may be more suitable. These waxes offer deep conditioning and an extremely durable water barrier but require more effort to apply by working the wax into the leather with a cloth.
Step 3: Apply the Waterproofing Spray
With your clean boots ready, the application itself is straightforward.
Hold the spray can about 6 inches away from the boot's surface to ensure an even mist rather than a concentrated stream.
Apply the treatment in several light coats, allowing a few moments between each. This helps the material absorb the proofer more effectively.
Concentrate your efforts on the seams and the tongue junction, as these high-stress areas are where factory waterproofing often fails first.
Step 4: Allow for Proper Drying
Patience is critical. After applying the final coat, you must let your boots dry completely before wearing them on the trail.
Air-drying at room temperature, away from direct heat sources, is the safest method. Applying heat can damage adhesives and warp certain boot materials.
Understanding the Limitations
Even with perfect application, it's crucial to have realistic expectations. Re-waterproofing is a maintenance task, not a permanent solution.
Why Re-Waterproofing is Necessary
The original water-repellent finish on any boot degrades over time. This wear is concentrated in high-flex areas, such as the forefoot where your boot creases with every step.
Regular cleaning and exposure to harsh conditions will also wear down the protective barrier, making reapplication essential for maintaining performance.
No Boot is Infinitely Waterproof
Waterproofing treatments restore water resistance, but they cannot make a boot impervious to being fully submerged.
The tongue area, in particular, can be a point of failure. While your treatment helps, the boot's design will always dictate how deep a puddle you can step in before water gets in over the top.
How to Apply This to Your Boots
Your boot's material and your goals for its long-term care should guide your maintenance routine.
- If your primary focus is a quick refresh for fabric or synthetic boots: A quality spray-on treatment after a thorough cleaning is the most efficient method.
- If your primary focus is maximum durability for full-grain leather: A wax-based proofer provides a more robust barrier and conditions the leather simultaneously.
- If your primary focus is extending the total lifespan of your boots: Make regular cleaning a habit and reapply your chosen waterproofing treatment after any deep clean or particularly wet hike.
Consistently caring for your boots this way ensures your gear is always ready and protects your investment for countless miles ahead.
Summary Table:
| Step | Key Action | Why It's Critical |
|---|---|---|
| 1. Prepare | Clean boots thoroughly & remove laces. | Dirt prevents spray from bonding correctly. |
| 2. Choose | Select spray for synthetics/suede or wax for leather. | Using the wrong product reduces effectiveness. |
| 3. Apply | Hold can 6" away; use thin, even coats on seams. | Ensures complete coverage without oversaturation. |
| 4. Dry | Air-dry completely at room temperature. | Heat can damage materials; proper drying sets the barrier. |
Ready to equip your customers with high-performance footwear?
As a large-scale manufacturer, 3515 produces a comprehensive range of durable, weather-ready hiking boots for distributors, brand owners, and bulk clients. Our production capabilities encompass all types of shoes and boots, ensuring you receive reliable products built to last.
Contact our team today to discuss your footwear needs and discover how we can support your business with quality manufacturing.
Visual Guide
Related Products
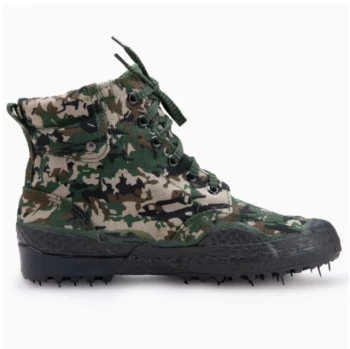
- Wholesale High-Traction Camo Boots - Custom Manufacturer for Brands
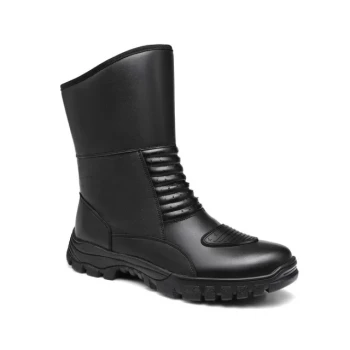
- Durable Rubber Sole Outdoor Shoes Wholesale & Custom Manufacturing
- Durable Spiked Camouflage Boots Wholesale & Factory Production
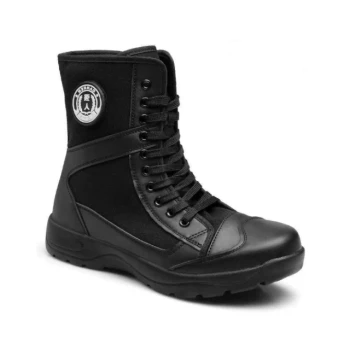
- Wholesale Lightweight Tactical Boots Custom Manufacturer for Desert & Combat Use
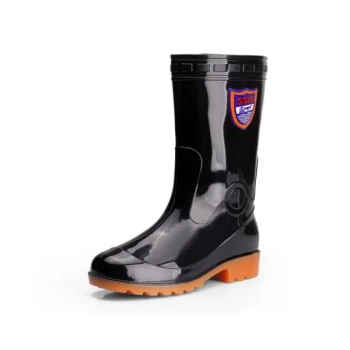
- Wholesale Waterproof Tactical Boots Custom Suede & High-Traction Soles
People Also Ask
- Why is traction an essential feature in work boots? Prevent Slips and Ensure Workplace Safety
- How does the Rank Score Test identify the primary causes of premature failure in tactical and work boots? Key Insights
- What should be considered when using the lace length chart for hiking and work boots? A Safety Guide
- What makes wide CAM boots different from standard CAM boots? A Guide to Choosing the Right Fit for Healing
- What shoes to wear for a security job? Durable, Protective Footwear for Long Shifts