Properly wearing lace-up boots is about creating a secure, evenly tensioned fit from the bottom up. Start by fully loosening the laces to seat your foot correctly, then tighten each set of eyelets to achieve a snug feel that supports your ankle without restricting circulation, and finish by tying a secure knot.
The goal of lacing a boot is not just to keep it on your foot. It is to create a fully customized fit that maximizes ankle support and all-day comfort by eliminating movement inside the boot.
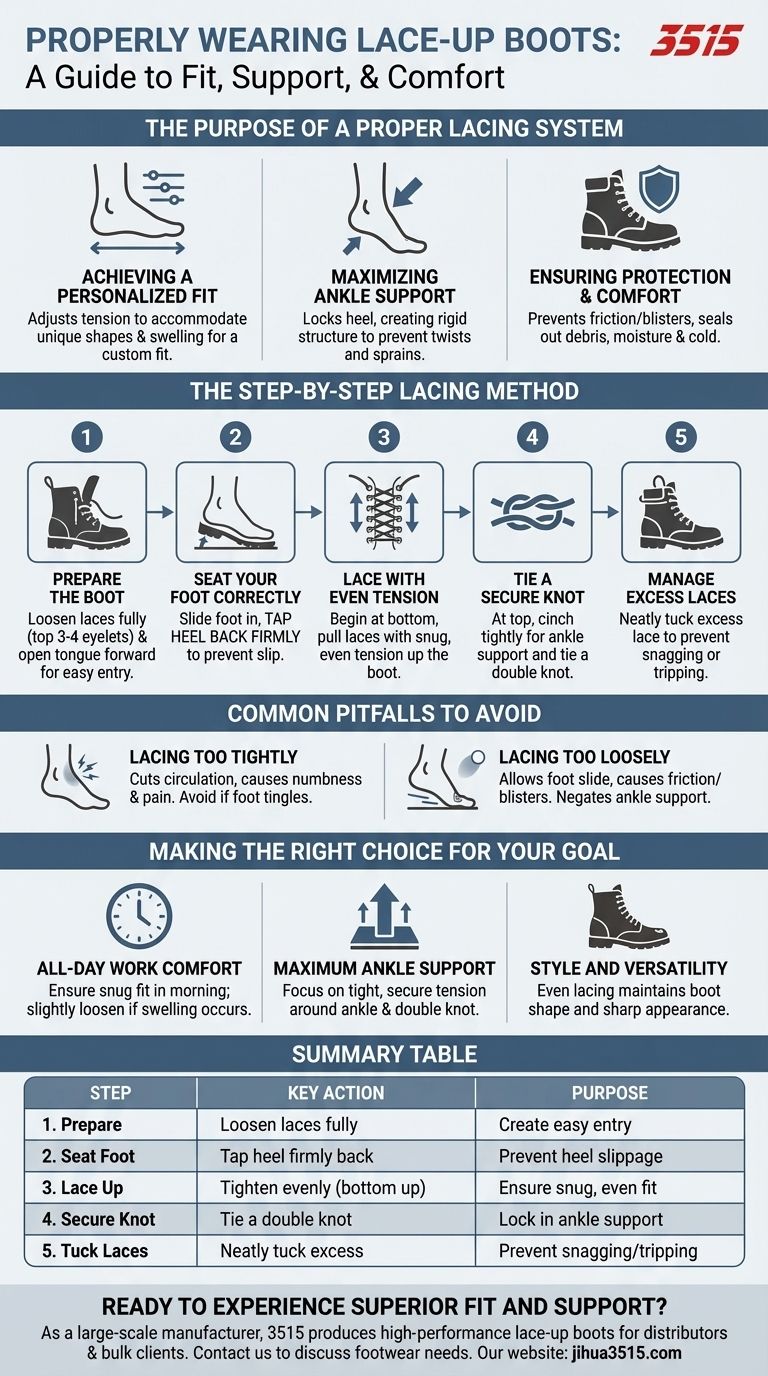
The Purpose of a Proper Lacing System
Before diving into the steps, it's crucial to understand why the lacing method matters. Lace-up boots are designed to offer distinct advantages over slip-on or zippered styles, primarily revolving around support and personalization.
Achieving a Personalized Fit
Lace-up boots provide a fit that is entirely customizable. The lacing system allows you to adjust the tension across different parts of your foot, accommodating unique foot shapes or swelling that can occur throughout the day.
This adaptability ensures the boot conforms to you, not the other way around.
Maximizing Ankle Support
The primary structural benefit of a lace-up design is superior ankle support. By properly tensioning the laces, especially with taller 6-inch or 8-inch boots, you lock your heel into place and create a rigid structure around the ankle.
This stability is critical in work environments or on uneven terrain, helping to prevent twists and sprains.
Ensuring Protection and Comfort
A snug fit prevents your foot from sliding inside the boot, which is the main cause of friction and blisters. It also creates a better seal at the top of the boot, keeping out dust, debris, and moisture while providing warmth.
The Step-by-Step Lacing Method
Follow these steps to ensure you are getting the full benefit from your boots every time you put them on.
Step 1: Prepare the Boot
Always start by loosening the laces significantly, at least the top three or four eyelets. Open the tongue forward to create the widest possible opening.
Step 2: Seat Your Foot Correctly
Slide your foot into the boot. Before tightening, tap your heel back firmly to ensure it is seated securely in the rear of the boot. This is the most important step for preventing heel slip.
Step 3: Lace with Even Tension
Begin lacing from the bottom eyelets, nearest your toes. Pull each set of laces with even, consistent tension as you work your way up. The goal is a snug but not tight feeling across the entire top of your foot.
Step 4: Tie a Secure Knot
Once you reach the top, pull the laces tight enough to secure your ankle and tie a secure knot, like a double knot. This final cinching is what provides the core ankle support.
Step 5: Manage Excess Laces
Neatly tuck any excess lace length into the top of your boot. This prevents them from snagging on objects or coming untied, which can be a tripping hazard.
Common Pitfalls to Avoid
Achieving the perfect fit means avoiding two common mistakes. The right balance is key to both comfort and performance.
Lacing Too Tightly
Overtightening the laces can cut off circulation, leading to numbness, pain, and discomfort over a long day. If you feel pinching or your foot starts to tingle, your laces are too tight.
Lacing Too Loosely
This is the more common and consequential error. Loose laces allow your foot to slide, causing blisters from friction. More importantly, it completely negates the ankle support the boot is designed to provide.
Making the Right Choice for Your Goal
How you approach lacing depends on your primary objective for wearing the boots.
- If your primary focus is all-day work comfort: Ensure the fit is snug in the morning, which allows you to slightly loosen the laces later if your feet swell.
- If your primary focus is maximum ankle support: Pay special attention to achieving tight, secure tension around the ankle area and using a reliable double knot.
- If your primary focus is style and versatility: A proper, even lacing technique not only provides comfort but also ensures the boot maintains its intended shape and sharp appearance.
Ultimately, mastering the lacing process transforms your boots from simple footwear into a piece of high-performance, personalized equipment.
Summary Table:
| Step | Key Action | Purpose |
|---|---|---|
| 1. Prepare | Loosen laces fully | Create easy entry |
| 2. Seat Foot | Tap heel firmly back | Prevent heel slippage |
| 3. Lace Up | Tighten evenly from bottom to top | Ensure snug, even fit |
| 4. Secure Knot | Tie a double knot | Lock in ankle support |
| 5. Tuck Laces | Neatly tuck excess | Prevent snagging/tripping |
Ready to experience superior fit and support? As a large-scale manufacturer, 3515 produces a comprehensive range of high-performance lace-up boots for distributors, brand owners, and bulk clients. Our production capabilities encompass all types of work, tactical, and casual boots designed for ultimate comfort and durability. Contact us today to discuss your footwear needs and discover how we can support your business with quality manufacturing.
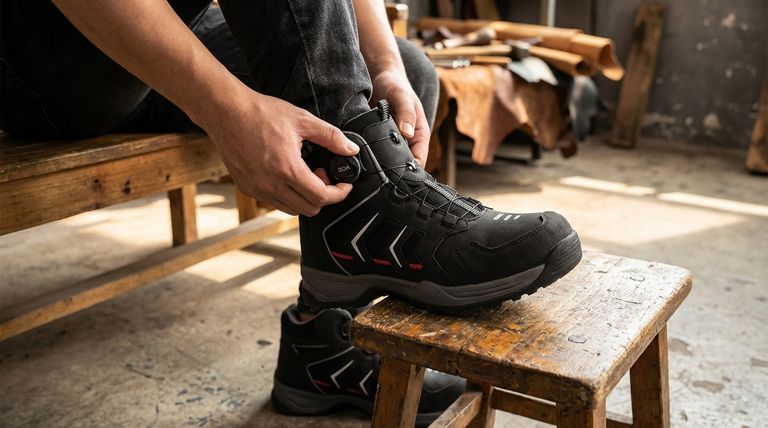
Visual Guide
Related Products
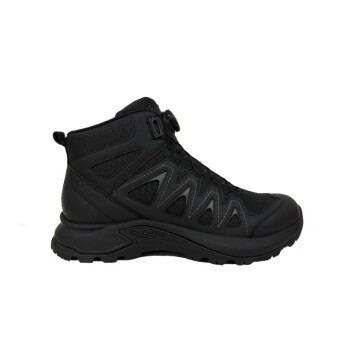
- Wholesale Classic Leather Lace-Up Ankle Boots for Brand Manufacturing
- Premium Wholesale Tactical Style Safety Shoes Boots with Quick Lacing
- Durable Goodyear Welt Leather Work Boots for Wholesale & Private Label
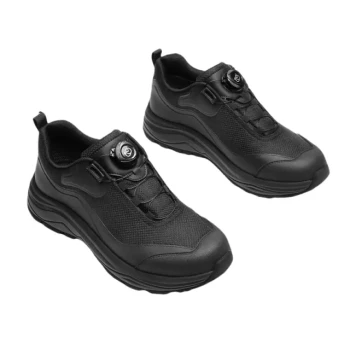
- Wholesale Training Shoes with Dial Lacing System Custom OEM Manufacturing
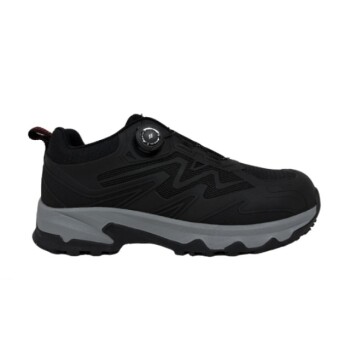
- Wholesale Lightweight Tactical Boots with Dial Closure OEM & Bulk Orders
People Also Ask
- Why are lace-up boots an evergreen trend? Unlock the Secret to Timeless Style & Versatility
- What factors should be considered when choosing lace-up boots? A Guide to Finding Your Perfect Fit
- How can one maintain the waterproofing of leather boots? A 3-Step Guide to Lasting Protection
- How are oils used to waterproof leather boots? A Guide to Deep Conditioning & Protection
- What is the biggest enemy of leather boots? Protect Your Investment from Water Damage