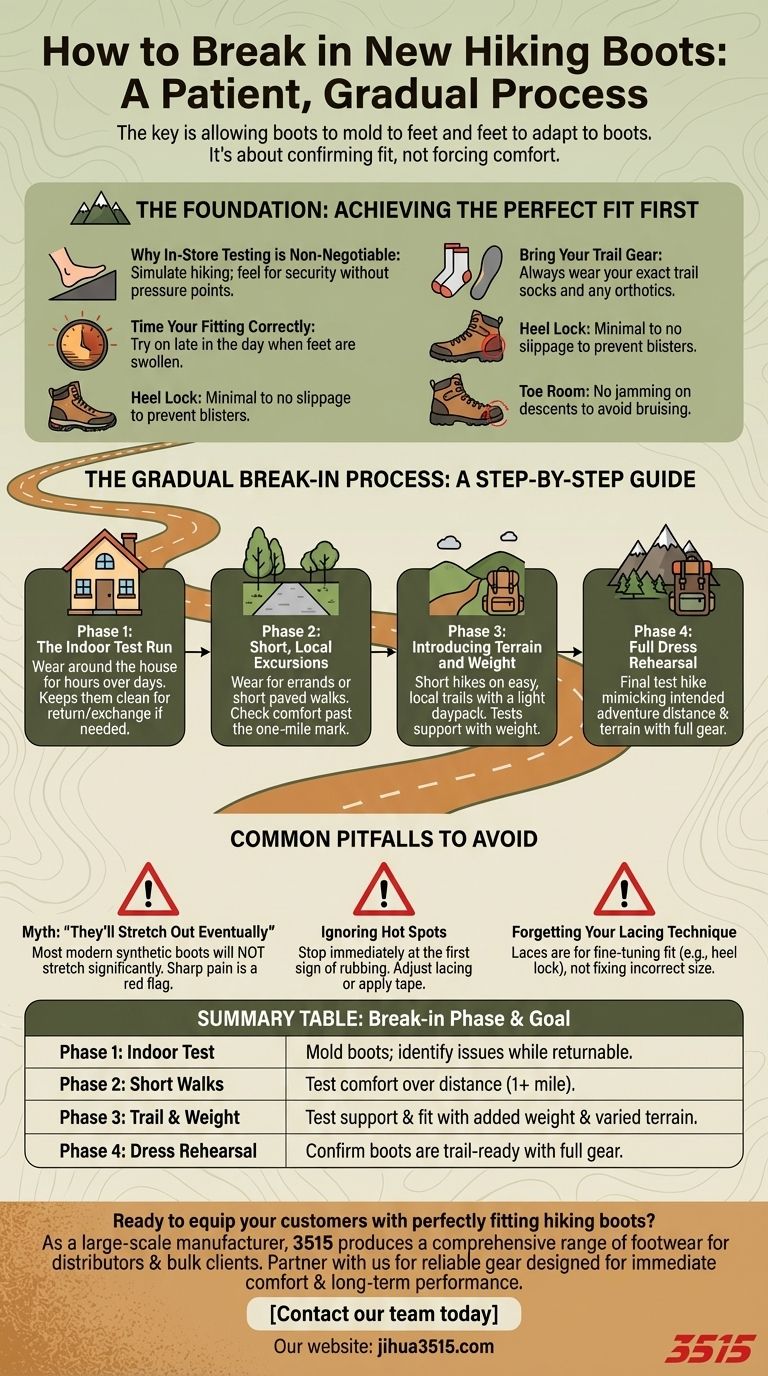
The key to breaking in new hiking boots is a patient, gradual process that allows the boots to mold to your feet and your feet to adapt to the boots. This involves wearing them for short periods around your home first, then progressing to short walks, and finally to longer hikes with varied terrain and a weighted pack.
The purpose of "breaking in" is not to force a poorly fitting boot to become comfortable, but rather to confirm and finalize the fit of a boot that was chosen correctly from the start. The most critical work happens before you even leave the store.

The Foundation: Achieving the Perfect Fit First
Before you can break in a boot, you must select the right one. A break-in period can't fix fundamental fit problems. Pain or significant discomfort are red flags, not hurdles to overcome.
Why In-Store Testing is Non-Negotiable
You need to simulate hiking conditions as much as possible. Walk around the store, find an incline ramp or stairs, and feel how your foot behaves. A good fit feels secure and supportive without any sharp pressure points.
Time Your Fitting Correctly
Try on boots late in the afternoon or evening. Your feet naturally swell throughout the day, and this will give you the most accurate measurement for how they'll feel after a few hours on the trail.
Bring Your Trail Gear
Always try on new boots with the exact socks you plan to hike in. If you use custom orthotics or specialized insoles, bring those as well, as they significantly impact the boot's volume and fit.
The Two Critical Fit Checks
The two most common sources of pain are a sliding heel and cramped toes.
- Heel Lock: Lace the boots snugly (but not tight enough to cut off circulation). Your heel should feel "locked in" with minimal to no slippage as you walk and flex your foot. Excessive heel lift is a primary cause of blisters.
- Toe Room: On a decline or ramp, your toes should not jam into the front of the boot. You should have enough space to wiggle your toes freely. This prevents bruised toes and discomfort on long descents.
The Gradual Break-in Process: A Step-by-Step Guide
Once you've confirmed an excellent initial fit, the methodical break-in process begins. The goal is to slowly increase duration, distance, and difficulty.
Phase 1: The Indoor Test Run
Wear your new boots around the house for a few hours at a time over several days. This allows the heat from your feet to begin molding the boot's materials. Crucially, keeping them clean indoors means you can still return or exchange them if you discover a persistent hot spot or pressure point.
Phase 2: Short, Local Excursions
Once they feel good indoors, wear them for errands or short walks around your neighborhood. Paved surfaces are a good initial test. Pay close attention to how your feet feel as you pass the one-mile mark.
Phase 3: Introducing Terrain and Weight
Graduate to short hikes on easy, local trails. Now is the time to introduce a light daypack. The added weight changes your posture and the forces on your feet, making this a critical test of the boot's support and fit.
Phase 4: Full Dress Rehearsal
Before committing to a major trek, do a final test hike that mimics the distance and terrain of your intended adventure. Wear the socks, pack, and weight you plan to carry. This is your final confirmation that the boots are trail-ready.
Common Pitfalls to Avoid
Trust and objectivity are key when evaluating a new pair of boots. Ignoring warning signs can lead to a miserable experience on the trail.
Myth: "They'll Stretch Out Eventually"
While full-grain leather boots have a small amount of give, most modern hiking boots made with synthetic materials will not stretch significantly. Sharp pain or intense pressure points are signs of a poor fit, not something to be endured.
Ignoring Hot Spots
A "hot spot" is a mild burning or rubbing sensation that is the first sign of a developing blister. When you feel one, stop immediately. Adjust your lacing, check your socks for bunching, or apply moleskin or athletic tape. Pushing through it is a guarantee of pain later.
Forgetting Your Lacing Technique
Your laces are a tool for adjusting fit. A "heel lock" lacing technique can help secure a slipping heel, while skipping an eyelet can relieve pressure on the top of your foot. However, remember that lacing is for fine-tuning, not for fixing a fundamentally incorrect size or shape.
Making the Right Choice for Your Goal
Apply this process based on the type of hiking you do and the boots you've chosen.
- If your primary focus is day hiking on established trails: Lighter, synthetic boots require a less intensive break-in, but the initial in-store fit check is just as critical.
- If your primary focus is multi-day backpacking with a heavy pack: Stiffer, more robust boots demand a longer and more thorough break-in period, with an emphasis on testing them with a fully weighted pack.
- If your primary focus is resolving past issues with blisters: Prioritize the in-store fitting above all else, spending extra time on ramps and confirming a secure heel lock before you even make the purchase.
A methodical approach transforms your new boots from a purchase into a reliable partner for any trail.
Summary Table:
| Break-in Phase | Key Activity | Goal |
|---|---|---|
| Phase 1: Indoor Test | Wear boots around the house for a few hours. | Mold boots to your feet; identify issues while boots are still returnable. |
| Phase 2: Short Walks | Wear for errands or short walks on paved surfaces. | Test comfort over distance (e.g., 1+ mile). |
| Phase 3: Trail & Weight | Short, easy hikes with a light daypack. | Test support and fit with added weight and varied terrain. |
| Phase 4: Dress Rehearsal | A final hike mimicking your planned adventure. | Confirm boots are fully trail-ready with your full gear. |
Ready to equip your customers with perfectly fitting hiking boots?
As a large-scale manufacturer, 3515 produces a comprehensive range of durable and comfortable footwear for distributors, brand owners, and bulk clients. Our production capabilities encompass all types of hiking boots and shoes, designed to meet the demands of any trail.
Partner with us to provide your customers with reliable gear that requires a simple, effective break-in process for immediate comfort and long-term performance.
Contact our team today to discuss your footwear needs and explore our catalog.
Visual Guide
Related Products
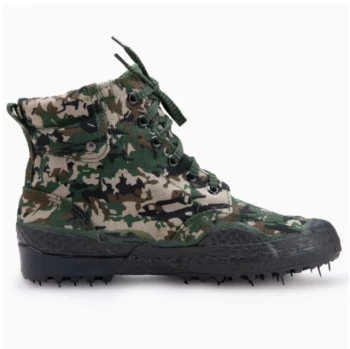
- Wholesale High-Traction Camo Boots - Custom Manufacturer for Brands
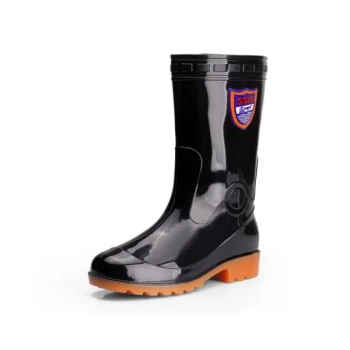
- Durable Rubber Sole Outdoor Shoes Wholesale & Custom Manufacturing
- Durable Spiked Camouflage Boots Wholesale & Factory Production
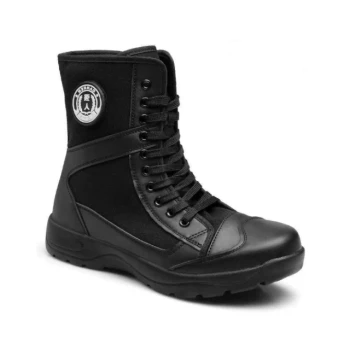
- Wholesale Lightweight Tactical Boots Custom Manufacturer for Desert & Combat Use
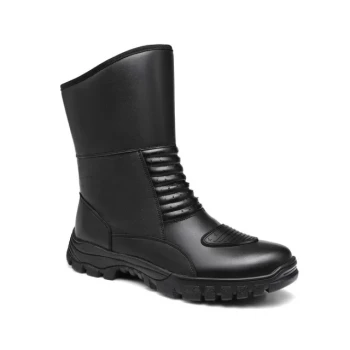
- Wholesale Waterproof Tactical Boots Custom Suede & High-Traction Soles
People Also Ask
- What are the advantages of custom-made work boots? Unlock Perfect Fit & Superior Durability
- What makes wide CAM boots different from standard CAM boots? A Guide to Choosing the Right Fit for Healing
- How does the Rank Score Test identify the primary causes of premature failure in tactical and work boots? Key Insights
- What is the technical logic behind using closed-eye testing for tactical boots? Unlocking Peak Footwear Stability
- Why is traction an essential feature in work boots? Prevent Slips and Ensure Workplace Safety