The single most critical factor in hiking comfort is not the boot, but the fit. To ensure you get it right, always try on boots at the end of the day when your feet are slightly swollen, wear the exact socks you plan to hike in, and perform two key tests: check that your heel is locked in place with minimal slippage, and confirm your toes have enough room to splay without hitting the end of the boot, especially on a decline.
A proper hiking boot fit is not about matching a standard shoe size. It is a precise balance of locking your heel firmly in place to prevent blisters while providing ample room in the toe box for your foot to expand and shift on uneven terrain.
The Principles of a Perfect Fit
Understanding why certain fitting steps are necessary is the key to avoiding trail-side pain and discomfort. The mechanics of a hiking boot fit are designed to accommodate the dynamic nature of your feet under stress.
Why Fit Overrides All Other Features
No amount of waterproofing, traction, or advanced material can compensate for a poor fit. An ill-fitting boot undermines its own function, leading to instability, blisters, and potential injury. Proper fit is the foundation for support, shock absorption, and long-term durability.
Your Foot is a Moving Target
Your feet are not static. They swell throughout the day and expand even more during a long hike due to heat and fluid retention. This is why trying on boots at the end of the day is a non-negotiable rule; it simulates the largest size your foot will be, preventing a fit that feels good in the store but becomes painfully tight on the trail.
The Two Critical Zones: Heel and Toes
Think of the fit in two separate parts. The back half of the boot, from the arch to the heel, should be snug and secure. The front half, the toe box, should be spacious. This combination prevents your foot from sliding forward on descents while allowing your toes to spread out naturally for balance.
The Four-Step Fitting Ritual
Follow these steps methodically in the store to diagnose the fit of any boot. This process moves beyond simply checking the size and tests the boot's performance under simulated conditions.
Step 1: Use Your Hiking Socks
The thickness of your hiking socks significantly alters the volume inside the boot. Always try on boots with the exact socks you will be wearing on your hikes. Trying them on with thin athletic or dress socks will give you a completely inaccurate feel for the fit.
Step 2: Test for Heel Lock
With the boot unlaced, slide your foot forward until your toes touch the front. You should be able to slide one finger (but not much more) between your heel and the back of the boot. Then, lace the boots up snugly and walk around. Pay close attention to your heel—a slight amount of lift is normal, but if it feels like it's slipping significantly with each step, it's a recipe for blisters.
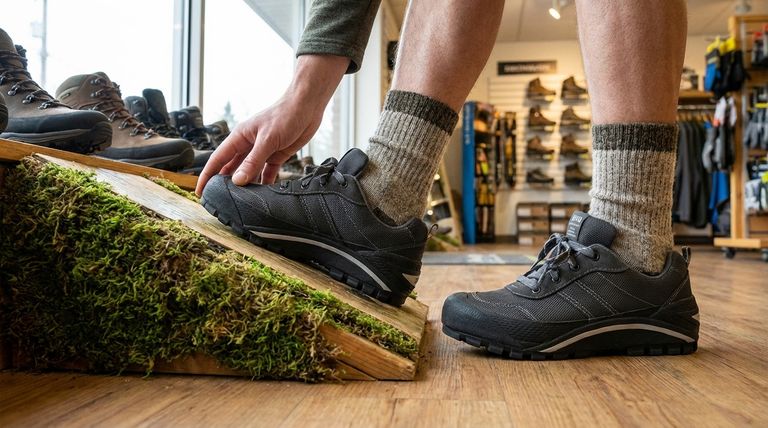
Step 3: Verify Toe Room
The most common fitting mistake is not leaving enough length. Your toes need space. Stand up and ensure you have about a thumb's width of space between your longest toe and the end of the boot. The best way to test this is to find a small ramp or incline and walk down it. If your toes jam into the front of the boot, you need more room.
Step 4: Ignore the Number
Brand sizing is notoriously inconsistent. Your size 10 in one brand might be a 10.5 or even 11 in another. Forget the number on the box and trust how the boot feels after performing these tests. A good fit is a feeling of security, not a number.
Understanding the Trade-offs and Customization
Even with the right size, you may need to fine-tune the fit. Experienced hikers often modify their boots to achieve the perfect feel.
Snug vs. Tight
A boot should feel snug, like a firm handshake around your midfoot and heel. It should not feel tight, which creates painful pressure points, cuts off circulation, and indicates the boot's shape is wrong for your foot.
The Power of Insoles
The stock insoles that come with most boots offer minimal support. Replacing them with an aftermarket insole (like Superfeet or similar brands) is the most effective way to customize the fit. Insoles can take up excess volume for narrow feet, provide necessary arch support, and improve overall stability.
"Breaking It In" Won't Fix a Bad Fit
While durable leather boots require a break-in period to soften and conform to your foot, this process cannot fix a fundamental fit issue. If a boot is too short, too narrow, or has major pressure points in the store, it will only get worse on the trail.
Making the Right Choice for Your Foot
Your goal dictates which aspect of the fit to prioritize. Use these guidelines to make a final decision.
- If your primary focus is preventing blisters: Prioritize a secure heel lock with minimal slippage above all else.
- If your primary focus is comfort on long descents: Ensure you have ample room in the toe box to prevent bruised toenails.
- If you have low-volume feet or need more support: Plan to replace the stock insoles with an aftermarket option to perfect the fit.
Ultimately, a well-fitted boot becomes an extension of your foot, giving you the confidence to tackle any terrain.
Summary Table:
| Key Fitting Step | What to Check For | Why It's Important |
|---|---|---|
| Use Hiking Socks | Wear the exact socks you'll hike in. | Ensures accurate volume and fit simulation. |
| Test Heel Lock | Minimal slippage when walking. | Prevents blisters and provides stability. |
| Verify Toe Room | A thumb's width of space at the front. | Prevents bruised toes on descents. |
| Ignore the Size Number | Focus on feel, not the number on the box. | Brand sizing varies; comfort is key. |
Ready to Equip Your Customers with Perfect-Fitting Footwear?
As a large-scale manufacturer, 3515 produces a comprehensive range of durable and comfortable hiking boots and footwear for distributors, brand owners, and bulk clients. Our production capabilities encompass all types of shoes and boots, ensuring you can offer your customers the quality and precise fit they demand.
Partner with us to provide footwear that guarantees comfort and performance on every trail.
Contact us today to discuss your manufacturing needs and how we can support your business.
Visual Guide

Related Products
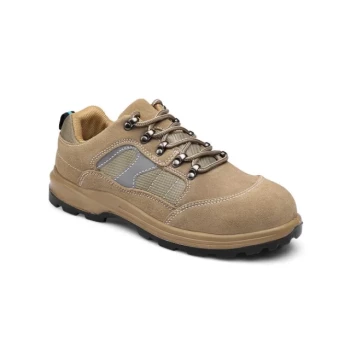
- Wholesale High-Traction Camo Boots - Custom Manufacturer for Brands
- Durable Rubber Sole Outdoor Shoes Wholesale & Custom Manufacturing
- Durable Spiked Camouflage Boots Wholesale & Factory Production
- Wholesale Lightweight Tactical Boots Custom Manufacturer for Desert & Combat Use
- Durable Goodyear Welt Leather Work Boots for Wholesale & Private Label
People Also Ask
- What makes wide CAM boots different from standard CAM boots? A Guide to Choosing the Right Fit for Healing
- Are camo boots necessary for hunting success? Prioritize Performance Over Pattern
- What shoes to wear for a security job? Durable, Protective Footwear for Long Shifts
- What are the key features of the new line of camo boots? Built for Extreme Cold & Rugged Terrain
- What is the technical logic behind using closed-eye testing for tactical boots? Unlocking Peak Footwear Stability