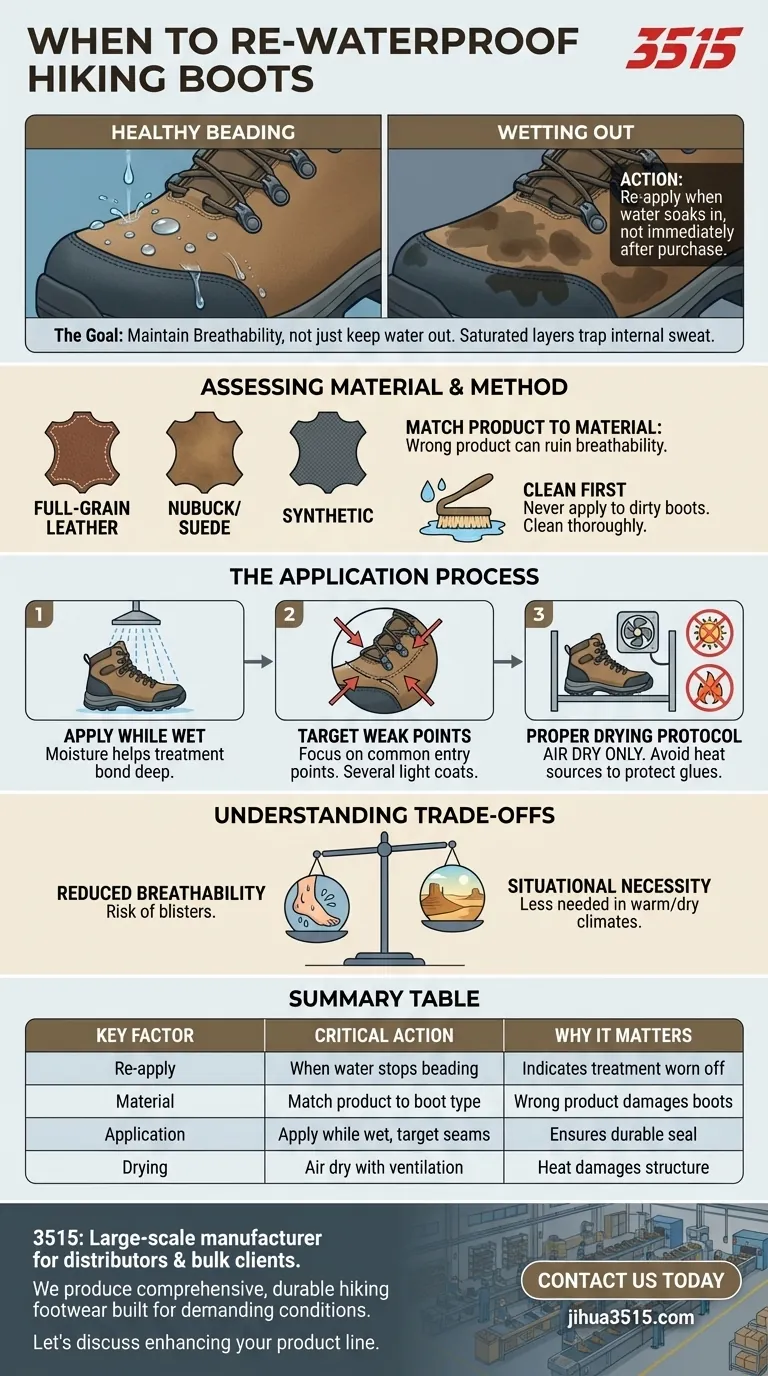
You should re-waterproof your hiking boots the moment water stops "beading" on the outer surface and begins to soak into the material, creating dark, wet patches. This phenomenon, known as "wetting out," indicates the factory treatment has worn off. Because most quality boots are pre-treated, you should avoid applying new waterproofing products immediately after purchase; wait until you visually confirm a decrease in water resistance.
The goal of re-waterproofing is not just to keep water out, but to maintain breathability. When a boot's outer layer gets saturated, it traps internal moisture (sweat), causing dampness from the inside out.
Assessing Your Material and Method
Before you begin, you must understand that "waterproofing" is not a universal process. It relies entirely on the specific construction of your footwear.
Match the Product to the Material
The first step is determining the material of your boots, such as full-grain leather, nubuck, suede, or a synthetic fabric/leather combination.
Each material requires a specific chemical formulation. Using a wax meant for full-grain leather on nubuck, for instance, can ruin the breathability and texture of the boot.
The Importance of Cleaning First
You must never apply waterproofing agents to dirty boots. Dirt particles attract water and can interfere with the bonding process of the treatment.
Thoroughly clean the boots to remove mud and grit before attempting to restore the water resistance.
The Application Process
Timing and technique are critical for the treatment to bond effectively with the boot fibers.
Apply While Wet
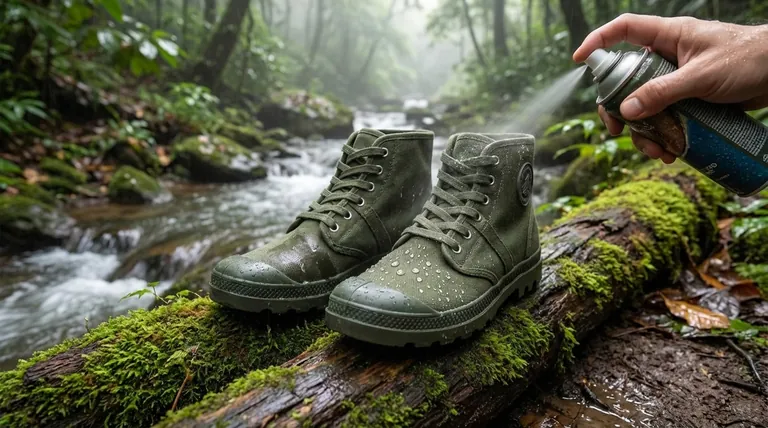
Contrary to common intuition, you should generally apply waterproofing treatments while the boots are still wet immediately after cleaning.
This moisture helps draw the waterproofing agents deep into the leather or fabric, ensuring a more durable seal.
Target the Weak Points
When using sprays, hold the bottle about 6 inches from the boot. Apply several coats rather than one heavy layer.
Focus heavily on seams, creases, and the area around hardware (eyelets and hooks). These are the most common entry points for water leaks.
Proper Drying Protocol
Drying is where many users accidentally damage their boots. Dry your boots in a place with good ventilation, stable temperatures, and low humidity.
Never use external heat sources like the sun, radiators, or campfires. High heat can deteriorate the adhesives holding the sole to the upper, destroying the boot structure. You may use a fan to speed up the process safely.
Understanding the Trade-offs
While keeping feet dry is essential, re-waterproofing is not without its downsides. It is a balance between protection and internal climate control.
Reduced Breathability
Heavy or frequent waterproofing can clog the pores of the material. This reduces the boot's ability to vent moisture, leading to increased foot sweat and potential blistering.
Situational Necessity
Waterproofing is not always the correct strategy for every environment. In warm, dry climates, a highly waterproofed boot may be less comfortable than a breathable, untreated one.
Making the Right Choice for Your Maintenance
Effective maintenance depends on your specific hiking environment and equipment goals.
- If your primary focus is Maximum Water Resistance: Re-apply treatment the instant you notice water soaking into the outer fabric rather than beading up.
- If your primary focus is Boot Longevity: Prioritize proper drying techniques and avoid heat sources to protect the structural glues.
- If your primary focus is Breathability: Use lighter treatments and ensure you are using a product specifically designed for your boot's membrane type (e.g., Gore-Tex compatible).
Regular observation of how your boots react to water is the single most reliable indicator for maintenance.
Summary Table:
| Key Maintenance Factor | Critical Action | Why It Matters |
|---|---|---|
| When to Re-apply | When water stops beading and soaks in ("wetting out") | Indicates the factory treatment has worn off |
| Material Consideration | Match waterproofing product to boot material (leather, nubuck, synthetic) | Wrong product can damage boots and reduce breathability |
| Application Method | Apply while boots are wet after cleaning; focus on seams and creases | Moisture helps draw treatment deep into fibers for a durable seal |
| Drying Process | Air dry with good ventilation; avoid heat sources like radiators or sun | Heat can damage structural adhesives and shorten boot lifespan |
Need durable, high-performance hiking boots for your customers?
As a large-scale manufacturer, 3515 produces a comprehensive range of footwear for distributors, brand owners, and bulk clients. Our production capabilities encompass all types of shoes and boots, including technical hiking footwear built to withstand demanding conditions.
We help you deliver reliable products that maintain their waterproofing and durability hike after hike. Let's discuss how our manufacturing expertise can enhance your product line.
Contact us today for a consultation!
Visual Guide
Related Products
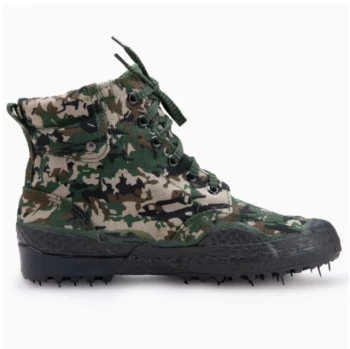
- Wholesale High-Traction Camo Boots - Custom Manufacturer for Brands
- Durable Rubber Sole Outdoor Shoes Wholesale & Custom Manufacturing
- Durable Spiked Camouflage Boots Wholesale & Factory Production
- Wholesale Lightweight Tactical Boots Custom Manufacturer for Desert & Combat Use
- Wholesale Waterproof Tactical Boots Custom Suede & High-Traction Soles
People Also Ask
- What should be considered when choosing between standard and air CAM boots? A Guide to Injury Recovery
- Are camo boots necessary for hunting success? Prioritize Performance Over Pattern
- What shoes to wear for a security job? Durable, Protective Footwear for Long Shifts
- What makes wide CAM boots different from standard CAM boots? A Guide to Choosing the Right Fit for Healing
- Why is traction an essential feature in work boots? Prevent Slips and Ensure Workplace Safety