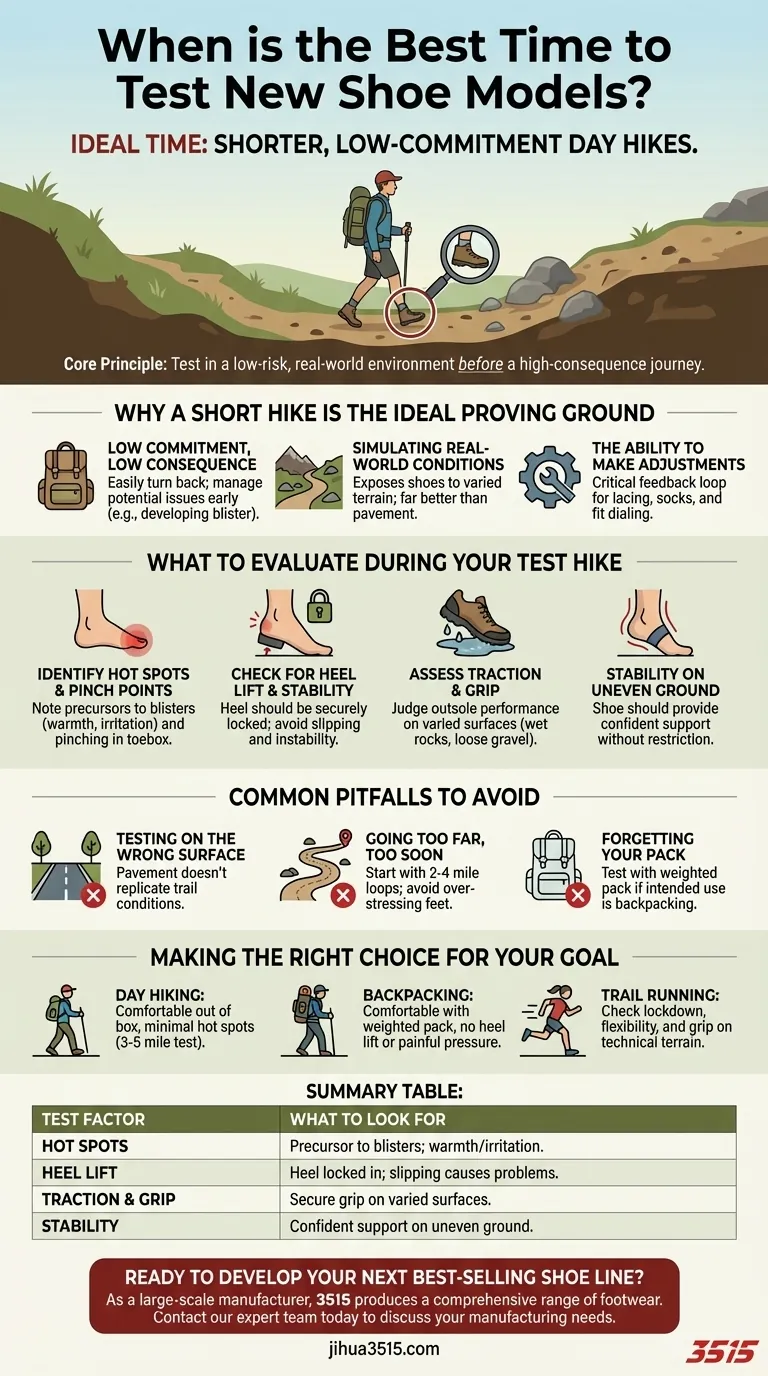
The ideal time to test new shoe models is during shorter, low-commitment day hikes. This controlled environment allows you to assess fit, comfort, and performance without the high stakes of a long-distance trek or multi-day backpacking trip.
The core principle is simple: test your footwear in a low-risk environment that mimics real-world conditions before you have to depend on them for a high-consequence journey.

Why a Short Hike is the Ideal Proving Ground
The goal of a test hike is to gather data on how the shoe performs with your specific foot mechanics and under realistic stress. A short day hike offers the perfect laboratory for this.
Low Commitment, Low Consequence
A short hike of a few miles means you can easily turn back or end the day early if significant problems arise.
A developing blister or sore spot on a short trail is an inconvenience; on day two of a five-day trip, it can be a trip-ending disaster.
Simulating Real-World Conditions
Testing on a trail exposes the shoe to varied terrain like inclines, declines, rocks, and dirt. This is a far more accurate test than simply walking around on flat pavement.
You can observe how the shoe handles the specific stresses it was designed for, providing a true measure of its capability.
The Ability to Make Adjustments
During a short hike, you can stop to adjust lacing techniques, try different socks, or simply take note of how your feet feel after the first mile.
This feedback loop is critical for dialing in the fit and identifying potential issues before they become serious.
What to Evaluate During Your Test Hike
Pay close attention to specific feedback from your feet. Don't just walk; actively analyze the shoe's performance.
Identify Hot Spots and Pinch Points
A hot spot is a precursor to a blister, caused by friction or pressure. Note any areas that feel warm, tender, or irritated.
Check for pinching across the top of your foot or in the toebox, especially when your foot flexes during uphill climbs.
Check for Heel Lift and Stability
Your heel should feel securely locked into the back of the shoe. Excessive heel lift or slipping will lead to friction, blisters, and instability.
Pay attention to how stable your ankle feels when walking on uneven ground. The shoe should provide confident support without being restrictive.
Assess Traction and Grip
Intentionally walk over different surfaces you'll encounter on future hikes—wet rocks, loose gravel, or steep dirt sections.
Judge whether the outsole provides the secure grip you need. A lack of confidence in your shoe's traction is a major red flag.
Common Pitfalls to Avoid
Even a well-intentioned test can yield poor data if not conducted properly. Avoid these common mistakes.
Testing on the Wrong Surface
Walking around a store or your neighborhood is not an adequate test for a hiking boot. Pavement doesn't replicate trail conditions and won't reveal how the shoe performs on uneven or soft surfaces.
Going Too Far, Too Soon
Your first outing in new shoes shouldn't be a 10-mile epic, even if it's "just" a day hike. Start with a 2-4 mile loop to allow for an initial assessment without over-stressing your feet.
Forgetting Your Pack
If you plan to use these shoes for backpacking, you must test them with a weighted pack. The extra weight dramatically changes your gait, foot-strike, and the pressure inside the shoe.
Making the Right Choice for Your Goal
Use the data from your test hike to make an informed decision based on your primary activity.
- If your primary focus is day hiking: Ensure the shoes are comfortable out of the box with minimal hot spots on a 3-5 mile test with a light pack.
- If your primary focus is backpacking: The shoe must remain comfortable and secure with a weighted pack, with absolutely no heel lift or painful pressure points.
- If your primary focus is trail running: Pay closest attention to lockdown, flexibility, and grip on technical terrain during a shorter, faster-paced test run.
Ultimately, a methodical test on a short hike transforms a purchase into a trusted piece of essential gear.
Summary Table:
| Test Factor | What to Look For |
|---|---|
| Hot Spots | Precursor to blisters; note areas of warmth or irritation. |
| Heel Lift | Heel should be locked in; slipping causes blisters and instability. |
| Traction & Grip | Test on varied surfaces like wet rocks and loose gravel. |
| Stability | Shoe should provide confident support on uneven ground. |
Ready to Develop Your Next Best-Selling Shoe Line?
As a large-scale manufacturer, 3515 produces a comprehensive range of footwear for distributors, brand owners, and bulk clients. Our production capabilities encompass all types of shoes and boots, ensuring you get the perfect model for your target market. Let us help you create footwear that passes the test with flying colors.
Contact our expert team today to discuss your manufacturing needs.
Visual Guide
Related Products
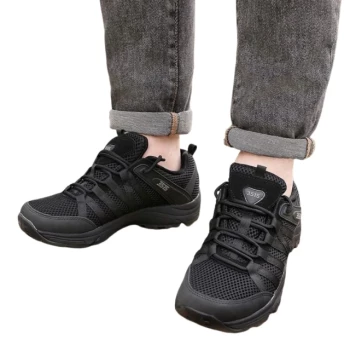
- Wholesale Durable Camouflage Canvas Shoes with High-Traction Cleated Rubber Sole
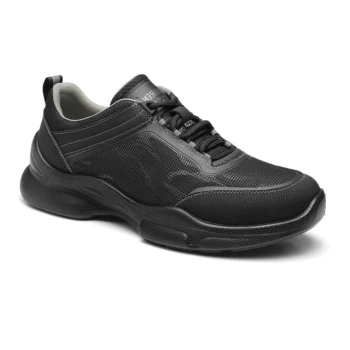
- Wholesale Modern Comfort Shoes with Dial Closure for Private Label & Bulk Orders
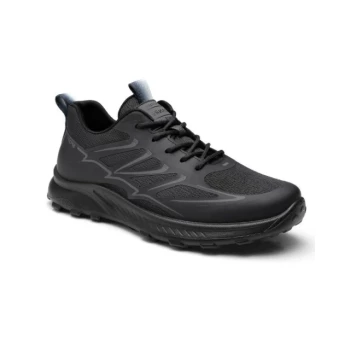
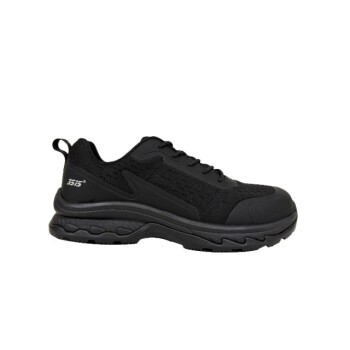
- Wholesale Breathable Training Shoes Custom Athletic Footwear Manufacturer
- Durable Rubber Sole Outdoor Shoes Wholesale & Custom Manufacturing
- Wholesale Modern Business Shoes with Dial Closure System for Bulk Orders
People Also Ask
- Why is it important to give new shoes time to break in? Achieve a Perfect, Pain-Free Fit
- What are some examples of vulcanized shoes? Discover the Flexibility and Board Feel of Classic Sneakers
- Why should you try on shoes with the socks you plan to wear regularly? Ensure a Perfect, Pain-Free Fit
- What are the characteristics of canvas as a shoe material? A Guide to Lightweight, Breathable Footwear
- Can canvas shoes be worn in rainy conditions? The Truth About Water Resistance