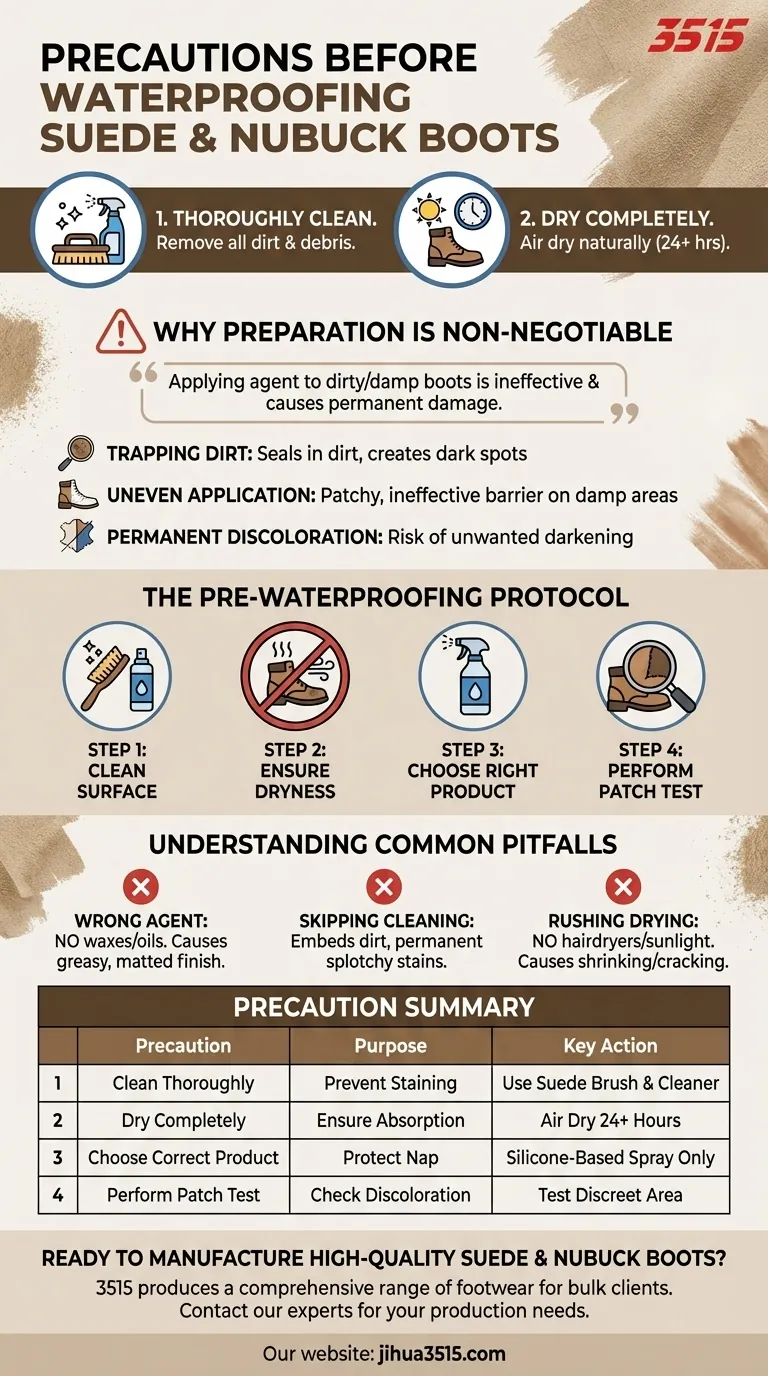
Before waterproofing suede or nubuck boots, you must take two critical precautions. First, thoroughly clean the boots to remove all dirt and debris. Second, allow them to dry completely and naturally, away from any direct heat source, before applying any product.
The success of waterproofing suede or nubuck hinges entirely on preparation. Applying a waterproofing agent to dirty or damp boots will not only be ineffective but will likely trap stains and cause permanent discoloration.
Why Preparation is Non-Negotiable for Suede & Nubuck
Suede and nubuck are not smooth leathers; they have a delicate, fibrous surface known as a "nap." This unique texture makes them exceptionally vulnerable to moisture and staining, requiring a careful and methodical approach to waterproofing.
The Risk of Trapping Dirt
Applying a waterproofing spray over existing dirt or dust essentially seals it into the leather's fibers. This can create permanent dark spots and makes future cleaning nearly impossible.
The Danger of Uneven Application
For a waterproofing agent to be effective, it must be absorbed evenly. If boots are damp or dirty in certain areas, the spray will not adhere properly, resulting in a patchy, ineffective barrier against moisture.
Preventing Permanent Discoloration
Suede and nubuck are sensitive materials that can easily change color. A clean, dry surface ensures the waterproofing product interacts with the leather as intended, while a patch test confirms it won't cause unwanted darkening.
The Pre-Waterproofing Protocol
Follow these steps precisely to protect your investment and ensure an effective waterproof seal without causing damage.
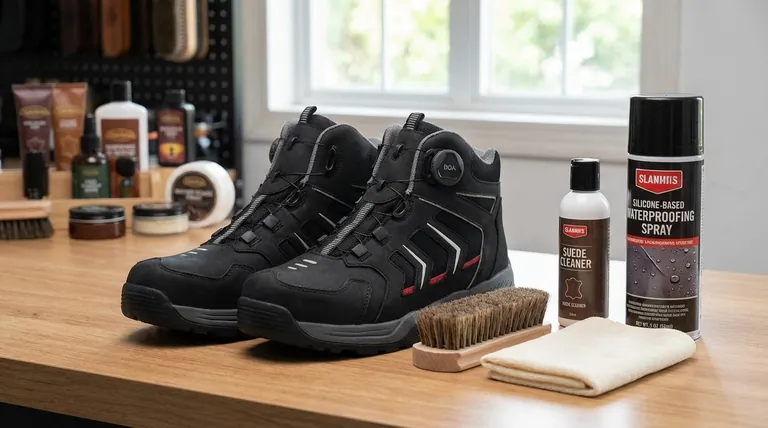
Step 1: Thoroughly Clean the Surface
Use a brush specifically designed for suede and nubuck to gently remove any loose dirt and restore the nap. For more heavily soiled areas, a dedicated suede cleaner may be necessary. Always follow the cleaner's instructions carefully.
Step 2: Ensure the Boots are Completely Dry
Patience is essential. After cleaning, let the boots air dry naturally for at least 24 hours, away from direct sunlight or heat vents. Applying any product to even slightly damp leather will lead to a poor result.
Step 3: Choose the Right Product
The correct product is crucial. For suede and nubuck, a silicone-based waterproofing spray is the industry standard. These sprays create a protective barrier without matting down the delicate fibers.
Step 4: Perform a Mandatory Patch Test
Before spraying the entire boot, always perform a patch test. Apply a small amount of the product to a discreet area, like the inner ankle or along the tongue. Let it dry for at least an hour to check for any adverse discoloration.
Understanding the Common Pitfalls
Avoiding common mistakes is just as important as following the correct steps. Many well-intentioned owners damage their boots by treating delicate suede like durable, smooth leather.
Applying the Wrong Waterproofing Agent
Do not use waxes, greases, or heavy oils on suede or nubuck. These products are designed for smooth leather and will ruin the napped texture, creating a matted, greasy finish that is irreversible. Stick exclusively to sprays formulated for suede.
Skipping the Cleaning Step
The most common error is spraying directly onto worn boots. This is the fastest way to permanently embed dirt and create dark, splotchy stains.
Rushing the Drying Process
Never use a hairdryer, radiator, or direct sunlight to speed up drying. Intense heat can cause the leather to shrink, crack, and become brittle. Natural air drying is the only safe method.
How to Apply This to Your Boots
Your goal dictates the most important takeaway.
- If your primary focus is preserving the original look and feel: The mandatory patch test is your most critical step to prevent unexpected color changes.
- If your primary focus is maximum water resistance: Ensuring the boots are bone-dry before a light, even application of the correct spray is key to an effective seal.
- If you are treating older, worn boots: A thorough and gentle cleaning is non-negotiable to lift old dirt and prevent permanent staining.
Proper preparation is the definitive factor in successfully protecting your suede and nubuck footwear for years to come.
Summary Table:
| Precaution | Purpose | Key Action |
|---|---|---|
| Clean Thoroughly | Remove dirt to prevent permanent staining | Use a suede/nubuck brush and cleaner |
| Dry Completely | Ensure even product absorption | Air dry naturally for 24+ hours |
| Choose Correct Product | Protect without damaging the nap | Use a silicone-based spray only |
| Perform Patch Test | Check for discoloration before full application | Test on a discreet area first |
Ready to manufacture high-quality suede and nubuck boots that are built to last? As a large-scale manufacturer, 3515 produces a comprehensive range of footwear for distributors, brand owners, and bulk clients. Our production capabilities encompass all types of shoes and boots, ensuring your products meet the highest standards of durability and finish from the start. Contact our experts today to discuss your production needs and ensure your footwear is designed for easy and effective care.
Visual Guide
Related Products
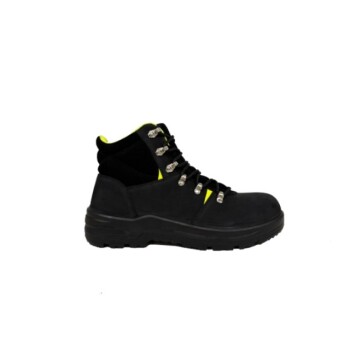
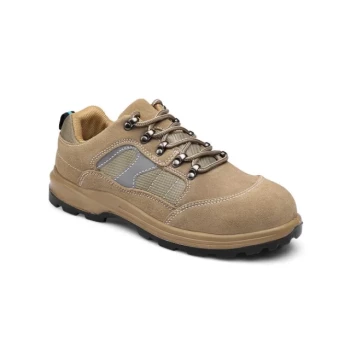
- Wholesale Waterproof Tactical Boots Custom Suede & High-Traction Soles
- High-Traction Suede Tactical Boots Wholesale & Custom Manufacturing
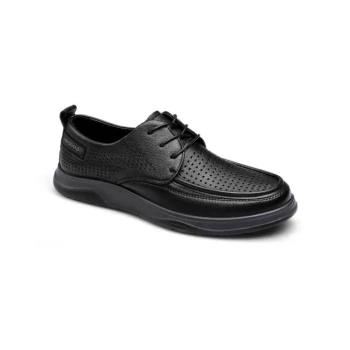
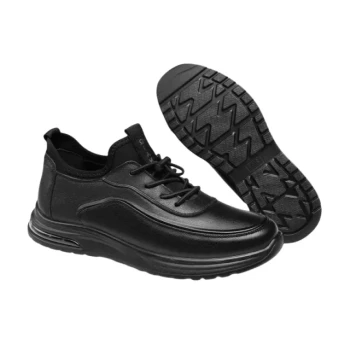
- Durable Leather Work Boots for Wholesale & Custom Manufacturing
- Durable Leather Work Boots for Wholesale & Custom OEM Manufacturing
- Wholesale Classic Leather Lace-Up Ankle Boots for Brand Manufacturing
People Also Ask
- How do combat boots and tactical boots differ in design and purpose? Choose the Right Boot for Your Mission
- What special features can enhance the performance of tactical boots? Key Features for Superior Support & Protection
- What are the advantages and disadvantages of waterproof tactical boots? A Guide to the Key Trade-Offs
- What is the significance of waterproof functionality in tactical boots? Essential for Health & Performance
- What waterproof technology is used in tactical boots? Unlock All-Weather Performance & Protection