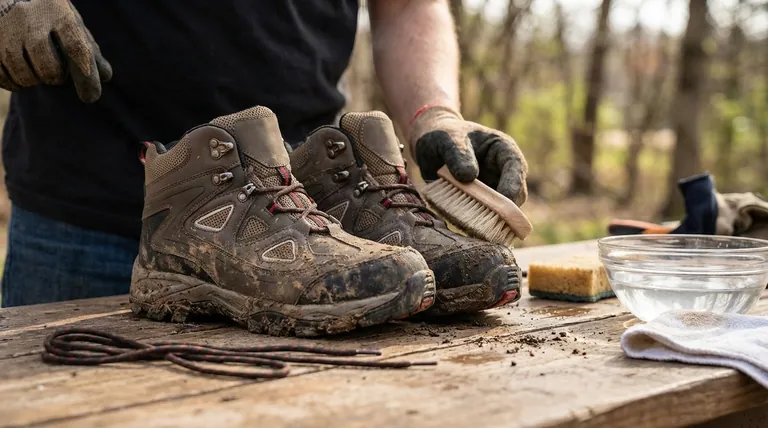
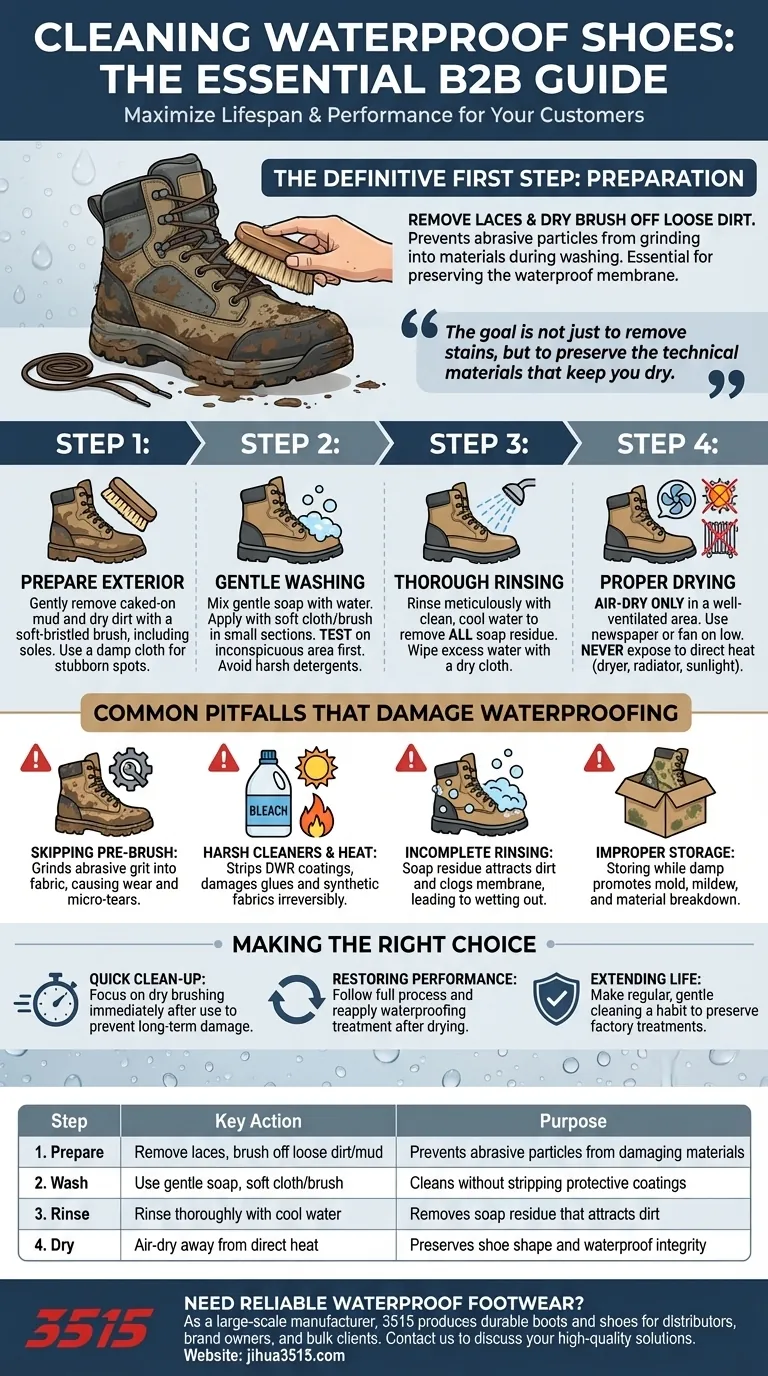
The definitive first step to cleaning any pair of waterproof shoes is to prepare them by removing the laces and brushing off all loose dirt, mud, and debris. This crucial preparation uses a soft brush and ensures that abrasive particles are not ground into the shoe's material or waterproof membrane during the washing stage.
The goal of cleaning waterproof footwear is not just to remove stains, but to preserve the technical materials that keep you dry. A successful cleaning process is methodical: it starts with dry brushing, uses gentle washing, and finishes with thorough rinsing and patient air-drying.
The Essential Cleaning Process: A Step-by-Step Guide
Properly cleaning your waterproof shoes is a systematic process. Each step is designed to clean effectively while protecting the delicate waterproof membrane and the structural integrity of the shoe's materials.
Step 1: Prepare the Exterior
This is the most critical step. After removing the laces, use a soft-bristled brush to gently remove all caked-on mud and dry dirt from the exterior of the shoes, including the soles.
This prevents sharp particles from acting like sandpaper during the wet cleaning phase, which could abrade the fabric and compromise the waterproofing. For stubborn spots, a damp cloth can be used.
Step 2: Gentle Washing
Mix a gentle soap with water. Avoid harsh detergents that can strip away the shoe's factory-applied water-repellent coatings.
Apply the solution with a soft cloth or brush, working in small sections. Always test cleaning products on a small, inconspicuous area first to ensure they don't alter the shoe's color or appearance.
Step 3: Thorough Rinsing
Rinse the shoes meticulously with clean, cool water. The goal is to remove every trace of soap residue.
Leftover soap can attract dirt and can also degrade the shoe's fabric and waterproof treatments over time. Wipe away excess water with a dry cloth to prevent staining and accelerate the drying process.
Step 4: Proper Drying
Never expose waterproof shoes to direct heat, such as from a dryer, radiator, or direct sunlight. High heat can shrink materials, weaken adhesives, and permanently damage the waterproof membrane.
Instead, air-dry the shoes in a well-ventilated area. To speed up drying and help the shoes maintain their shape, you can stuff them with newspaper (changing it when it becomes saturated) or place them in front of a fan on a low setting.
Common Pitfalls That Damage Waterproofing
Avoiding common mistakes is just as important as following the correct steps. These errors can shorten the lifespan of your footwear and negate its waterproof properties.
Skipping the Pre-Brush
Directly washing a muddy shoe grinds abrasive grit into the fabric. This action physically wears down the material and can create micro-tears in the waterproof membrane, leading to leaks.
Using Harsh Cleaners or Heat
Bleach, harsh detergents, and household cleaners can strip away the durable water repellent (DWR) coating and damage the shoe's materials. Similarly, applying direct heat during drying can cause irreversible damage to glues and synthetic fabrics.
Incomplete Rinsing
Soap residue left on the fabric acts like a magnet for dirt and moisture. Over time, this buildup can clog the pores of breathable waterproof membranes and cause the exterior fabric to "wet out," feeling damp and cold even if no water is leaking through.
Improper Storage
Storing shoes while they are still damp, especially in a closed container or closet, creates a perfect environment for mold and mildew. This not only produces odors but can also break down the shoe's materials.
Making the Right Choice for Your Goal
Your cleaning regimen should match your immediate objective.
- If your primary focus is a quick clean-up after use: Dry brushing is the most important step. Removing the abrasive dirt and mud immediately will prevent long-term damage.
- If your primary focus is restoring performance for older shoes: Follow the entire process, paying special attention to reapplying a waterproofing treatment after the shoes are completely dry.
- If your primary focus is extending the life of new shoes: Make regular, gentle cleaning a habit. Consistent care prevents the buildup of damaging dirt and preserves the factory-applied treatments for longer.
A methodical approach to cleaning is the key to ensuring your waterproof footwear performs for years to come.
Summary Table:
| Step | Key Action | Purpose |
|---|---|---|
| 1. Prepare | Remove laces, brush off loose dirt/mud | Prevents abrasive particles from damaging materials |
| 2. Wash | Use gentle soap, soft cloth/brush | Cleans without stripping protective coatings |
| 3. Rinse | Rinse thoroughly with cool water | Removes soap residue that attracts dirt |
| 4. Dry | Air-dry away from direct heat | Preserves shoe shape and waterproof integrity |
Need reliable waterproof footwear that stands up to tough conditions and proper care? As a large-scale manufacturer, 3515 produces a comprehensive range of durable boots and shoes for distributors, brand owners, and bulk clients. Our production capabilities encompass all types of technical footwear built to last. Contact us today to discuss your footwear needs and discover how we can provide high-quality, durable solutions for your customers.
Visual Guide
Related Products
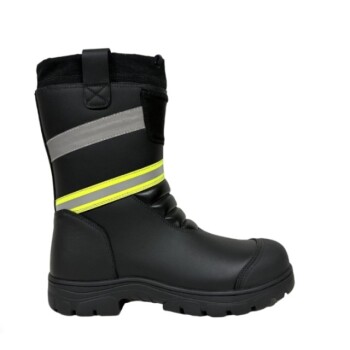
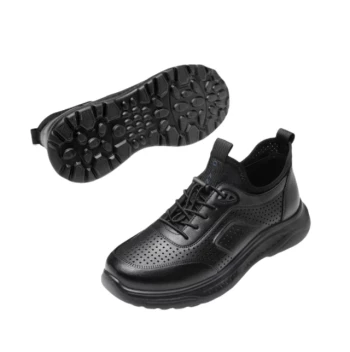
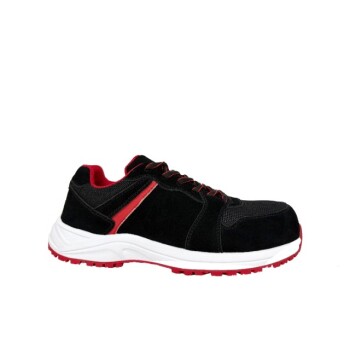
- Wholesale Premium Waterproof Nubuck Safety Shoes Boots
- Heavy-Duty Waterproof Nubuck Safety Boots Safety Shoes for Bulk Supply
- Premium Wholesale Waterproof Safety Boots High Performance Protection for Industrial Markets
- Durable Waterproof Rain Boots | Custom Manufacturer for Wholesale & Brands
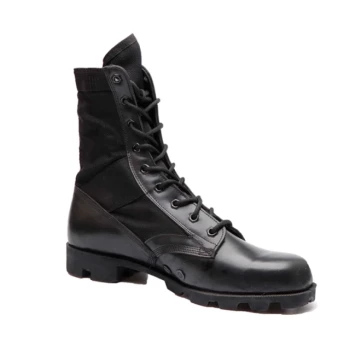
- Wholesale Waterproof Tactical Boots Custom Suede & High-Traction Soles
People Also Ask
- What is the advantage of one-piece construction in waterproof boots? Unbeatable Seamless Protection
- Why are waterproof safety boots recommended for certain work environments? Essential Protection for Wet & Hazardous Jobs
- What is a drawback of waterproof boots? The Hidden Cost of Trapped Sweat and Heat
- What are the primary benefits of incorporating waterproof technology into professional and outdoor boots? Boost Value
- What is the difference between waterproof, water-resistant, and water-repellent boots? Choose the Right Protection for Your Feet