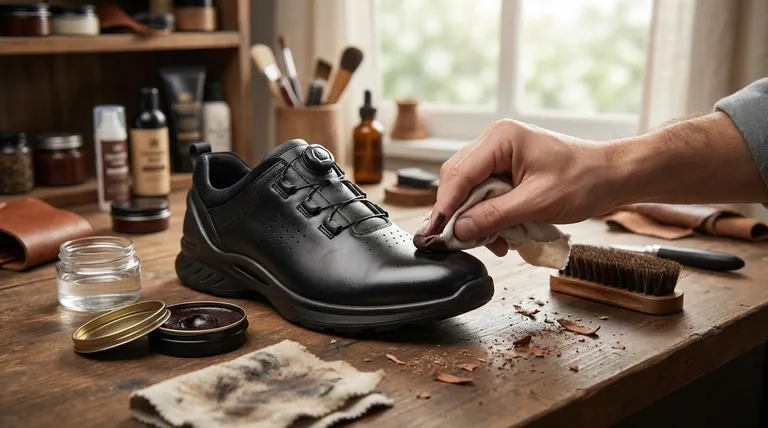
To apply wax polish to leather shoes, you should use a clean cloth to rub a very thin layer of polish onto the leather using small, circular motions. Focus on building multiple, successive layers on the hard, non-flexing areas like the toe cap and heel to create a high-gloss shine, allowing each layer to dry and harden before applying the next. This method ensures a durable finish without causing the polish to crack over flexible parts of the shoe.
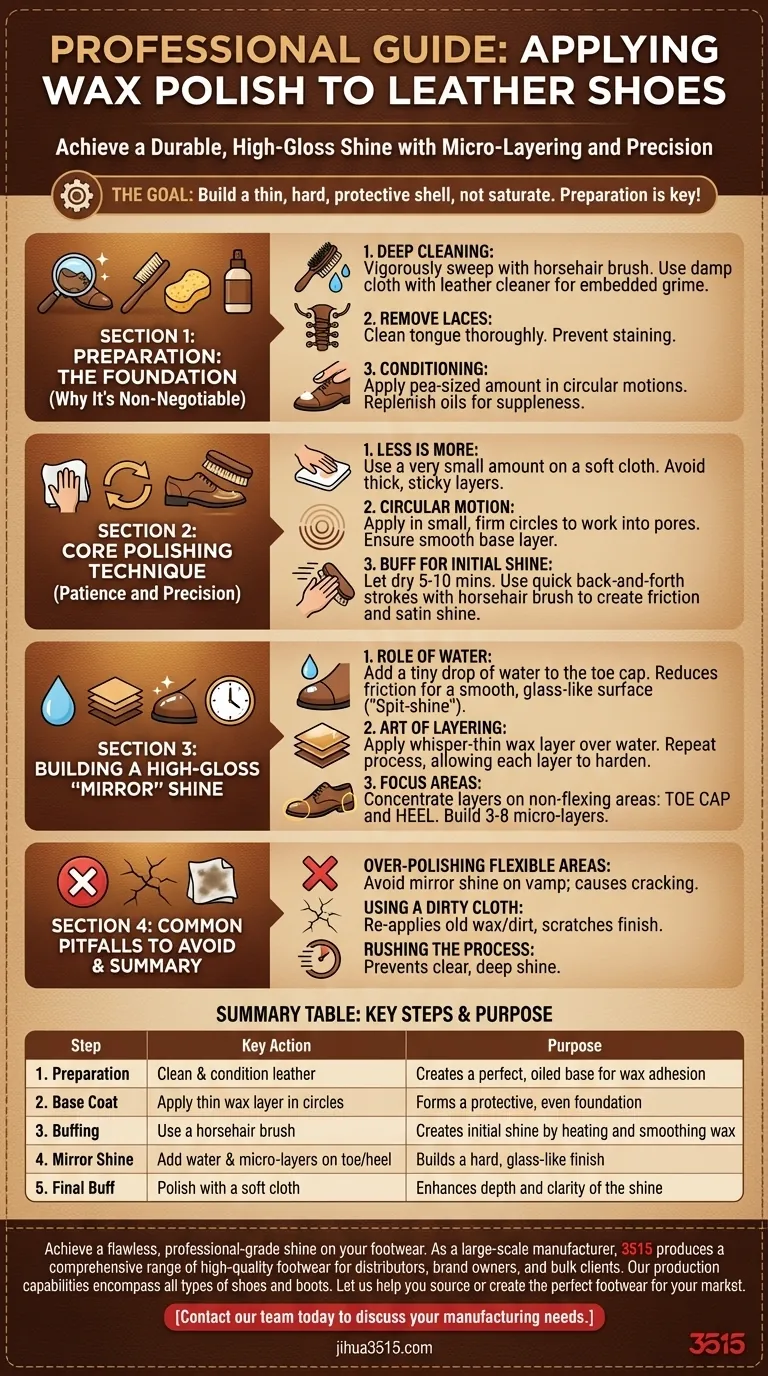
The goal of a wax polish is not to saturate the leather, but to build a thin, hard, protective shell on its surface. True success comes from proper preparation—starting with clean, conditioned leather—and disciplined application in micro-layers.
The Foundation: Why Preparation is Non-Negotiable
Applying wax polish is the final step in a process, not the first. Attempting to polish a dirty or dry shoe will trap grime, prevent a true shine, and can even damage the leather over time.
Step 1: Deep Cleaning the Leather
You must begin with a clean surface. Any dirt or old polish will be sealed under the new wax layer, resulting in a cloudy finish.
Use a horsehair brush to vigorously sweep away all loose dust and dirt. For embedded grime, use a damp cloth with a specialized leather cleaner or saddle soap to gently clean the entire shoe surface.
Step 2: Removing the Laces
Always remove the laces before you begin. This allows you to clean the shoe's tongue and prevent polish from staining the laces.
Step 3: Conditioning the Leather
After cleaning, the leather is often dry. Conditioning replenishes the essential oils, keeping the leather supple and preventing it from cracking under the hard wax finish.
Apply a small, pea-sized amount of leather conditioner with your fingers or a soft cloth in circular motions. Let it absorb for 10-20 minutes, then use a horsehair brush to buff away any excess.
The Core Polishing Technique
With the leather clean and conditioned, you are ready to apply the wax. The key here is patience and precision.
The "Less is More" Application
Using too much polish is the most common mistake. It creates a thick, sticky layer that is difficult to buff and will crack easily when the shoe flexes.
Start by wrapping a clean, soft cloth (like an old cotton t-shirt) around your index and middle fingers. Dab a very small amount of wax onto the cloth.
The Circular Motion
Apply the wax to the shoe using small, firm circular motions. This technique works the polish into the leather's pores and ensures a smooth, even base layer.
Cover the entire shoe with one thin, even coat.
Buffing for the Initial Shine
After the first layer has been applied, let it sit for 5-10 minutes to dry and harden.
Take your horsehair brush and use quick, back-and-forth strokes across the entire shoe. This action creates friction, which heats the wax and buffs it into a foundational, satin-like shine.
Building a High-Gloss or "Mirror" Shine
The signature high-gloss shine is achieved by building multiple micro-layers of wax on the shoe's non-flexing areas: the toe cap and the heel counter.
The Role of Water
A small amount of water reduces friction between your cloth and the polish, allowing you to create an exceptionally smooth, glass-like surface. This is often called a "spit-shine."
After your initial base coat is buffed, add a tiny drop of water to the shoe's toe cap. Then, apply another whisper-thin layer of wax directly over it, again using small circular motions until the hazy water residue disappears and a high shine emerges.
The Art of Layering
Repeat the process of adding a drop of water and a tiny amount of wax. You will feel the surface becoming smoother and see the shine become deeper with each successive layer.
Building a true mirror shine can take anywhere from three to eight layers. The key is to allow each layer to harden before applying the next.
Common Pitfalls to Avoid
Understanding what not to do is as important as knowing the correct steps.
Over-Polishing Flexible Areas
Do not attempt to build a mirror shine on the vamp (the part of the shoe that creases when you walk). The hard wax layers will simply crack and flake off, creating a messy appearance. These areas only need the single base coat.
Using a Dirty Cloth
A dirty cloth will re-apply old, hardened wax and dirt, scratching the finish you are trying to create. Use a clean section of your cloth for each new layer.
Rushing the Process
Patience is paramount. Applying a new layer before the previous one has fully hardened will smear the foundation and prevent a clear, deep shine.
Making the Right Choice for Your Goal
Your approach should match your desired outcome.
- If your primary focus is quick protection and a respectable shine: Apply one thin base coat of wax to the entire shoe after cleaning and conditioning, then buff vigorously with a horsehair brush.
- If your primary focus is a formal, high-gloss "mirror" shine: After the base coat, patiently build multiple micro-layers of wax and water on the toe caps and heels until you achieve a glass-like finish.
Ultimately, proper wax polishing is an investment that protects your shoes and elevates your entire appearance.
Summary Table:
| Step | Key Action | Purpose |
|---|---|---|
| 1. Preparation | Clean & condition leather | Creates a perfect, oiled base for wax adhesion |
| 2. Base Coat | Apply thin wax layer in circles | Forms a protective, even foundation |
| 3. Buffing | Use a horsehair brush | Creates initial shine by heating and smoothing wax |
| 4. Mirror Shine | Add water & micro-layers on toe/heel | Builds a hard, glass-like finish |
| 5. Final Buff | Polish with a soft cloth | Enhances depth and clarity of the shine |
Achieve a flawless, professional-grade shine on your footwear. The techniques in this guide are used by experts to maintain premium leather. As a large-scale manufacturer, 3515 produces a comprehensive range of high-quality footwear for distributors, brand owners, and bulk clients. Our production capabilities encompass all types of shoes and boots, ensuring durable materials perfect for these polishing methods. Let us help you source or create the perfect footwear for your market.
Contact our team today to discuss your manufacturing needs.
Visual Guide
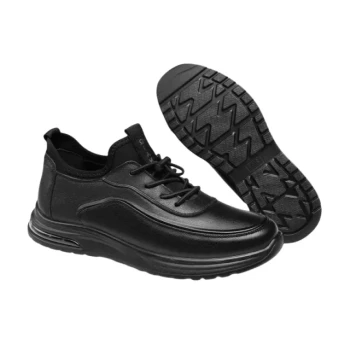
Related Products
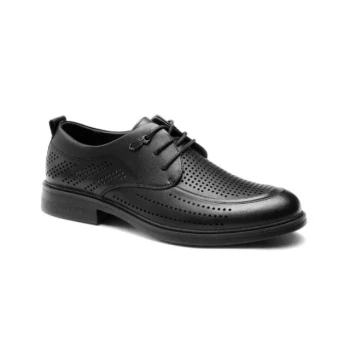
- Factory Direct Wholesale Leather Comfort Shoes with Dial Closure
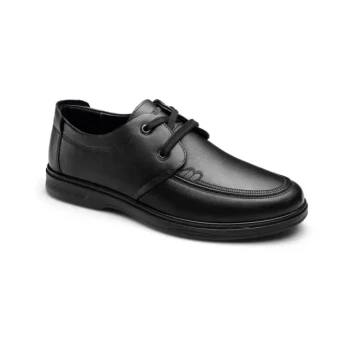
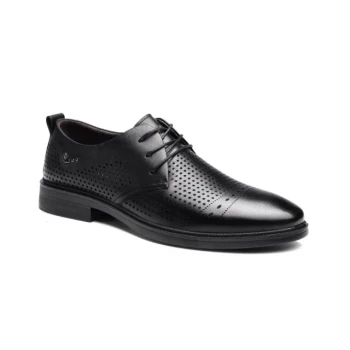
- Classic Leather Derby Dress Shoes Wholesale & Custom Manufacturing
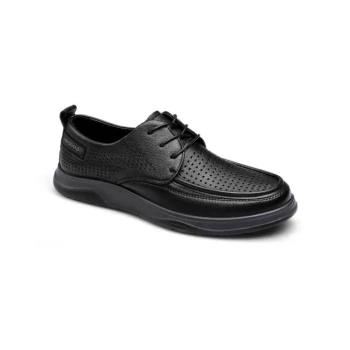
- Custom Manufactured Air Cushion Leather Business Shoes for Wholesale
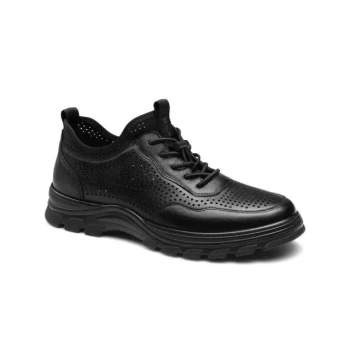
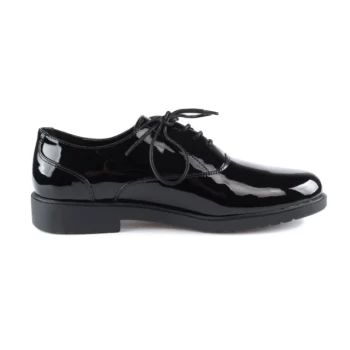
- Wholesale Comfort Leather Business Shoes with Dial Lacing System
- Wholesale Leather Apron Toe Derby Shoes Custom Factory Production
People Also Ask
- What is the carbon footprint comparison between real leather and synthetic leather? Uncover the Long-Term Sustainability Winner
- How can you polish leather footwear to renew its color and luster? A Step-by-Step Guide to a Professional Finish
- What preventative measures can be taken to maintain leather shoes? A Simple Routine for Long-Lasting Wear
- What are the options for waterproofing leather shoes? Protect Your Footwear for the Long Haul
- What are some common materials used to make men's leather shoes? A Guide to Calfskin, Cordovan & Suede