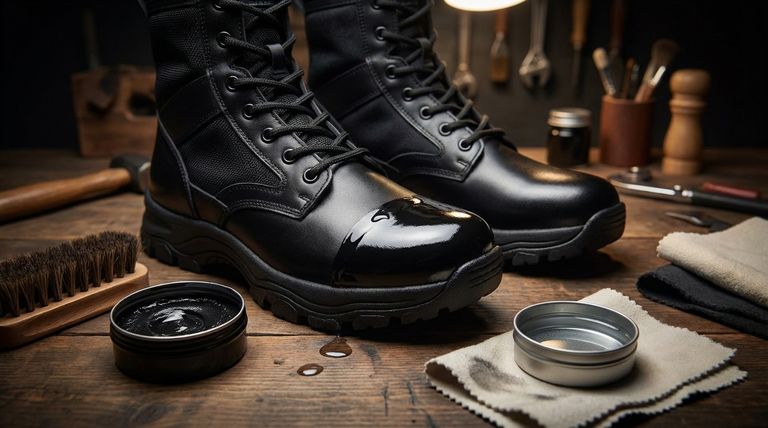
To achieve a truly shiny finish on army boots, you must build up multiple, micro-thin layers of wax polish and then smooth them into a flawless, reflective surface. The process begins with a clean and conditioned boot, followed by applying polish in small circular motions, buffing with a brush, and finishing with a cotton cloth and a drop of water to create a "spit shine" or mirror finish.
The secret to a high-gloss shine isn't about applying a thick coat of polish. It's about methodically filling the leather's microscopic pores with thin layers of wax, creating an exceptionally smooth surface that reflects light like glass.
The Foundation: Preparation is Everything
A superior shine is built on a superior foundation. Skipping these initial steps will trap dirt under the polish and prevent the leather from properly accepting the wax, undermining all subsequent effort.
Step 1: Rigorous Cleaning
Before you even open the polish, you must meticulously clean the boot. Use a horsehair brush to remove all loose dust, dirt, and debris from the surface and seams.
For ingrained dirt, use a damp cloth to wipe the boot down. Ensure the leather is completely dry before proceeding to the next step.
Step 2: Leather Conditioning (The Overlooked Step)
Healthy leather accepts polish more evenly and is less prone to cracking. This is a step many people miss, but it is critical for both the shine and the longevity of your boots.
Apply a small amount of leather conditioner or saddle soap. This nourishes the leather, keeping it supple and creating the ideal canvas for the polish.
Building the Shine: A Layered Approach
With the boot prepared, the goal is to create an even base of polish that can be refined into a high-gloss finish.
Step 3: The Base Coat
Using a dauber brush or a soft cloth wrapped around your finger, apply the first layer of high-quality wax polish.
Use firm, circular motions to work the polish into the leather. Your goal is complete and even coverage, not a thick application. Let this base coat dry for 5-10 minutes.
Step 4: The Initial Buff
Take a clean, dry horsehair brush and buff the entire boot vigorously. The friction from the brush warms the wax, spreading it evenly and bringing out the first level of shine.
This step smooths out the base coat and prepares the boot for the detail work required for a mirror finish.
Achieving the Mirror Finish: The "Spit Shine" Technique
This is the most time-consuming part of the process, but it is what separates a standard shine from an inspection-ready one. This technique should primarily be used on the hard toe cap and heel, as the polish will crack on flexible parts of the boot.
Step 5: Applying Micro-Layers
Wrap a clean, soft cloth (like an old t-shirt or cotton ball) tightly around your index finger. Dab a very small amount of polish onto the cloth—you need far less than you think.
Next, dip another finger into a capful of water and let a single drop fall onto the boot's toe cap.
The Role of Water
Using small, continuous circular motions, work the polish into the boot. The water acts as a lubricant, reducing friction and allowing you to create an ultra-smooth wax surface without pulling up the previous layer.
As you work, you will feel the friction decrease and see a haze form. Continue the small circles until the haze disappears and the gloss intensifies.
Patience and Repetition
Repeat this process—a tiny dab of polish, a drop of water, and endless circles—to build layer upon layer. Each new micro-layer fills in the remaining imperfections, making the surface smoother and more reflective. This is a test of patience that can take thirty minutes to over an hour.
Understanding the Trade-offs
Achieving and maintaining a perfect shine requires acknowledging certain realities.
Time vs. Quality
There is no shortcut to a true mirror shine. Quick-shine products and sponges offer temporary gloss but can damage the leather over time by sealing it with silicone. The manual, layered method is the only way to achieve a deep, durable finish.
Wax Build-up and Maintenance
Over time, layers of old polish can crack and turn cloudy, making a high-gloss shine impossible. You may need to strip the old polish off with rubbing alcohol and a cloth every few months to start fresh on a clean leather surface.
Functionality vs. Appearance
A mirror shine is best reserved for the rigid toe and heel of the boot. Applying this thick, layered finish to the flexible parts of the boot will result in immediate and unsightly cracking as soon as you start walking. The flexible areas only need a standard polish and buff.
Making the Right Choice for Your Goal
Tailor your technique to the standard you need to meet.
- If your primary focus is a fast, daily shine: Clean the boot, apply one even coat of polish, let it dry, and buff vigorously with a horsehair brush.
- If your primary focus is an inspection-ready mirror shine: Dedicate the time to the multi-layer "spit shine" technique with polish and water on the toe caps and heels.
- If your primary focus is long-term leather health: Never skip the cleaning and conditioning steps, and consider stripping old wax build-up periodically.
Ultimately, the quality of your shine is a direct reflection of your discipline and attention to detail.
Summary Table:
| Step | Key Action | Purpose |
|---|---|---|
| 1. Preparation | Clean & Condition Leather | Creates a clean, supple base for polish adhesion. |
| 2. Base Coat | Apply wax polish in circles | Builds an even foundation layer of wax. |
| 3. Buffing | Use a horsehair brush | Smooths the base coat and creates initial shine. |
| 4. Mirror Finish | Apply micro-layers with water | Fills leather pores for a flawless, reflective surface. |
Need a durable, high-quality boot that's ready for a perfect shine?
As a large-scale manufacturer, 3515 produces a comprehensive range of durable military and tactical footwear for distributors, brand owners, and bulk clients. Our boots are crafted from premium leathers designed to accept polish beautifully and withstand rigorous use.
Let us help you equip your team or customers with superior footwear. Contact us today to discuss your needs and explore our production capabilities.
Visual Guide

Related Products
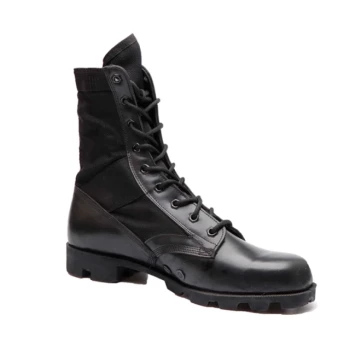
- Durable Military Combat Boots with Water Drainage for Wholesale & OEM
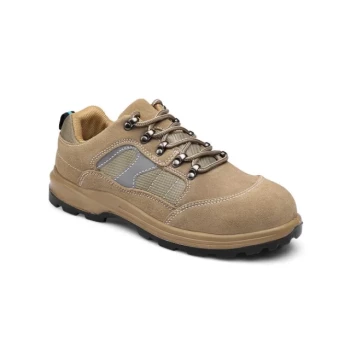
- High-Traction Suede Tactical Boots Wholesale & Custom Manufacturing
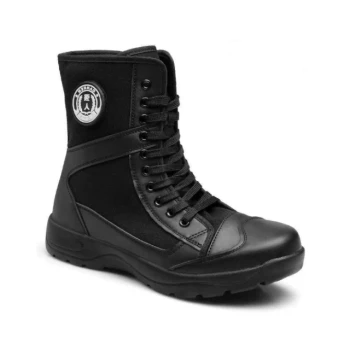
- Durable High-Ankle Tactical Boots for Wholesale & Custom Manufacturing
- Wholesale Waterproof Tactical Boots Custom Suede & High-Traction Soles
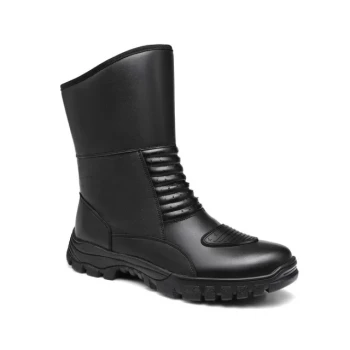
- Durable Mid-Cut Tactical Boots for Wholesale & Private Label
People Also Ask
- How do military camouflage boots enhance performance? Uncover the Secret to Superior Tactical Footwear
- How does hiking terrain affect the suitability of military boots? Match Your Boots to the Trail for Optimal Performance
- What are the key considerations when choosing military boots? Prioritize Compliance, Environment & Fit
- What are the common types of combat boots? Find the Right Boot for Your Mission
- What factors should be considered when choosing military boots for hiking? Durability vs. Weight for Your Terrain