To remove white salt stains from your leather shoes, the most effective and accessible method is a simple solution of equal parts distilled white vinegar and water. This mixture gently dissolves the salt deposits without immediately harming the leather, allowing you to wipe the residue away cleanly.
The key to restoring your shoes is a two-part process: first, use a vinegar solution to dissolve and remove the salt, then immediately recondition the leather to replenish its natural oils and prevent cracking.
The Step-by-Step Removal Process
Follow these precise steps to treat salt stains. Remember to be gentle, as leather is a natural material that can be sensitive to harsh treatments.
Prepare Your Solution
First, create your cleaning agent. Mix one part distilled white vinegar with one part water in a small bowl. The mild acetic acid in the vinegar is what effectively breaks down the mineral deposits left by the salt.
Apply with Care
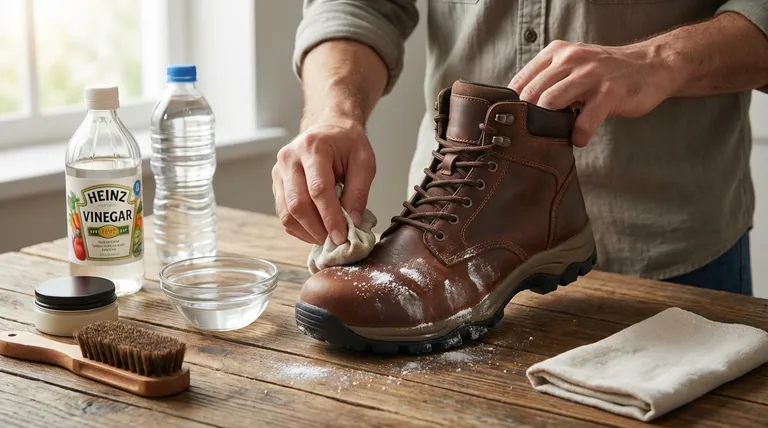
Dip a clean, soft cloth (like cotton chamois) into the solution, wringing it out so it's damp, not dripping. Before treating the visible stain, test the solution on a small, inconspicuous area of the shoe to ensure it doesn't cause discoloration.
Once you've confirmed it's safe, gently rub the salt stain in small, circular motions. Use light pressure; you do not need to scrub the leather.
Wipe and Dry Naturally
After the stain has disappeared, use a separate, clean cloth dampened with only water to wipe away any excess vinegar solution from the shoe's surface.
Allow the shoes to air dry completely, away from direct heat sources like radiators or sunlight, which can cause the leather to crack. Inserting wooden shoe trees at this stage is highly recommended to help the shoes maintain their shape as they dry.
The Critical Follow-Up: Conditioning the Leather
Removing the stain is only half the battle. Both salt and vinegar can strip essential oils from the leather, leaving it dry and brittle.
Why Conditioning is Non-Negotiable
Conditioning is the most important step for preserving the life of your shoes after a salt treatment. It restores moisture and flexibility to the leather fibers, preventing permanent damage.
How to Properly Condition
Once the shoes are fully dry, apply a small amount of a quality leather conditioner with a clean, soft cloth. Work it into the leather using gentle, circular motions. Let the conditioner absorb for several hours or as directed by the product instructions.
Polishing for Protection
After conditioning, applying a cream or wax polish adds color back and, more importantly, creates a protective barrier on the leather's surface. This thin layer of wax can help repel water and prevent future salt stains from setting in.
Understanding the Trade-offs
While the vinegar method is highly effective, it's important to be aware of the potential risks and to proceed with caution.
Risk of Discoloration
Vinegar is a mild acid. On certain types of leather, particularly lighter-colored or vegetable-tanned varieties, it has the potential to cause slight lightening or discoloration. This is why spot-testing first is essential.
Over-Wetting the Leather
Never saturate the leather with the cleaning solution. Using a cloth that is too wet can lead to water spots that are more difficult to remove than the original salt stain. A damp cloth is all that is required.
How to Apply This to Your Shoes
Your approach should depend on the situation and your long-term goal for your footwear.
- If you have a fresh, light stain: Act quickly with the 1:1 vinegar and water solution, then condition the shoes once they are fully dry.
- If you have a deep, set-in stain: You may need to repeat the vinegar application lightly, but do not scrub harder. The key is to dissolve the salt, not abrade the leather.
- If your primary focus is prevention: Regularly applying a wax-based polish or a dedicated leather protector creates a barrier that makes it much harder for salt to penetrate the leather in the first place.
Properly caring for your leather shoes ensures they will endure for years, regardless of the weather.
Summary Table:
| Step | Key Action | Important Note |
|---|---|---|
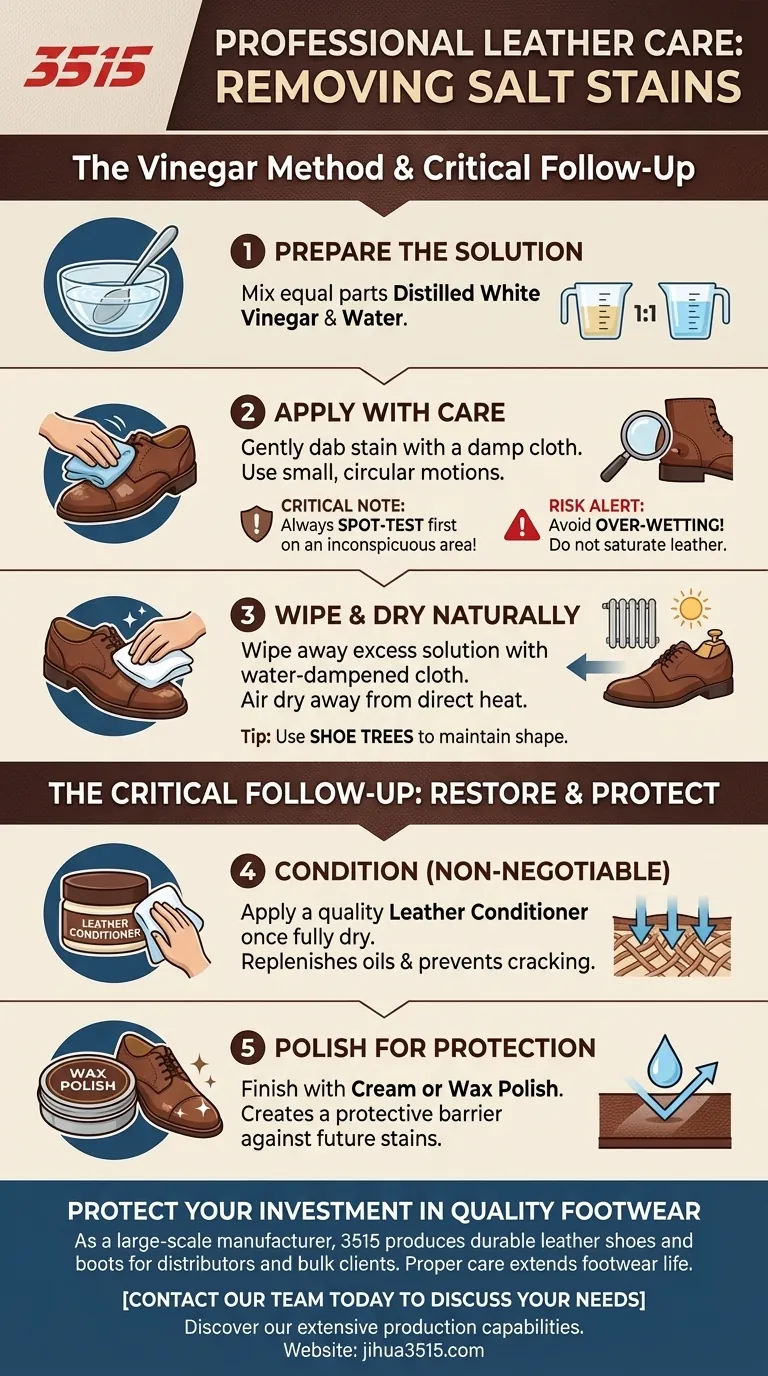
| 1. Prepare | Mix equal parts white vinegar & water. | Use distilled vinegar for best results. |
| 2. Clean | Gently dab stain with a damp cloth. | Always spot-test on an inconspicuous area first. |
| 3. Dry | Air dry naturally, away from direct heat. | Use shoe trees to maintain shape. |
| 4. Condition | Apply a quality leather conditioner. | Essential to prevent leather from cracking. |
| 5. Protect | Finish with a wax-based polish. | Creates a barrier against future stains. |
Protect Your Investment in Quality Footwear
As a large-scale manufacturer, 3515 produces a comprehensive range of durable leather shoes and boots for distributors, brand owners, and bulk clients. Proper care extends the life of your footwear, and it starts with high-quality materials and construction.
Let us help you build a resilient product line that stands up to the elements. Contact our team today to discuss your footwear needs and discover our extensive production capabilities.
Visual Guide
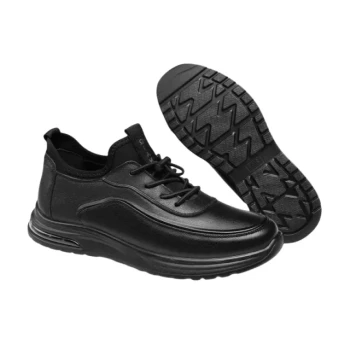
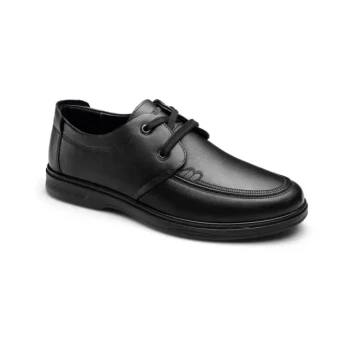
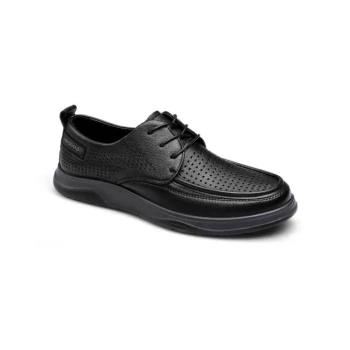
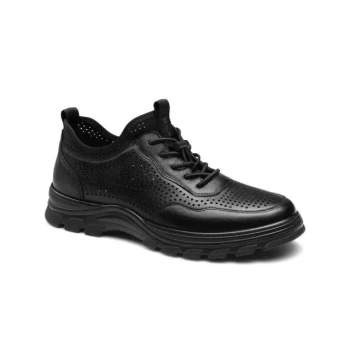
Related Products
- Factory Direct Wholesale Leather Comfort Shoes with Dial Closure
- Classic Leather Derby Dress Shoes Wholesale & Custom Manufacturing
- Custom Manufactured Air Cushion Leather Business Shoes for Wholesale
- Wholesale Comfort Leather Business Shoes with Dial Lacing System
- Wholesale Leather Apron Toe Derby Shoes Custom Factory Production
People Also Ask
- What are the options for waterproofing leather shoes? Protect Your Footwear for the Long Haul
- How can you polish leather footwear to renew its color and luster? A Step-by-Step Guide to a Professional Finish
- What are the best practices for storing leather shoes? Preserve Your Investment for Years to Come
- What are the maintenance requirements for leather shoes? A Complete Guide to Longevity
- What role do auxiliary materials play in leather shoe product mix optimization? Maximize Profit & Stability