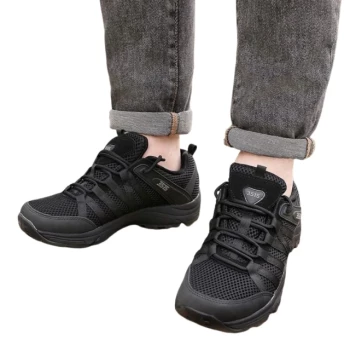
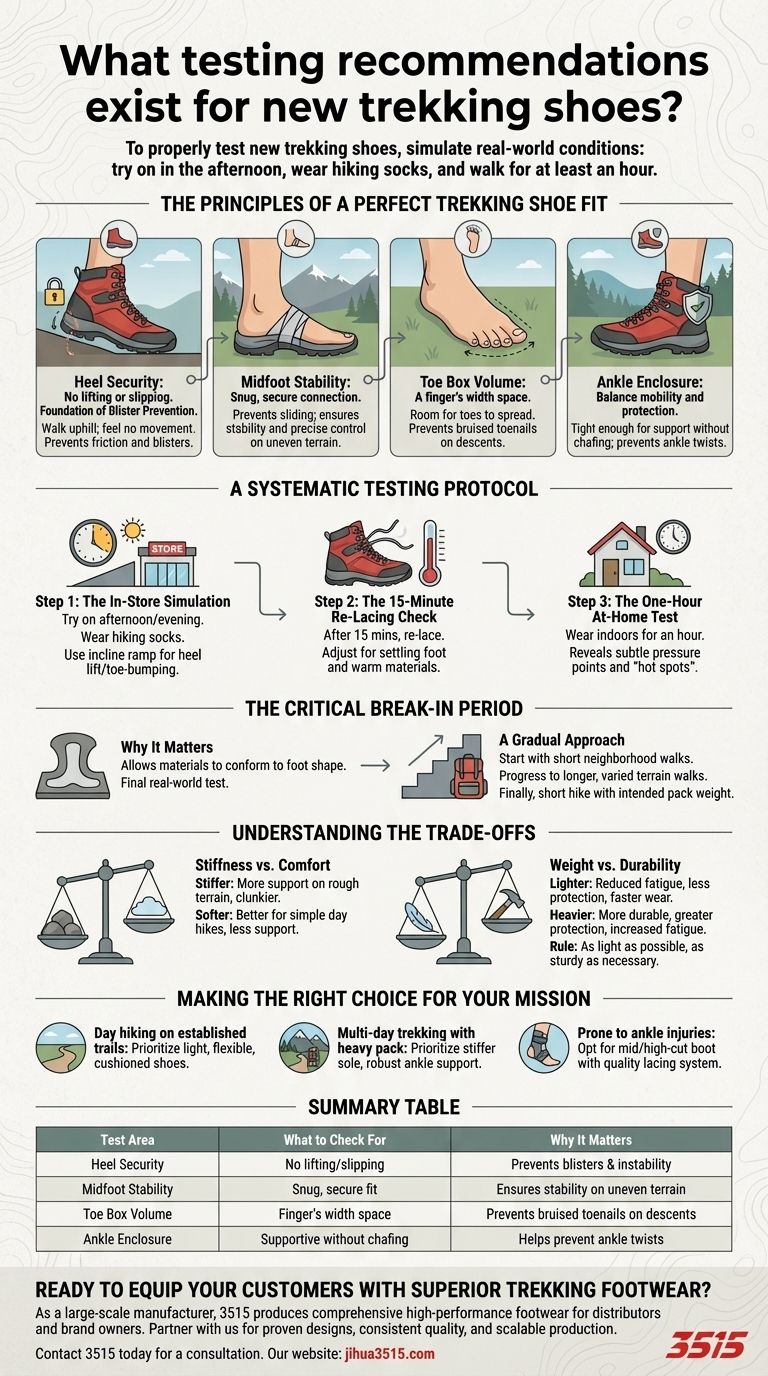
To properly test new trekking shoes, you must simulate real-world conditions as closely as possible. This involves trying them on in the afternoon when your feet are slightly swollen, wearing your intended hiking socks, and spending at least an hour walking in them. After about 15 minutes, you should re-lace them to adjust for the initial settling of your foot and the shoe's materials.
The goal of testing is not just to check for comfort, but to systematically validate the shoe's fit across several critical zones—heel, midfoot, and toe box—to prevent blisters, instability, and pain on the trail.

The Principles of a Perfect Trekking Shoe Fit
Before running tests, you must understand what you are testing for. A successful fit is a balance of security and space, ensuring your foot works with the shoe, not against it.
Heel Security: The Foundation of Blister Prevention
Your heel must be locked securely into the back of the shoe. Any lifting or slipping, especially when walking uphill, will cause friction and lead to painful blisters.
When you walk, you should feel no movement in your heel. This is the single most important aspect of a proper fit.
Midfoot Stability: Your Connection to the Shoe
The shoe should feel snug and secure around your midfoot. This prevents your foot from sliding forward or side-to-side inside the shoe, which is critical for stability on uneven terrain.
A well-fixed midfoot ensures the shoe responds precisely to your movements.
Toe Box Volume: The Rule of Finger-Width
You need adequate room for your toes to spread out. The standard is to have about a finger's width of space between your longest toe and the end of the shoe.
This space is crucial for preventing bruised toenails and discomfort during long descents when your foot naturally slides forward.
Ankle Enclosure: Balancing Mobility and Protection
For mid or high-cut boots, the ankle enclosure must be tight enough to provide support without chafing or restricting necessary movement. The lacing system is key to achieving this custom fit.
This support helps prevent ankle twists on rocky or unpredictable ground.
A Systematic Testing Protocol
Follow these steps to move from an initial try-on to a confident purchase. This methodical approach will reveal potential issues before you are miles from the trailhead.
Step 1: The In-Store Simulation
Always try on shoes in the afternoon or evening. Feet swell throughout the day, and this will give you the most accurate representation of their size during a hike.
Wear the exact type of socks you plan to hike in, as sock thickness dramatically impacts fit. If the store has an incline ramp, use it to test for heel lift (going up) and toe-bumping (going down).
Step 2: The 15-Minute Re-Lacing Check
After wearing the shoes for about 15 minutes, your body heat will warm the materials and your foot will settle into place.
Take the time to completely unlace and then re-lace the shoes. This allows you to fine-tune the fit and eliminate any initial looseness, giving you a truer feel for their long-term security.
Step 3: The One-Hour At-Home Test
Before committing, wear the shoes around your house on clean surfaces for at least an hour. This extended test can reveal subtle pressure points or "hot spots" that a quick walk around a store will miss.
This also keeps the shoes in returnable condition should you discover a deal-breaking fit issue.
The Critical Break-In Period
Purchasing the shoe is not the final step. Breaking them in properly is essential for molding them to your feet and ensuring they are trail-ready.
Why Breaking In Matters
The break-in period allows the stiffer materials of the shoe to conform to the unique shape of your foot. It also serves as a final, real-world test to confirm your choice before a major trek.
A Gradual Approach
Never wear brand-new shoes on a long, demanding hike. Start with short walks around your neighborhood.
Progress to longer walks on varied terrain, and finally, do a short hike with the pack weight you intend to carry. This gradual increase in stress will prepare both your feet and the shoes.
Understanding the Trade-offs
Choosing the right shoe also means understanding the inherent compromises in its design. No single shoe is perfect for every condition.
Stiffness vs. Comfort
Stiffer, more robust shoes provide superior support on rough, rocky terrain and when carrying a heavy pack. However, they can feel clunky and less comfortable for simple day hikes on flat trails.
Weight vs. Durability
The rule of thumb is to choose a shoe that is as light as possible but as sturdy as necessary. Lighter shoes reduce fatigue but may offer less protection and wear out faster than heavier, more durable models built for rugged use.
Making the Right Choice for Your Mission
Your final decision should be guided by your primary hiking objective.
- If your primary focus is day hiking on established trails: Prioritize a lighter, more flexible shoe with good cushioning for immediate comfort.
- If your primary focus is multi-day trekking with a heavy pack: Prioritize a stiffer sole and robust ankle support to handle the load and rough terrain.
- If you are prone to ankle injuries: Opt for a mid or high-cut boot with a quality lacing system that allows you to lock in your ankle securely.
Ultimately, investing time in this testing process is the best way to guarantee your footwear becomes a trusted tool, not a painful liability.
Summary Table:
| Test Area | What to Check For | Why It Matters |
|---|---|---|
| Heel Security | No lifting or slipping when walking, especially uphill. | Prevents painful blisters and instability. |
| Midfoot Stability | Snug, secure fit that prevents foot sliding. | Ensures stability and precise control on uneven terrain. |
| Toe Box Volume | A finger's width of space between longest toe and shoe end. | Prevents bruised toenails and discomfort on descents. |
| Ankle Enclosure | Supportive without chafing or restricting movement. | Helps prevent ankle twists on unpredictable ground. |
Ready to Equip Your Customers with Superior Trekking Footwear?
As a large-scale manufacturer, 3515 produces a comprehensive range of high-performance footwear for distributors, brand owners, and bulk clients. Our production capabilities encompass all types of trekking shoes and boots, designed to meet the exacting standards of comfort, durability, and support detailed in this guide.
Partner with us to offer your customers:
- Proven Designs: Footwear engineered based on real-world testing principles.
- Consistent Quality: Reliable manufacturing ensuring every pair meets specifications.
- Scalable Production: Capacity to fulfill large orders for distributors and brands.
Let's discuss how we can support your business with footwear that builds trust and loyalty.
Contact 3515 today for a consultation
Visual Guide
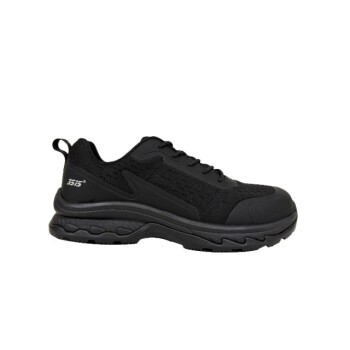
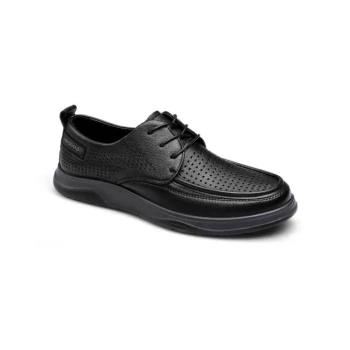
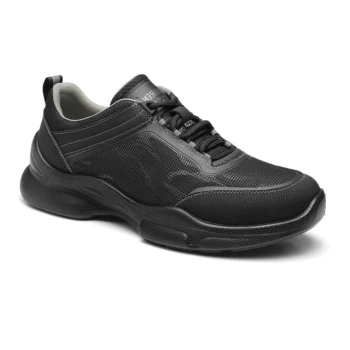
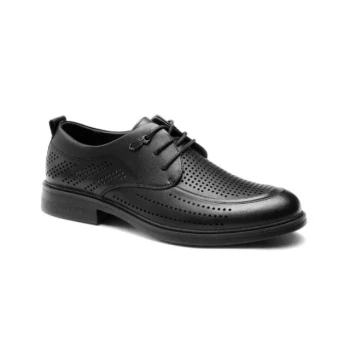
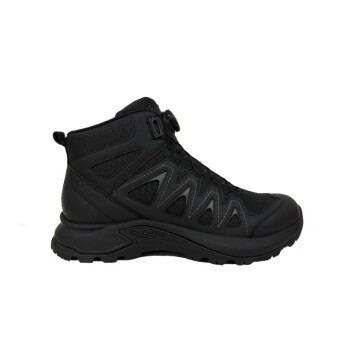
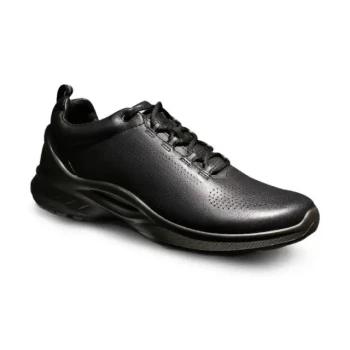
Related Products
- Durable Rubber Sole Outdoor Shoes Wholesale & Custom Manufacturing
- Wholesale Durable Camouflage Canvas Shoes with High-Traction Cleated Rubber Sole
- Wholesale Durable Camo Canvas Shoes with High-Traction Rubber Soles
- Wholesale Waterproof Tactical Boots Custom Suede & High-Traction Soles
- Durable Leather High-Ankle Tactical Boots for Wholesale & Custom Manufacturing
People Also Ask
- How is AI utilized in the design of outdoor and safety footwear? Harnessing Big Data for Market-Driven Shoe Innovation
- Why is investing in the right footwear important for outdoor adventures? Unlock Safety, Comfort, and Performance
- How do rubber soles affect a shoe's appearance? Defining Your Shoe's Style and Formality
- What are the key components of outdoor shoes that affect comfort and sturdiness? A Guide to Durable, High-Performance Footwear
- What is the function of the sole in outdoor shoes? Find the Perfect Grip and Support