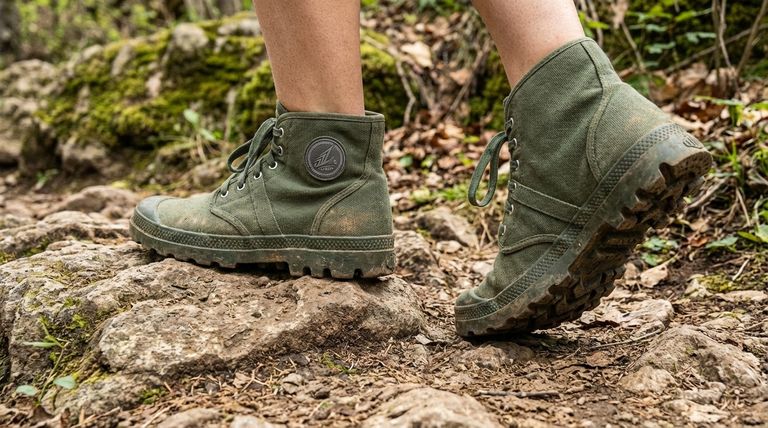
Before taking new boots on a long hike, you must break them in through a gradual process of wearing them on shorter walks. This allows the stiff materials to mold to your feet, revealing potential pressure points and "hot spots" before they can develop into painful, trip-ruining blisters.
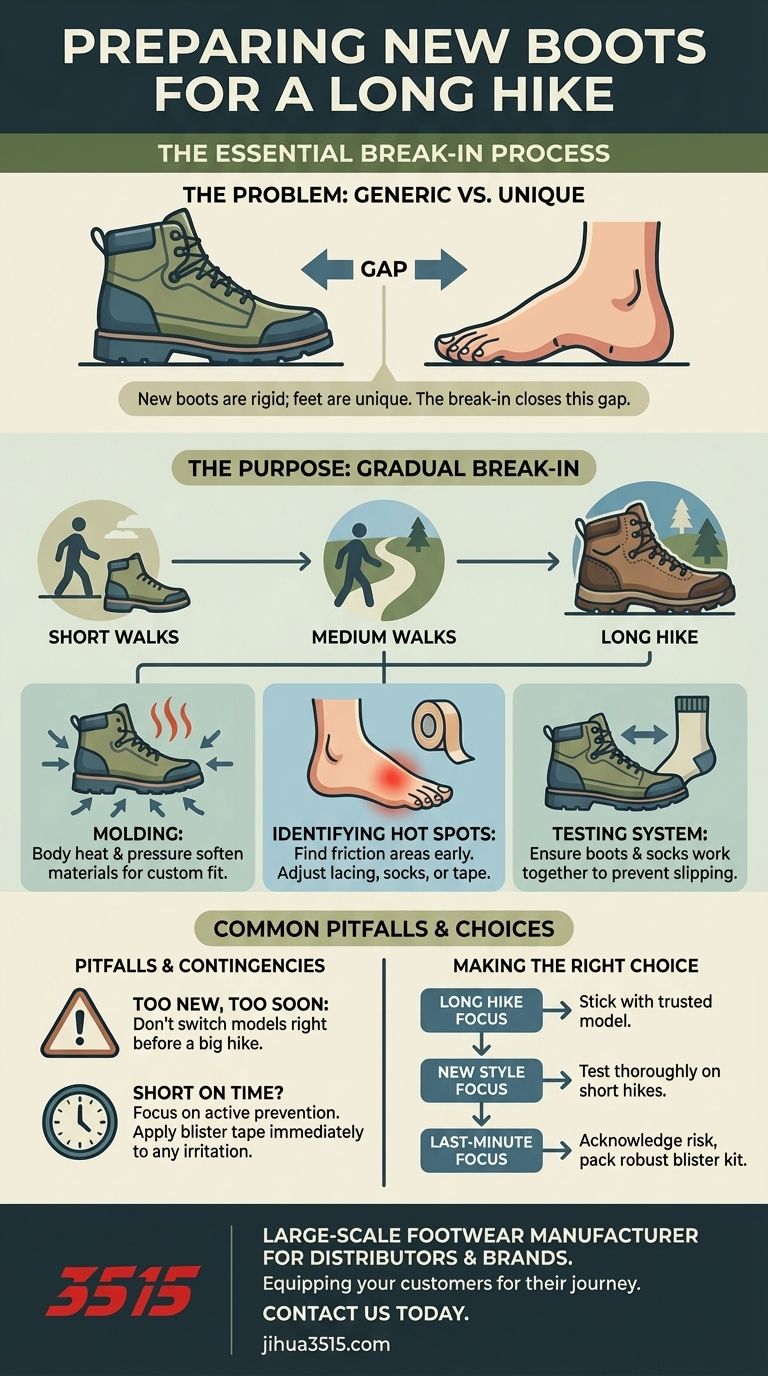
The core problem is that new hiking boots are generic and rigid, while your feet are unique. The break-in period is the essential process of closing that gap, ensuring the boot conforms to your foot and not the other way around.
The Purpose of Breaking In Your Boots
Embarking on a serious hike with brand-new, untested footwear is a common and painful mistake. The break-in process is a preventative measure designed to ensure comfort and prevent injury when you're miles from the trailhead.
Molding the Boot to Your Foot
New boots, especially those made of leather or durable synthetic materials, are stiff out of the box. Wearing them allows your body heat and the pressure of your movement to gradually soften and shape the material to the specific contours of your feet.
This molding process creates a custom fit that significantly enhances comfort and reduces friction over long distances.
Identifying and Addressing "Hot Spots"
A "hot spot" is an area of friction or pressure that signals an impending blister. It's nearly impossible to predict where these will occur without actually hiking in the boots.
Breaking boots in on shorter walks allows you to identify these problem areas early. You can then make adjustments to your lacing, try different socks, or know exactly where to apply preventative tape on your actual hike.
Testing Your Complete Footwear System
Your comfort depends on more than just the boot. It relies on the interaction between your boots and your socks.
The break-in period is the ideal time to test the exact socks you plan to wear on your long hike. This ensures the combination works well together and won't cause unexpected bunching, slipping, or friction.
Common Pitfalls and Contingency Plans
While the goal is a perfectly broken-in boot, it's crucial to understand common mistakes and have a backup plan. Rushing this process or ignoring warning signs often leads to discomfort.
The Danger of "Too New, Too Soon"
Many hikers, especially when preparing for a significant trip, are tempted to buy a new, advanced model of boot. However, switching to an unfamiliar style right before a long-distance hike is a significant risk.
Even if you follow a break-in process, a new model might simply be a poor fit for your foot shape, an issue you only discover once you're committed to the trail.
What to Do If Time Is Short
Ideally, you have weeks to break in new boots. If time is limited, you must shift your focus from perfect preparation to active prevention.
Even a few short wears can help, but your most critical tool will be blister-prevention tape (such as moleskin or athletic tape). Carry it with you and apply it to any area that feels even slightly warm or irritated immediately, before a blister has a chance to form.
Making the Right Choice for Your Hike
Your approach to new footwear should match the importance of your hike. A casual day hike allows for experimentation, while a multi-day trek demands reliability.
- If your primary focus is a major long-distance hike: Stick with a shoe model you know and trust. If you must buy a new pair, get the same model you've used before.
- If your primary focus is trying a new style of boot: Test it thoroughly on multiple shorter day hikes with varying terrain before committing it to a significant trip.
- If your primary focus is a last-minute purchase: Acknowledge the risk and pack a robust blister-prevention kit, being hyper-aware of any hot spots that develop on the trail.
Ultimately, preparing your footwear is about taking control of your comfort to ensure your experience on the trail is a positive one.
Summary Table:
| Break-In Step | Purpose | Key Takeaway |
|---|---|---|
| Wear on Short Walks | Mold stiff materials to your foot shape. | Creates a custom fit and enhances comfort. |
| Identify Hot Spots | Find areas of friction before they become blisters. | Allows for adjustments in lacing or sock choice. |
| Test with Your Socks | Ensure the complete footwear system works together. | Prevents unexpected bunching or slipping. |
| Have a Contingency Plan | Be prepared if time is short or issues arise. | Carry blister-prevention tape for immediate use. |
Ready for Your Next Adventure with the Perfect Boots?
As a large-scale manufacturer, 3515 produces a comprehensive range of durable and comfortable footwear for distributors, brand owners, and bulk clients. Our production capabilities encompass all types of hiking boots and shoes, designed for performance and reliability on any trail.
Let us help you equip your customers for their next journey. Whether you need a reliable model for long-distance hikes or a new style to test on varied terrain, we have the expertise and capacity to deliver.
Contact our team today to discuss your footwear needs and discover how we can be your trusted manufacturing partner.
Visual Guide
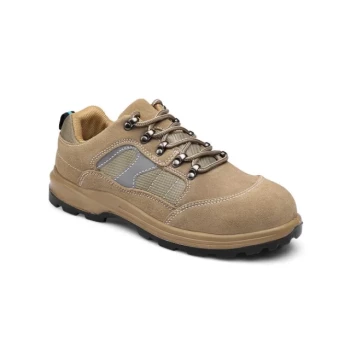
Related Products
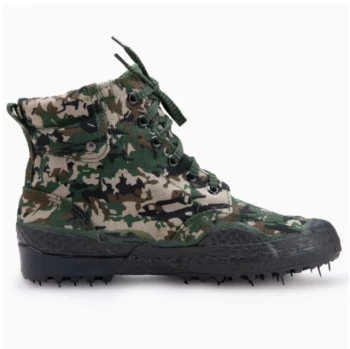
- Wholesale High-Traction Camo Boots - Custom Manufacturer for Brands
- Durable Rubber Sole Outdoor Shoes Wholesale & Custom Manufacturing
- Durable Spiked Camouflage Boots Wholesale & Factory Production
- Wholesale Lightweight Tactical Boots Custom Manufacturer for Desert & Combat Use
- Wholesale Waterproof Tactical Boots Custom Suede & High-Traction Soles
People Also Ask
- What should be considered when using the lace length chart for hiking and work boots? A Safety Guide
- Why is traction an essential feature in work boots? Prevent Slips and Ensure Workplace Safety
- What are the advantages of custom-made work boots? Unlock Perfect Fit & Superior Durability
- Are camo boots necessary for hunting success? Prioritize Performance Over Pattern
- How does the Rank Score Test identify the primary causes of premature failure in tactical and work boots? Key Insights