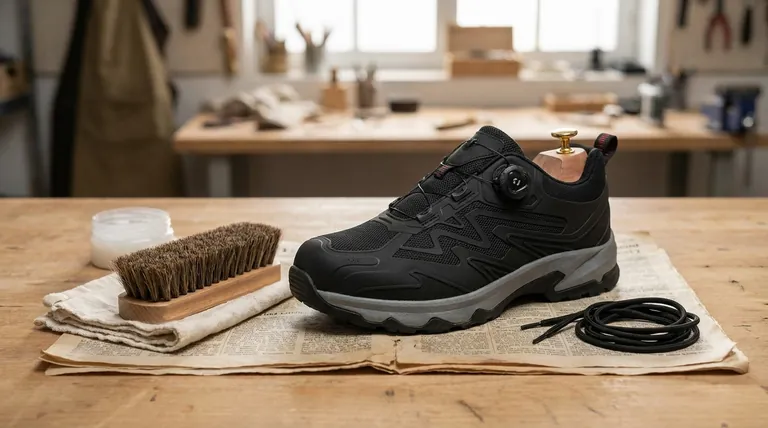
Proper preparation is a non-negotiable first step. Before any cleaning solution touches your shoes, you must protect your workspace with newspaper, remove the shoelaces completely, and insert shoe trees to provide a firm, stable surface for cleaning.
The goal of preparation is twofold: to protect your surroundings from mess and to maintain the shoe's structural integrity, ensuring a more effective and even cleaning process.
Why Preparation Dictates Your Final Result
Every step you take before the actual cleaning begins sets the stage for success or failure. Rushing this phase is the most common mistake, leading to sloppy results and potential damage to the shoe or surrounding surfaces.
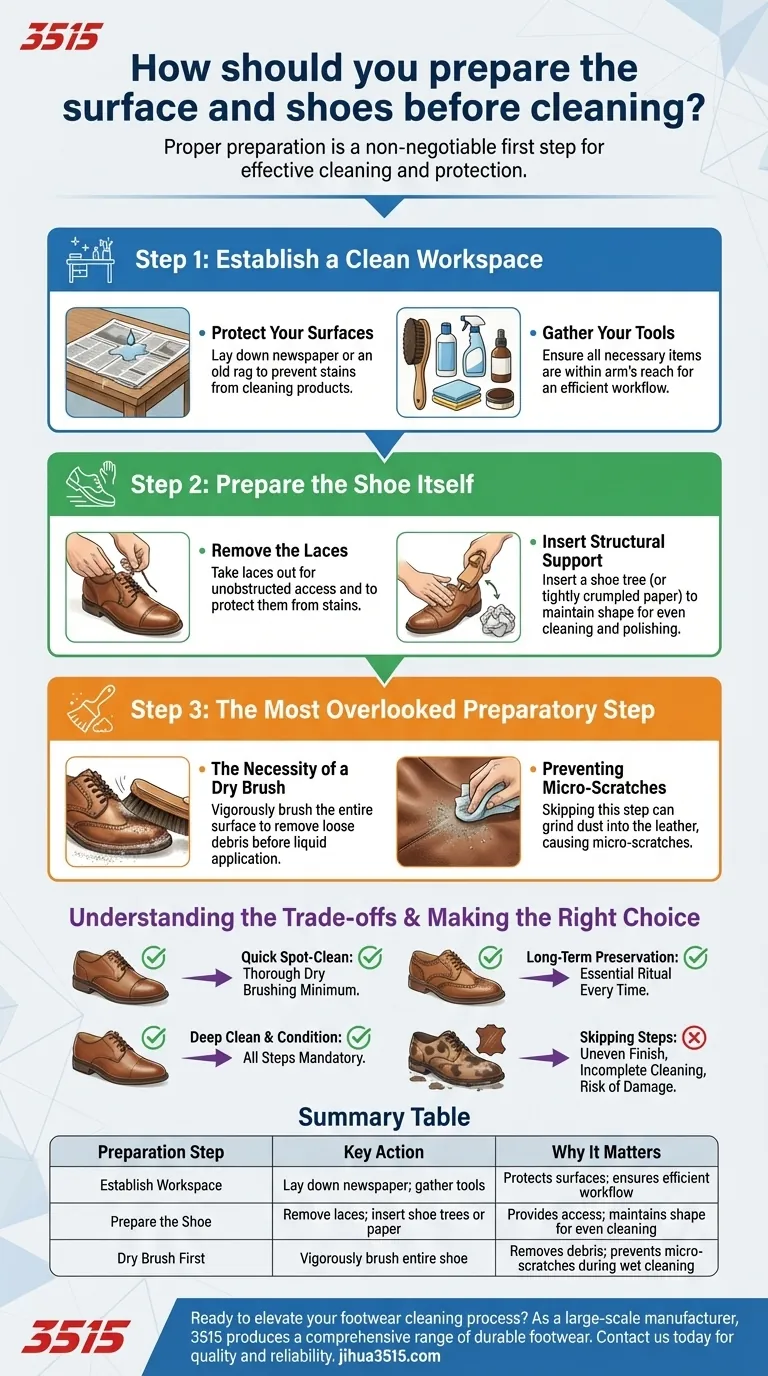
Step 1: Establish a Clean Workspace
Your first priority is containment. Cleaning products, dirt, and polish can easily create a mess that is harder to clean than the shoes themselves.
Protect Your Surfaces Lay down newspaper or an old rag over your table or floor. This simple action prevents stains from water, cleaner, or polish, saving you from a secondary cleanup task.
Gather Your Tools Ensure all necessary items—brushes, cleaners, conditioners, and cloths—are within arm's reach. This creates an efficient workflow and prevents you from having to step away with dirty hands.
Step 2: Prepare the Shoe Itself
Preparing the shoe is about ensuring you can access every part of it and that it holds its shape against the pressure of brushing and scrubbing.
Remove the Laces Always take the shoelaces out. This provides unobstructed access to the shoe's tongue and eyelet area, which are common collection points for dust and dirt. It also protects your laces from getting stained by cleaning products.
Insert Structural Support Insert a shoe tree into each shoe. This is the most critical step for a professional-level clean. Shoe trees smooth out creases and create a firm, consistent surface, making it significantly easier to apply cleaners and polish evenly.
The Shoe Tree Alternative If you do not own shoe trees, tightly crumpled paper is a functional substitute. While it doesn't provide the same firm support or moisture-wicking benefits as a cedar shoe tree, it will help the shoe hold its basic shape.
Step 3: The Most Overlooked Preparatory Step
Before any liquid cleaners are applied, you must remove all loose surface debris.
The Necessity of a Dry Brush Use a horsehair brush to vigorously brush the entire surface of the shoe. Pay special attention to the welt—the seam where the shoe upper meets the sole—as this is where dirt loves to accumulate.
Preventing Micro-Scratches Skipping this step means you will grind existing dust and grit into the leather when you apply a liquid cleaner. These abrasive particles can create tiny scratches and damage the finish over time.
Understanding the Trade-offs
Each preparatory step has a purpose. Bypassing them may save a minute or two, but it comes at a cost to the final outcome and the long-term health of your footwear.
The Impact of Skipping a Shoe Tree
Without a firm internal structure, the leather will flex and bend as you clean. This makes it nearly impossible to work cleaner into deep creases and can result in a blotchy, uneven finish.
The Consequence of Leaving Laces In
Cleaning around laces is inefficient and incomplete. You will inevitably miss the area underneath them, and the laces themselves will become soiled with displaced dirt and cleaning agents.
The Risk of Not Dry Brushing First
Applying a wet cloth or cleaner to a dusty shoe turns that dust into a muddy abrasive. You are essentially rubbing a fine-grit sandpaper across the leather, which can dull the finish and degrade the material.
Making the Right Choice for Your Goal
Your level of preparation should match the outcome you desire.
- If your primary focus is a quick spot-clean: At a minimum, perform a thorough dry brushing to remove the worst of the surface dirt before targeting the spot.
- If your primary focus is a deep clean and condition: All steps are mandatory. Using a shoe tree is especially critical for working conditioning products evenly into the leather.
- If your primary focus is long-term shoe preservation: Treat this entire preparation process as an essential, non-negotiable ritual for every cleaning session.
Ultimately, proper preparation is what separates a routine cleaning from a true restoration.
Summary Table:
| Preparation Step | Key Action | Why It Matters |
|---|---|---|
| Establish Workspace | Lay down newspaper; gather tools | Protects surfaces; ensures efficient workflow |
| Prepare the Shoe | Remove laces; insert shoe trees or paper | Provides access; maintains shape for even cleaning |
| Dry Brush First | Vigorously brush entire shoe with horsehair brush | Removes debris; prevents micro-scratches during wet cleaning |
Ready to elevate your footwear cleaning process? As a large-scale manufacturer, 3515 produces a comprehensive range of durable footwear for distributors, brand owners, and bulk clients. Our expertise ensures your products are built to last and easy to maintain. Contact us today to discuss your footwear needs and discover how we can support your business with quality and reliability.
Visual Guide
Related Products
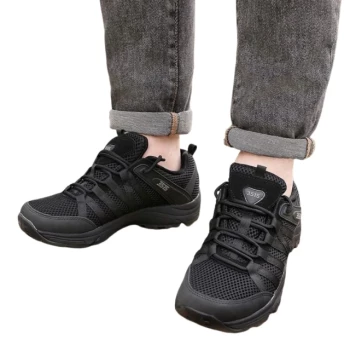
- Wholesale Durable Camouflage Canvas Shoes with High-Traction Cleated Rubber Sole
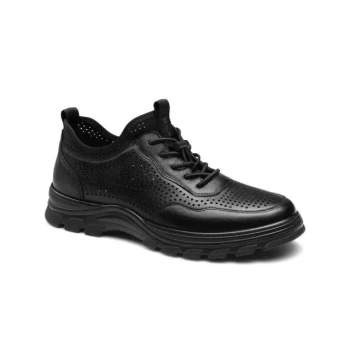
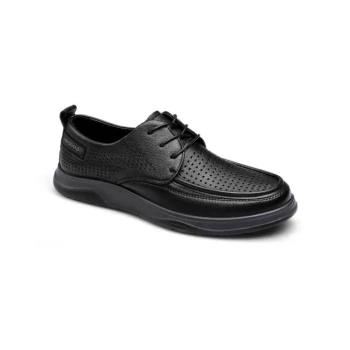
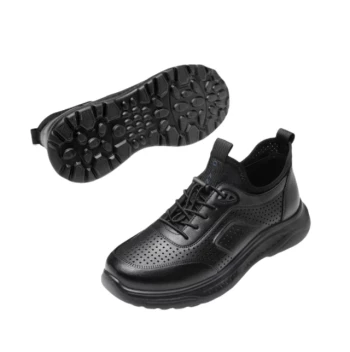
- Wholesale Modern Perforated Leather Derby Shoes with Chunky Sole for Custom Branding
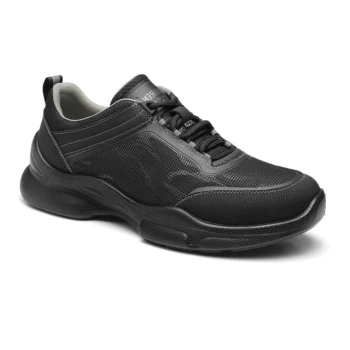
- Wholesale Breathable Training Shoes Custom Athletic Footwear Manufacturer
- Wholesale Breathable Perforated Leather Derby Shoes with Modern Comfort Sole
- Lightweight Breathable Training Shoes for Wholesale & Custom OEM Manufacturing
People Also Ask
- What are some examples of vulcanized shoes? Discover the Flexibility and Board Feel of Classic Sneakers
- Why is it important to give new shoes time to break in? Achieve a Perfect, Pain-Free Fit
- What impression do quality shoes create in social situations? Elevate Your Image with Lasting Style
- What are some alternative shoe options that work well with jeans? Elevate Your Style Beyond Sneakers
- What is the environmental impact of conventional footwear manufacturing? The Hidden Costs of Your Shoes