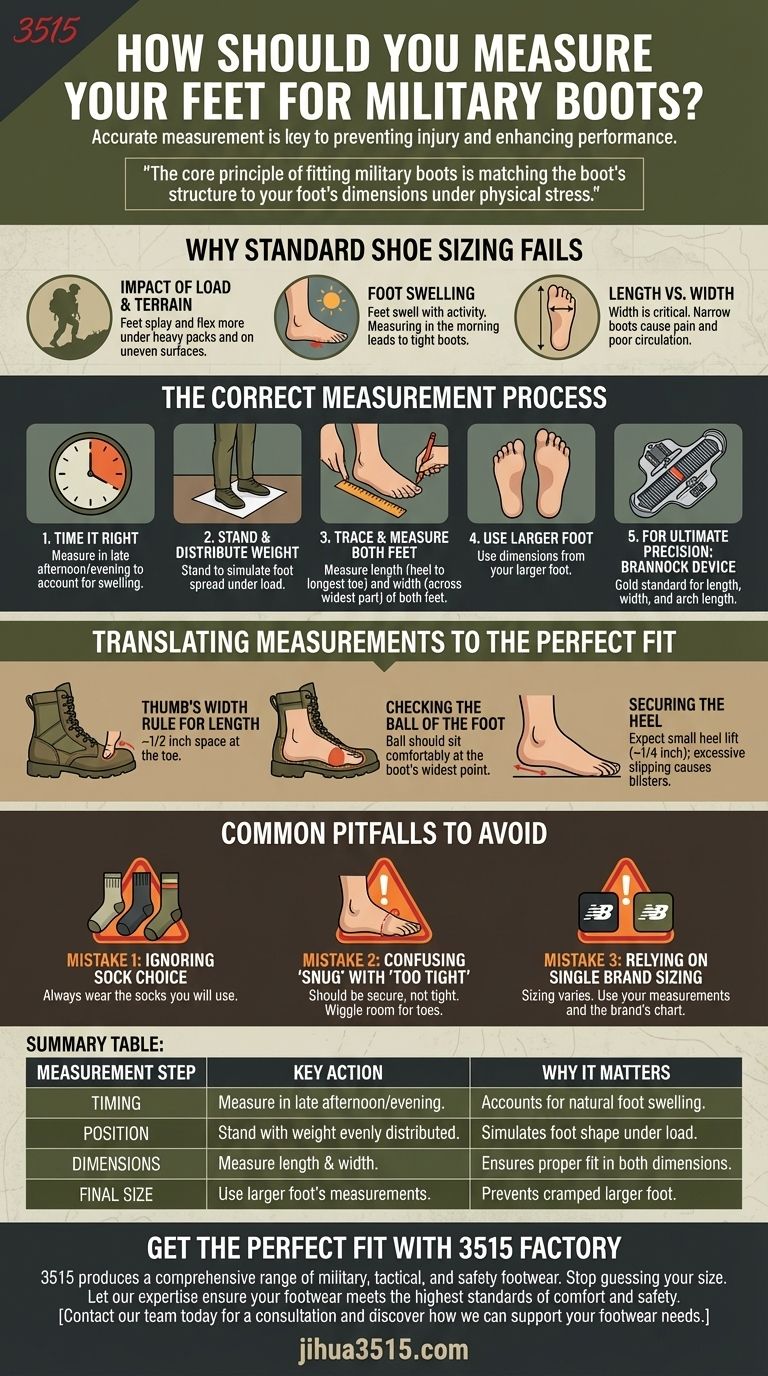
To accurately measure your feet for military boots, you must measure both feet at the end of the day while standing, accounting for both length and width. This method ensures you are sizing for your foot's largest potential size, preventing the friction and pressure that lead to blisters, hot spots, and long-term foot injury under demanding conditions.
The core principle of fitting military boots is not about finding your casual shoe size; it's about matching the boot's structure to your foot's dimensions under physical stress. A correct fit is a critical piece of equipment that prevents injury and enhances performance.
Why Standard Shoe Sizing Fails
Your everyday sneaker size is an unreliable guide for performance footwear. Military boots must function under conditions that dramatically alter how your feet behave inside the boot.
The Impact of Load and Terrain
Carrying a heavy pack and navigating uneven ground forces your feet to splay and flex more than they do during normal walking. A boot that feels fine when you're standing still can become restrictive and painful under load.
The Problem of Foot Swelling
Over the course of a day, and especially during strenuous activity, your feet will swell due to increased blood flow. Measuring in the morning can lead you to choose a size that becomes painfully tight by the afternoon.
Length vs. Width: Two Dimensions of Fit
Many people focus only on the length of their foot, but width is equally critical. A boot that is too narrow will compress the ball of your foot, causing pain and poor circulation.
The Correct Measurement Process
For an accurate measurement, you need to account for your foot's true, "loaded" shape. This can be done precisely with a professional tool or reliably at home.
Step 1: Time Your Measurement Correctly
Always measure your feet in the late afternoon or evening. This captures their size after they have naturally swollen throughout the day.
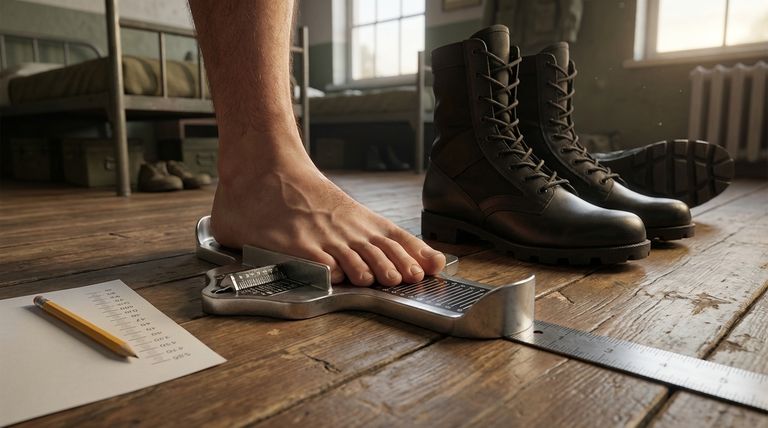
Step 2: Stand and Distribute Your Weight
Place a piece of paper on a hard floor. Stand on it with one foot, ensuring your weight is evenly distributed. Do not measure while sitting, as this doesn't account for the natural spread of your foot under your body weight.
Step 3: Trace and Measure Both Feet
Have someone else trace the outline of your foot, or do it carefully yourself. Use a ruler to measure the distance from the back of your heel to the tip of your longest toe (length) and across the widest part of your foot (width). Repeat for the other foot.
Step 4: Use the Larger Foot's Dimensions
Almost everyone has one foot that is slightly larger than the other. Always use the measurements from your larger foot to determine your boot size.
Step 5: For Ultimate Precision, Use a Brannock Device
A Brannock device, found at most quality footwear stores, is the gold standard. It measures not only length and width but also your arch length, which helps determine the correct flex point for the boot.
Translating Measurements to the Perfect Fit
Once you have your numbers, you need to know how the boot should feel on your foot.
The "Thumb's Width" Rule for Length
When trying on boots, there should be about a thumb's width of space (approximately half an inch) between your longest toe and the end of the boot. This prevents your toes from slamming into the front, especially during downhill movements.
Checking the Ball of the Foot
The widest part of your foot (the ball) should sit comfortably in the widest part of the boot. The boot should flex at the same point your foot naturally flexes.
Securing the Heel
You should expect a small amount of heel lift (no more than a quarter-inch) when you walk. However, excessive slipping indicates the heel pocket is too large, which will cause blisters.
Common Pitfalls to Avoid
A small mistake in the fitting process can lead to significant problems in the field.
Mistake 1: Ignoring Your Sock Choice
Always measure and try on boots with the same type of sock you will wear with them. A thick wool or padded sock can easily change your required size.
Mistake 2: Confusing "Snug" with "Too Tight"
The boot should feel snug and secure around your foot, especially at the heel and instep, but it should not be tight. You should be able to wiggle your toes freely.
Mistake 3: Relying on a Single Brand's Sizing
Sizing is not consistent between manufacturers. A size 10 from one brand may fit completely differently from another. Always refer to your actual foot measurements and the brand's specific sizing chart.
Making the Right Choice for Your Goal
Your specific mission dictates which elements of fit to prioritize. Use this checklist to ensure your boots are aligned with your needs.
- If your primary focus is long-distance marching: Prioritize the "thumb's width" rule to protect your toes from repeated impact and allow for natural foot swell.
- If your primary focus is stability on rugged terrain: Ensure a secure fit around the heel and ankle to prevent internal foot slippage and potential ankle injuries.
- If you are buying your first pair of high-performance boots: Get measured professionally with a Brannock device to establish an accurate baseline for your length and, critically, your width.
Ultimately, a correctly fitted boot is the foundation for your safety, comfort, and operational effectiveness.
Summary Table:
| Measurement Step | Key Action | Why It Matters |
|---|---|---|
| Timing | Measure feet in the late afternoon/evening. | Accounts for natural foot swelling during activity. |
| Position | Stand with weight evenly distributed. | Simulates the foot's shape under load. |
| Dimensions | Measure length (heel to longest toe) and width (across the ball). | Ensures a proper fit in both dimensions. |
| Final Size | Use the measurements from your larger foot. | Prevents the larger foot from being cramped. |
Get the Perfect Fit with 3515 Factory
As a large-scale manufacturer, 3515 produces a comprehensive range of military, tactical, and safety footwear for distributors, brand owners, and bulk clients. Our production capabilities encompass all types of boots designed for durability and performance under demanding conditions.
Stop guessing your size. Let our expertise ensure your footwear meets the highest standards of comfort and safety. Contact our team today for a consultation and discover how we can support your footwear needs.
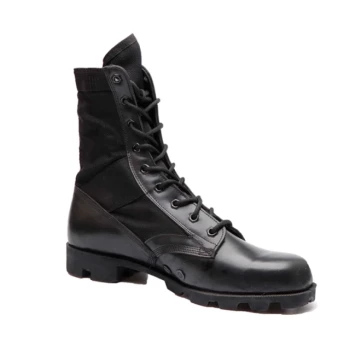
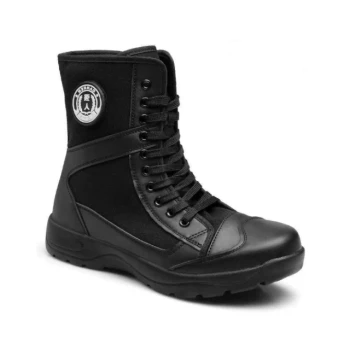
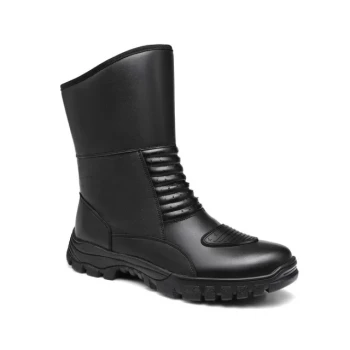
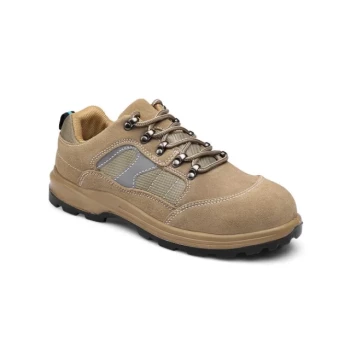
Visual Guide
Related Products
- Durable Military Combat Boots with Water Drainage for Wholesale & OEM
- High-Traction Suede Tactical Boots Wholesale & Custom Manufacturing
- Durable High-Ankle Tactical Boots for Wholesale & Custom Manufacturing
- Durable Mid-Cut Tactical Boots for Wholesale & Private Label
- Wholesale Waterproof Tactical Boots Custom Suede & High-Traction Soles
People Also Ask
- How does hiking terrain affect the suitability of military boots? Match Your Boots to the Trail for Optimal Performance
- What other boot brands are used by Bravo sporadically? Discover Their Tactical Footwear Strategy
- What is the proper way to measure feet for military boots? Get a Perfect Fit for Mission Readiness
- Are military boot requirements standardized across all branches? Key Differences & Compliance Guide
- What are some specialized military boot types for different environments? Choose the Right Gear for Any Mission