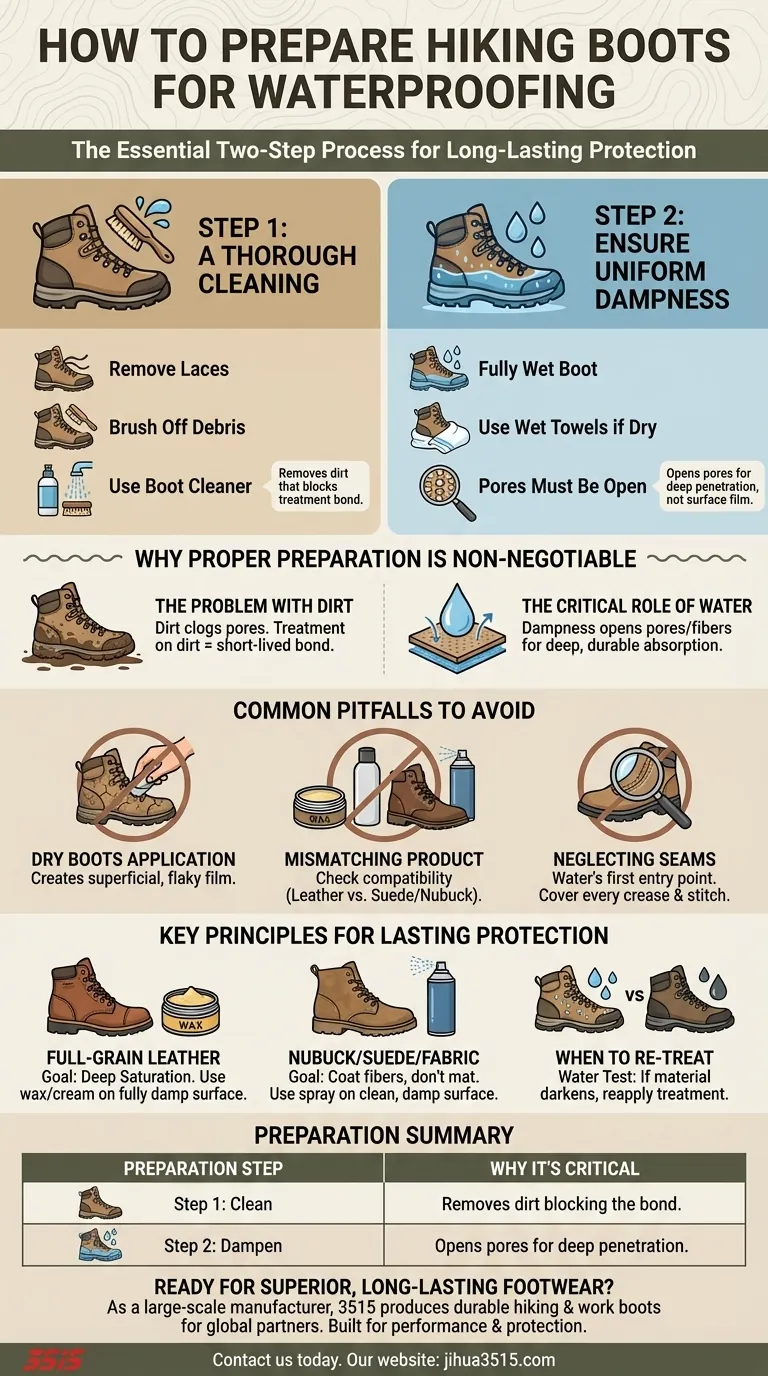
To properly prepare your hiking boots for waterproofing, you must first clean them thoroughly and then ensure they are fully damp before applying any treatment. This two-step process removes debris that can block the treatment and opens up the material's pores, allowing for deeper penetration and a more durable water-repellent bond.
The core principle of boot preparation is simple: a clean, uniformly damp surface is not just a suggestion, but a requirement for the waterproofing treatment to absorb correctly and deliver maximum, long-lasting protection.
Why Proper Preparation is Non-Negotiable
Applying a waterproofing agent to a dirty or dry boot is the most common cause of treatment failure. Understanding the "why" behind each step ensures you get the performance you expect from your gear.
The Problem with Dirt and Grime
Dirt, dust, and mud clog the pores of both leather and synthetic fabric. Attempting to apply a treatment over this layer is like painting over wallpaper—the agent bonds to the dirt, not the boot, and will quickly wear away.
The Critical Role of Water
Applying treatment to a thoroughly damp boot is essential. Water opens up the pores of leather and the fibers of synthetic fabrics, allowing the waterproofing treatment to penetrate deeply rather than just sitting on the surface. A surface-level treatment will wear off quickly with use.
The Step-by-Step Preparation Process
Follow these two stages precisely for optimal results. Do not skip a step, as each one builds on the last.
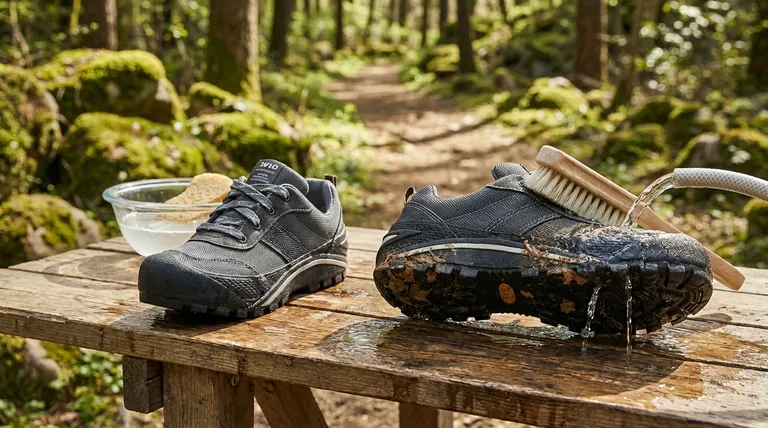
Step 1: A Thorough Cleaning
First, you must create a clean slate for the treatment to adhere to.
Remove the laces from your boots to ensure you can access the entire tongue and all hidden crevices.
Use a soft-bristled brush to remove all caked-on mud, dust, and surface-level debris.
For a deeper clean, use running water and a specialized boot cleaner. This removes the fine, embedded grime that a dry brush can't reach.
Step 2: Ensure Uniform Dampness
This is the most critical and often overlooked step. The boot should be wet, not just lightly misted.
If you just finished cleaning your boots with water, they are likely ready. The goal is a uniformly dark and saturated look across the entire outer material.
If your boots have dried after cleaning, you must re-wet them. The most effective method is to wrap them in very wet towels or rags for a few hours until the material is fully soaked.
Common Pitfalls to Avoid
Even with perfect preparation, a few common mistakes can undermine your efforts. Being aware of them is half the battle.
Applying Treatment to Dry Boots
This is the primary mistake. A treatment applied to dry leather or fabric creates a superficial film that can crack and flake off with the boot's natural flexing, offering minimal and short-lived protection.
Mismatching Product to Material
Waterproofing treatments are not one-size-fits-all. A heavy wax designed for full-grain leather can ruin the napped texture of suede or nubuck. Always read the product label to ensure it's compatible with your boot's material.
Neglecting the Seams and Hardware
Water's first point of entry is often at the seams or around lace hardware. Pay extra attention to these areas during application, ensuring every crease and stitch is fully covered. For sprays, this may require a few extra coats in these specific spots.
Key Principles for Lasting Protection
Use this guidance to ensure your waterproofing efforts stand the test of time and terrain.
- If you have full-grain leather boots: Your goal is deep saturation. Use a wax or cream-based product on fully damp leather, allowing it to penetrate deeply.
- If you have nubuck, suede, or fabric boots: Your goal is to coat the fibers without matting the texture. Use a spray-on treatment, applying thin, even coats to a clean and damp surface.
- If you are unsure when to re-treat: Perform a simple water test. If water no longer beads up and rolls off the boot and instead darkens the material, it is time to reapply the treatment.
Ultimately, preparing your boots correctly is a small investment of time that pays huge dividends in comfort and durability on the trail.
Summary Table:
| Preparation Step | Key Action | Why It's Critical |
|---|---|---|
| Step 1: Clean | Remove laces, brush off debris, and use a boot cleaner. | Removes dirt that blocks the treatment from bonding to the boot material. |
| Step 2: Dampen | Ensure the boot is fully and uniformly wet, not just misted. | Opens material pores for deep treatment penetration, preventing a surface-level film that cracks. |
Ready to equip your customers with superior, long-lasting footwear? As a large-scale manufacturer, 3515 produces a comprehensive range of durable hiking and work boots for distributors, brand owners, and bulk clients. Our production capabilities ensure every pair is built for performance and protection. Contact us today to discuss your footwear needs and discover how we can add value to your product line.
Visual Guide
Related Products
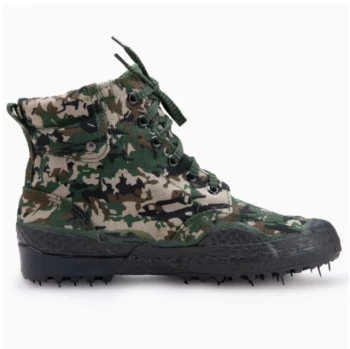
- Wholesale High-Traction Camo Boots - Custom Manufacturer for Brands
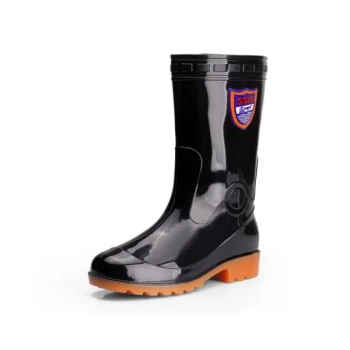
- Durable Rubber Sole Outdoor Shoes Wholesale & Custom Manufacturing
- Durable Spiked Camouflage Boots Wholesale & Factory Production
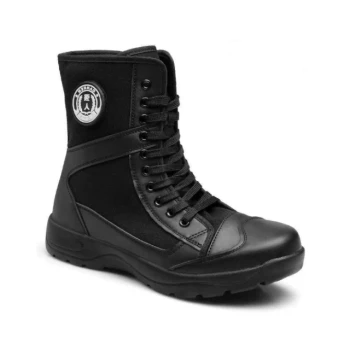
- Wholesale Lightweight Tactical Boots Custom Manufacturer for Desert & Combat Use
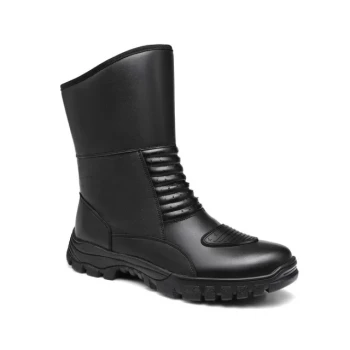
- Wholesale Waterproof Tactical Boots Custom Suede & High-Traction Soles
People Also Ask
- What should be considered when using the lace length chart for hiking and work boots? A Safety Guide
- What makes wide CAM boots different from standard CAM boots? A Guide to Choosing the Right Fit for Healing
- How does the Rank Score Test identify the primary causes of premature failure in tactical and work boots? Key Insights
- What is the technical logic behind using closed-eye testing for tactical boots? Unlocking Peak Footwear Stability
- What are the key features of the new line of camo boots? Built for Extreme Cold & Rugged Terrain