The recommended method is to apply a light, even coat of All Natural Boot Oil to the leather after it has been cleaned and is completely dry. You can use your fingers, a soft cloth, or a sponge to work a small, quarter-sized amount of the oil into the material, ensuring full but not oversaturated coverage. This process is essential for replenishing the natural oils in the leather, maintaining its health and extending the life of your footwear.
The core principle of caring for Waterproof & Oiled leather is not just a single action but a deliberate sequence: Clean, Condition, and Protect. Conditioning is the vital middle step that keeps the material supple and durable, preserving its unique, rugged characteristics.

The Purpose of Conditioning
Proper care begins with understanding the material itself. Waterproof & Oiled leather is designed for durability and has a distinct, natural appearance due to minimal finishing.
Understanding the Leather's Properties
Waterproof & Oiled leather is engineered to be exceptionally durable, waterproof, and resistant to stains and perspiration. Its unique properties come from the specific oils infused into the hide during the tanning process.
Why Conditioning is Essential
Regular use and exposure to the elements can deplete these essential oils, causing the leather to dry out, become stiff, and potentially crack over time.
Conditioning with a product like All Natural Boot Oil replenishes these oils. This simple step keeps the leather fibers flexible and strong, significantly extending the functional life of your boots.
The Complete Care Process
Conditioning is a critical step, but it is most effective when performed as part of a complete maintenance routine.
Step 1: Clean the Leather
Before applying any conditioner, you must remove all surface dirt and grime. Applying oil over a dirty boot can trap abrasive particles, which can damage the leather over time.
Use a dedicated product like Waterproof Leather Cleaner and a brush to gently clean the entire surface, then allow the footwear to dry completely.
Step 2: Apply the Conditioner
Once the boots are dry, apply the conditioner. Use your fingers or a clean cloth to rub a quarter-sized scoop of boot oil into the leather.
Holding the boot from the inside for support, work the oil in with gentle, circular motions to ensure a light, even coat. The goal is to nourish the leather, not to oversaturate it.
Step 3: Protect the Surface
After conditioning, the final step is to apply a protectant. A product like Leather Protector creates an invisible shield against water and dirt.
Lightly mist the protector over the boots from a distance of six to eight inches. This barrier helps maintain the leather's integrity and appearance without significantly darkening it.
Common Pitfalls to Avoid
Correct application is just as important as using the right products. Avoiding common mistakes is key to preserving your footwear.
The Mistake of Over-Conditioning
More is not better. Applying too much oil can oversaturate the leather, making it feel greasy, attract more dirt, and potentially clog its pores. Stick to a light, thin layer.
Skipping the Cleaning Step
Never apply conditioner to dirty leather. This is the most common and damaging mistake, as it grinds dirt and grit directly into the leather's fibers, accelerating wear and tear.
Using the Wrong Products
This specialized leather requires specific care. Avoid using generic polishes or conditioners not formulated for oiled leathers, as they can damage the finish or compromise its waterproof qualities.
How to Apply This to Your Goal
Your maintenance schedule should align with how you use your footwear.
- If your primary focus is routine maintenance: A light conditioning after cleaning every few months is sufficient to keep the leather healthy.
- If your primary focus is maximum weather protection: Follow the full "Clean, Condition, Protect" cycle before and after exposure to harsh conditions like rain, mud, or snow.
- If your primary focus is preserving the original look: Use all products sparingly to minimize any darkening effect and maintain the leather's natural texture.
Proper care is a simple investment that ensures your Waterproof & Oiled leather goods will perform for years to come.
Summary Table:
| Step | Key Action | Purpose |
|---|---|---|
| 1. Clean | Use a dedicated leather cleaner & brush. | Remove dirt and grime to prevent damage during conditioning. |
| 2. Condition | Apply a light, even coat of All Natural Boot Oil. | Replenish natural oils to keep leather supple and strong. |
| 3. Protect | Apply a Leather Protector spray. | Create a shield against water and dirt without darkening the leather. |
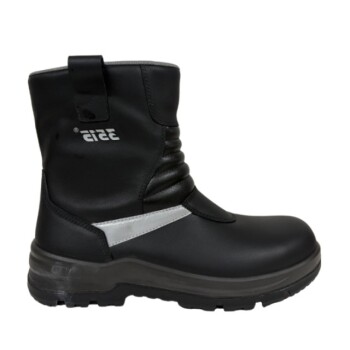
Need durable, high-quality leather footwear for your customers? As a large-scale manufacturer, 3515 produces a comprehensive range of boots and shoes built to last. Our expertise in materials like Waterproof & Oiled leather ensures your clients receive products designed for longevity and performance. Let's discuss how we can support your brand or distribution needs. Contact our team today for a consultation.
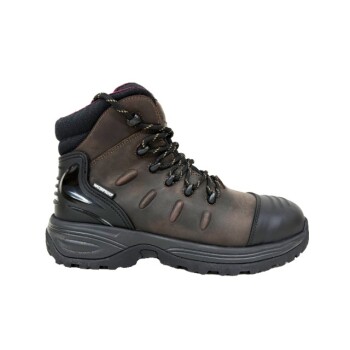
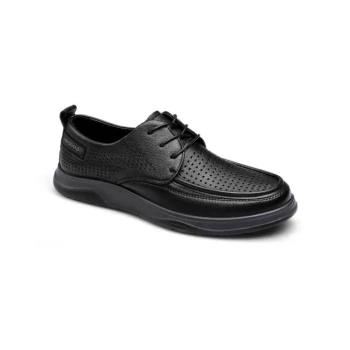
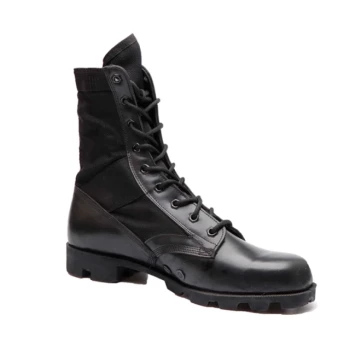
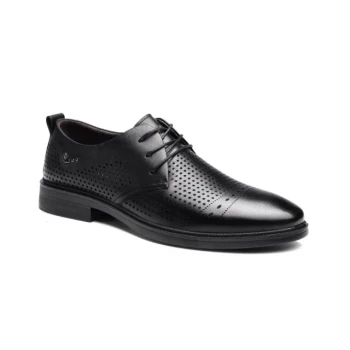
Visual Guide

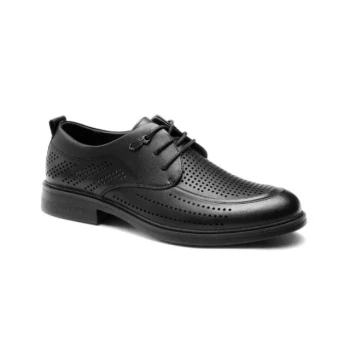
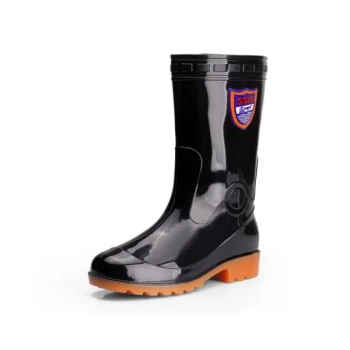
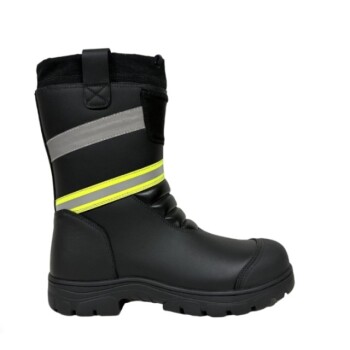
Related Products
- Premium Oil Wax Leather Safety Boots for Bulk Purchase
- Wholesale Waterproof Tactical Boots Custom Suede & High-Traction Soles
- Durable Leather Tactical Boots Wholesale & Custom Manufacturing for Brands
- Durable Leather Work Boots Wholesale Manufacturer & Custom Factory
- Durable Goodyear Welt Leather Work Boots for Wholesale & Private Label
People Also Ask
- What are the key features of safety boots? Essential Protection for Hazardous Workplaces
- How should safety boots be cleaned to avoid damage? A Gentle Guide to Preserve Your Boots
- What materials are commonly used for outsoles in safety boots? A Guide to Durability, Grip, and Comfort
- Why is proper storage important for safety boots? Preserve Protection and Extend Lifespan
- Why is ankle and arch support important in safety footwear? Prevent Injury & Fatigue