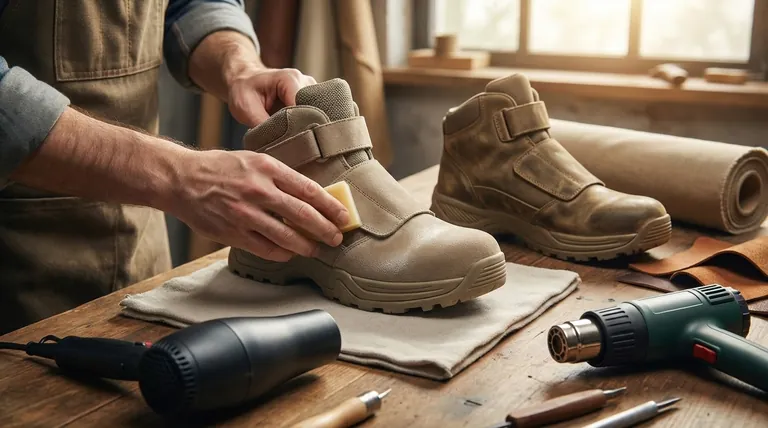
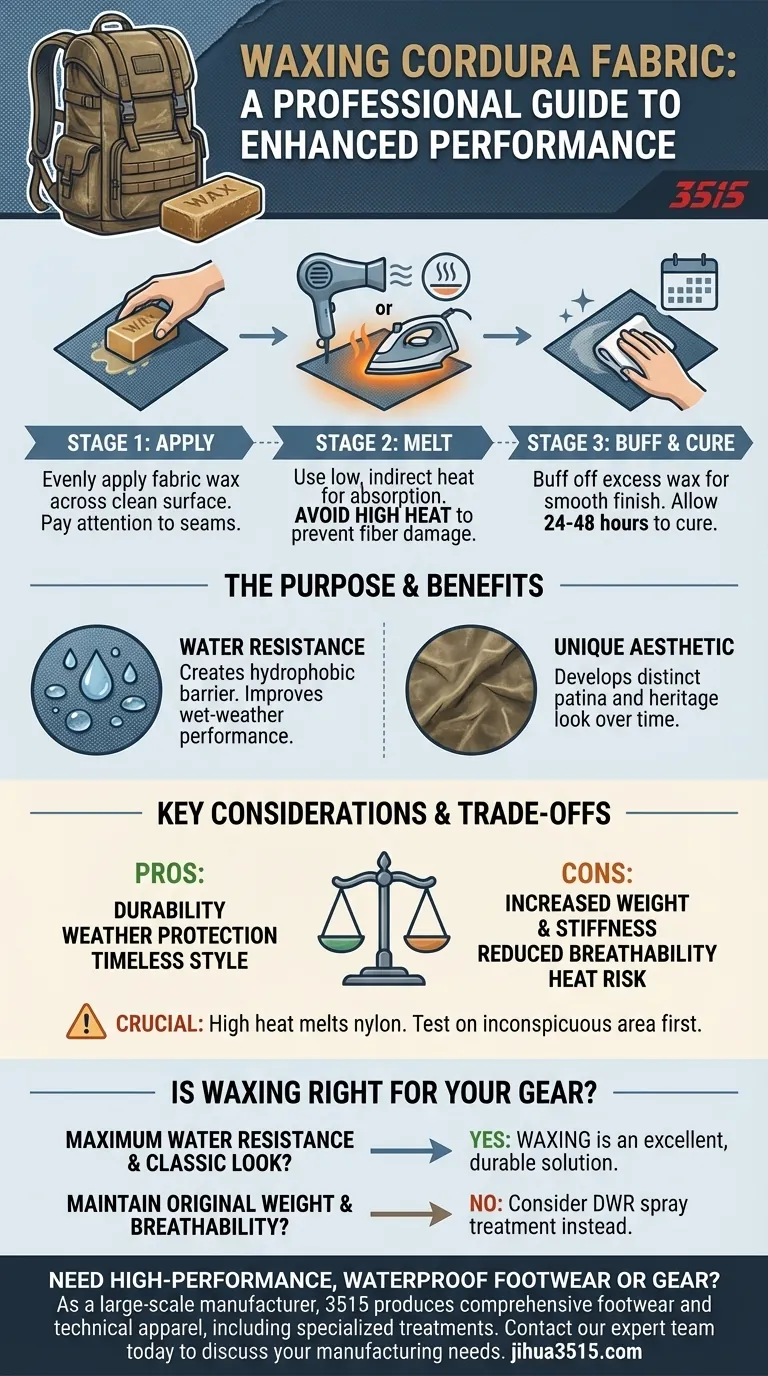
To properly wax Cordura fabric, you must follow a methodical, three-stage process. First, apply a fabric wax designed for outdoor gear evenly across the clean surface. Second, use low, indirect heat to melt the wax, allowing it to absorb into the nylon fibers. Finally, buff off any excess wax to create a smooth, non-sticky finish.
The core challenge of waxing Cordura is not the application itself, but the careful management of heat. Success hinges on melting the wax for absorption without reaching the temperature that will permanently damage the underlying synthetic fibers.
The Purpose of Waxing Cordura
Before beginning the process, it's important to understand the goals. Waxing is a deliberate modification that fundamentally changes the fabric's properties.
Enhancing Water Resistance
Cordura is renowned for its exceptional durability and abrasion resistance, but it is not inherently waterproof. Applying wax creates a hydrophobic barrier that causes water to bead up and roll off the surface, significantly improving its performance in wet conditions.
Creating a Unique Aesthetic
Waxing imparts a distinct, weathered appearance to fabric. Over time, the waxed surface will develop a unique patina of creases and highlights, a look often associated with heritage outdoor gear.
A Methodical Guide to Waxing
Precision and patience are key to achieving a professional and effective result. Rushing the process, especially the heating stage, can lead to poor outcomes or damage.
Step 1: Preparation is Crucial
Always begin with a clean, dry piece of gear. Dirt and debris trapped under the wax will be sealed in, compromising the finish and potentially abrading the fabric over time.
Step 2: Applying the Wax
Using a block of fabric wax, rub it firmly and evenly across the Cordura. Apply pressure to create a light, consistent coating. Pay special attention to seams and stitching, as these are the most common points for water ingress.
Step 3: Heating for Absorption
This is the most critical step. The goal is to melt the wax so it transitions from a surface coating into a treatment that is fully absorbed by the fabric's weave.
Because Cordura is a nylon-based material, high heat will melt and ruin the fibers. Use a low heat setting on a hairdryer or an iron. If using an iron, set it to its lowest temperature and always use a pressing cloth (a piece of scrap cotton fabric) as a protective barrier between the iron and the Cordura.
Step 4: Buffing and Curing
Once the wax has been absorbed, the surface may feel slightly tacky or have excess residue. Use a clean, lint-free cloth to buff the fabric, removing any extra wax and creating a smooth, uniform finish. Allow the item to cure in a warm, dry place for 24-48 hours.
Key Considerations and Trade-offs
Waxing is an effective technique, but it involves clear trade-offs that you must accept before proceeding.
A Change in Feel and Weight
Waxed fabric is heavier and stiffer than its untreated counterpart. This process adds a tangible amount of weight and reduces the fabric's flexibility.
Impact on Breathability
The wax works by filling the microscopic gaps in the fabric's weave. While this blocks water, it also significantly reduces the material's ability to breathe and transmit moisture vapor.
The Risk of Irreversible Damage
The single greatest risk is applying too much heat. Melting the nylon fibers is permanent and will ruin the integrity and appearance of the fabric. Always test your heat source on an inconspicuous area first.
Is Waxing Right for Your Gear?
Consider your primary goal for the item before committing to waxing it.
- If your primary focus is achieving maximum water resistance and a classic, heritage aesthetic: Waxing is an excellent and durable solution that gives you direct control over your gear's performance.
- If your primary focus is maintaining the original light weight, breathability, and feel of your Cordura: You should avoid waxing and consider a modern, spray-on Durable Water Repellent (DWR) treatment instead.
Ultimately, choosing to wax your Cordura gear is a deliberate decision to trade its factory characteristics for enhanced weather protection and a timeless style.
Summary Table:
| Step | Key Action | Critical Tip |
|---|---|---|
| 1. Preparation | Clean fabric thoroughly. | Dirt sealed under wax can damage the fabric. |
| 2. Application | Rub wax block evenly onto fabric. | Pay extra attention to seams and stitching. |
| 3. Heating | Use low, indirect heat to melt wax. | Crucial: High heat will melt and ruin nylon fibers. |
| 4. Finishing | Buff off excess wax and let cure. | Creates a smooth, non-sticky, waterproof finish. |
Need to produce high-performance, waterproof footwear or gear?
As a large-scale manufacturer, 3515 produces a comprehensive range of footwear and technical apparel for distributors, brand owners, and bulk clients. Our production capabilities encompass all types of shoes and boots, including specialized treatments like waxing for superior durability and weather resistance.
Let us help you bring durable, high-quality products to market. Contact our expert team today to discuss your manufacturing needs.
Visual Guide
Related Products
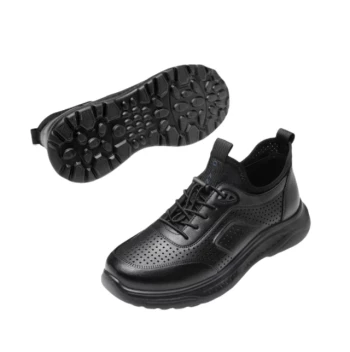
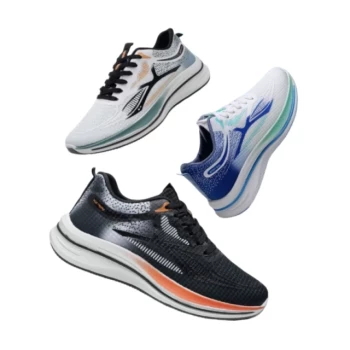
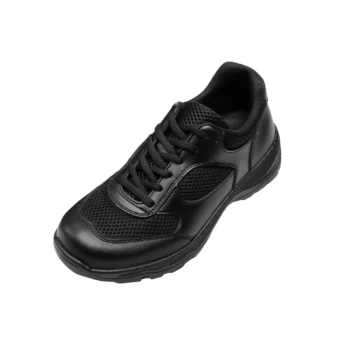
- Lightweight Breathable Sneakers with Wet-Traction Grip for Wholesale & Private Label
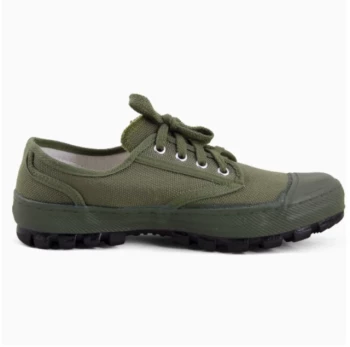
- Wholesale Durable Camouflage Canvas Shoes with High-Traction Cleated Rubber Sole
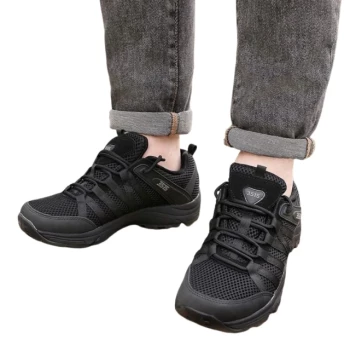
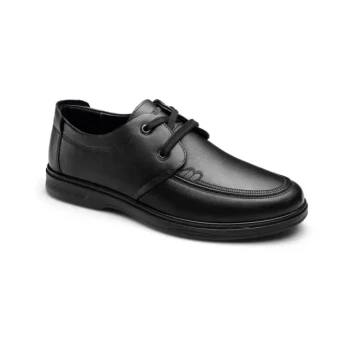
- Durable Rubber Sole Outdoor Shoes Wholesale & Custom Manufacturing
- Wholesale Durable Camo Canvas Shoes with High-Traction Rubber Soles
- Lightweight Breathable Training Shoes for Wholesale & Custom OEM Manufacturing
People Also Ask
- What are the benefits of wearing lightweight shoes? Reduce Fatigue & Boost Comfort for Work & Play
- What are the style advantages of lightweight shoes? Sleek, Versatile & Modern Comfort
- Why are breathable sneakers necessary for tropical commuting? Stay Cool and Dry in High Humidity
- Why are lightweight breathable safety sneakers recommended for management personnel in precast production workshops?
- What role do lightweight training shoes play in urban traffic? Boost Agility and Reaction for Safer City Navigation