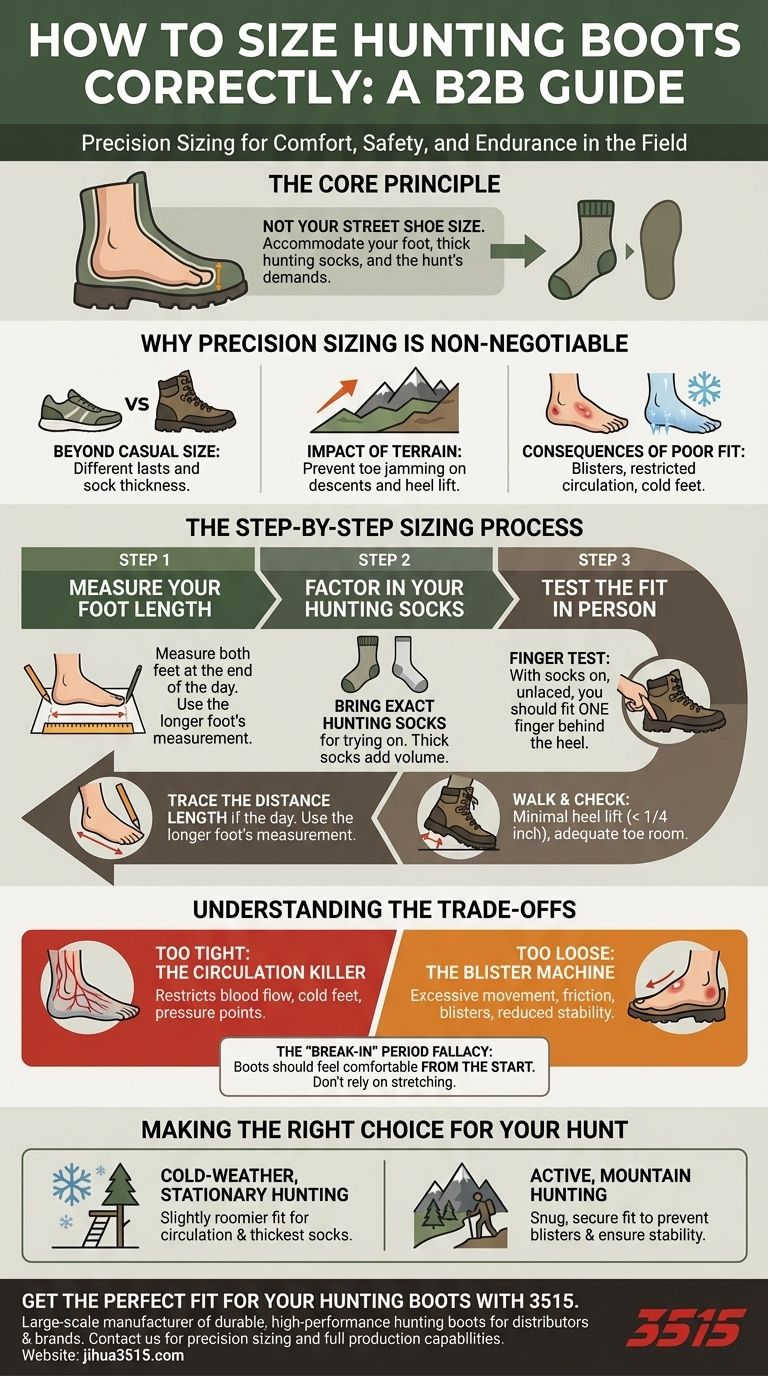
To determine the correct size for hunting boots, you must go beyond your standard shoe size. The process involves accurately measuring your foot's length, accounting for the thickness of your specific hunting socks, and then testing the fit to ensure adequate toe room and minimal heel lift.
The core principle of sizing hunting boots is not to find your street shoe size, but to find the size that perfectly accommodates your foot, your chosen socks, and the specific demands of your hunt. A proper fit is the foundation for comfort, safety, and endurance in the field.
Why Precision Sizing Is Non-Negotiable
A hunt can be compromised by something as simple as a poor boot fit. Understanding the stakes helps clarify why a methodical approach is necessary.
Beyond Your Casual Shoe Size
Your running shoe or office shoe size is merely a starting point. Hunting boots are built on different lasts (foot-shaped models) and are designed to work with much thicker socks than you wear day-to-day.
The Impact of Terrain
Hunting involves walking on uneven ground, steep inclines, and declines. A boot that is too large will allow your foot to slide forward on descents, painfully jamming your toes. A boot that is too small will create friction and pressure points, leading to blisters.
The Consequences of a Poor Fit
An incorrect fit leads directly to discomfort and failure. Blisters can end a multi-day hunt prematurely, while boots that are too tight can restrict blood circulation, leading to dangerously cold feet even with good insulation.
The Step-by-Step Sizing Process
Follow these steps methodically to find a reliable fit. Do not skip any of them, especially if you are buying from a new brand.
Step 1: Measure Your Foot Length
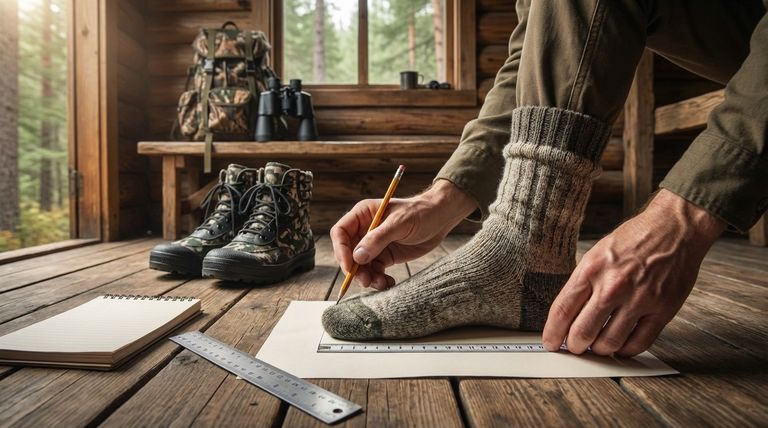
The most accurate measurement is one you take yourself, ideally at the end of the day when your feet are slightly swollen.
Place a piece of paper on a hard floor. Stand on it with your weight slightly forward, ensuring your foot is flat. Have someone else trace a line behind your heel and in front of your longest toe. Measure the distance between these two lines.
Always measure both feet. It is very common for one foot to be slightly longer than the other. Use the measurement from your longer foot as your guide.
Step 2: Factor in Your Hunting Socks
This is a critical step. The thick wool or synthetic socks used for hunting can easily take up a half-size worth of volume inside a boot.
When you go to try on boots, you must bring the exact socks you plan to hunt in. Trying on a heavy-duty boot with thin athletic socks will give you a completely inaccurate sense of the fit.
Step 3: Test the Fit In Person
With your hunting socks on, slide your foot into the unlaced boot and push it all the way forward until your toes touch the front.
You should be able to comfortably slide one finger (about a half-inch of space) between your heel and the back of the boot. If you can fit two fingers, it's likely too big. If you can't fit one, it's too small.
Lace the boots up snugly—not tightly—and walk around. Pay close attention to two key areas: heel lift and toe room. A small amount of heel lift is normal, but if your heel is moving up and down more than a quarter of an inch, the boot is too loose and will cause blisters.
Understanding the Trade-offs
Choosing a boot size often involves balancing two competing priorities: security and space.
Too Tight: The Circulation Killer
A boot that feels "performance snug" in the store can become a liability in the field. Tight boots restrict blood flow, which is the primary way your body keeps your feet warm. This also increases the likelihood of blisters and pressure points over a long day.
Too Loose: The Blister Machine
A boot that is too loose allows for excessive movement. Your foot, particularly your heel, will slide and rub with every step. This friction is the number one cause of hot spots and blisters. On uneven terrain, a loose fit also compromises ankle support and stability.
The "Break-In" Period Fallacy
While a quality leather boot will mold to your foot over time, the "break-in" period should not be painful. A new boot should feel comfortable and secure from the start. Do not buy a boot that is too small or has obvious pressure points with the expectation that it will stretch to fit. The break-in period is for settling, not for fixing a fundamental sizing error.
Making the Right Choice for Your Hunt
Your ideal fit may vary slightly based on your primary hunting style. Use these guidelines to make a final decision.
- If your primary focus is cold-weather, stationary hunting (e.g., in a tree stand): Err on the side of a slightly roomier fit to ensure maximum circulation and accommodate the thickest possible socks for warmth.
- If your primary focus is active, mountain hunting: Prioritize a snug, secure fit with minimal heel lift to prevent blisters and ensure stability during climbs and descents.
- If you are buying online without a prior fitting: Be meticulous with your self-measurement and be prepared to use the company's return policy to exchange for a different size.
A properly fitted boot is your most essential piece of gear; invest the time to get it right.
Summary Table:
| Sizing Step | Key Action | Why It Matters |
|---|---|---|
| Measure Foot Length | Trace and measure both feet at the end of the day. | Accounts for natural swelling and ensures you size for the larger foot. |
| Factor in Hunting Socks | Try boots on with the exact socks you'll hunt in. | Thick socks require extra space to prevent a tight, restrictive fit. |
| Test the Fit | Check for a half-inch of heel space and minimal heel lift when walking. | Prevents blisters, toe jamming, and ensures stability on uneven ground. |
Get the Perfect Fit for Your Hunting Boots with 3515
As a large-scale manufacturer, 3515 produces a comprehensive range of durable, high-performance hunting boots for distributors, brand owners, and bulk clients. Our expertise ensures every pair is built for comfort, safety, and endurance in the field. Whether you need insulated boots for cold-weather stands or rugged options for mountain terrain, we deliver precision sizing and superior quality.
Contact us today to discuss your hunting boot needs and benefit from our full production capabilities!
Visual Guide
Related Products
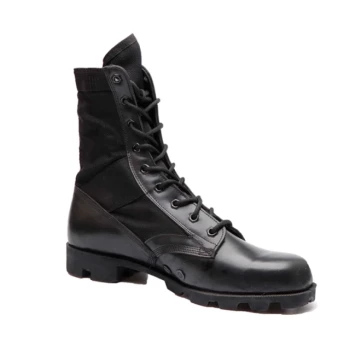
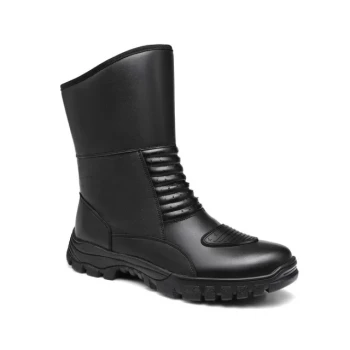
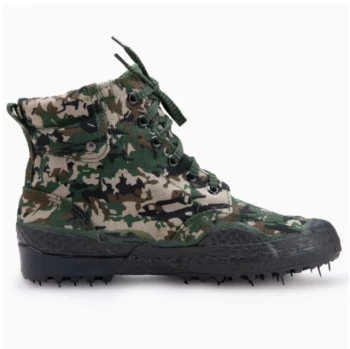
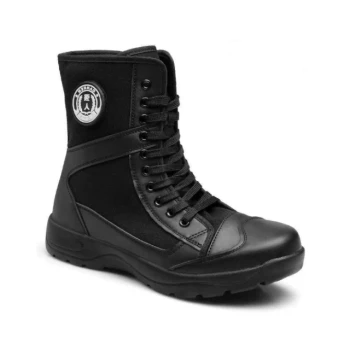
- Wholesale Lightweight Tactical Boots Custom Manufacturer for Desert & Combat Use
- High-Traction Suede Tactical Boots Wholesale & Custom Manufacturing
- Durable Leather Tactical Boots Wholesale & Custom Manufacturing for Brands
- Durable Military Combat Boots with Water Drainage for Wholesale & OEM
- Wholesale Waterproof Tactical Boots Custom Suede & High-Traction Soles
People Also Ask
- Is it safe to wash tactical boots in a washing machine? Protect Your Boots' Lifespan and Performance
- How is the compatibility of polymer materials demonstrated in smart footwear? Enhancing Tactical & Training Performance
- What are the main construction similarities between tactical boots and tactical sneakers? Built for Performance & Durability
- What are the common types of combat boots? Find the Right Boot for Your Mission
- Can tactical boots be stylish for everyday wear? Yes, with the right styling and features.